8. Disconnect a wire from the circuit and begin timing simultaneously. Record the voltage at 10 second intervals in Data Table 1 as the


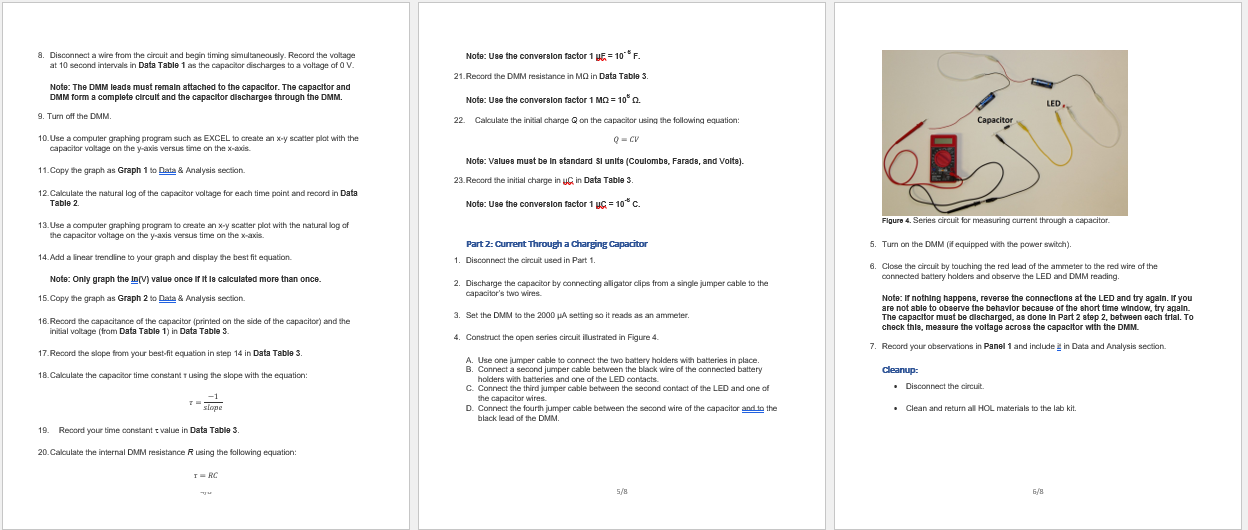
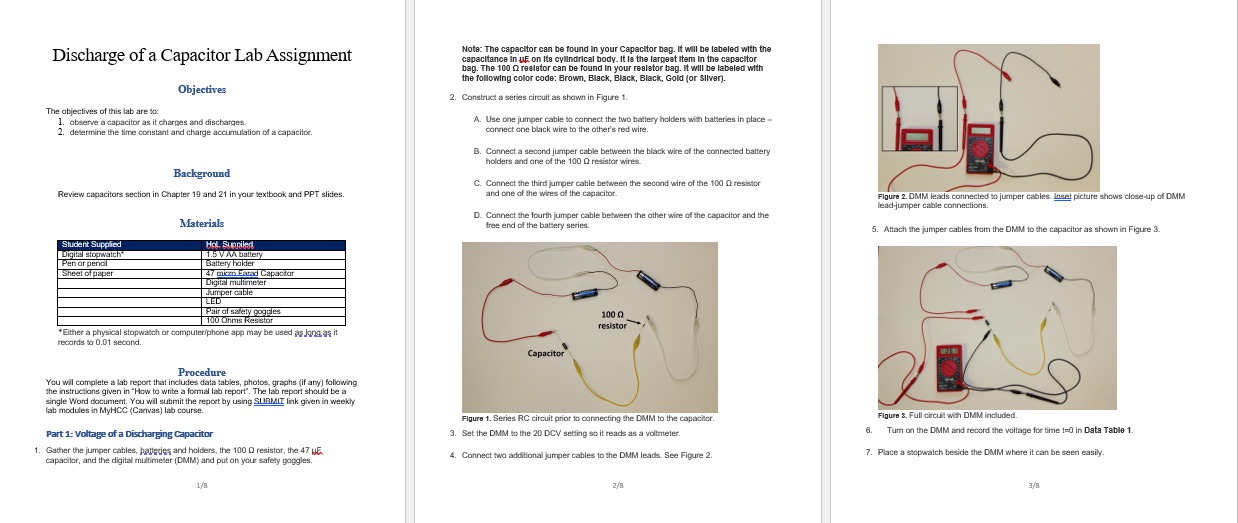
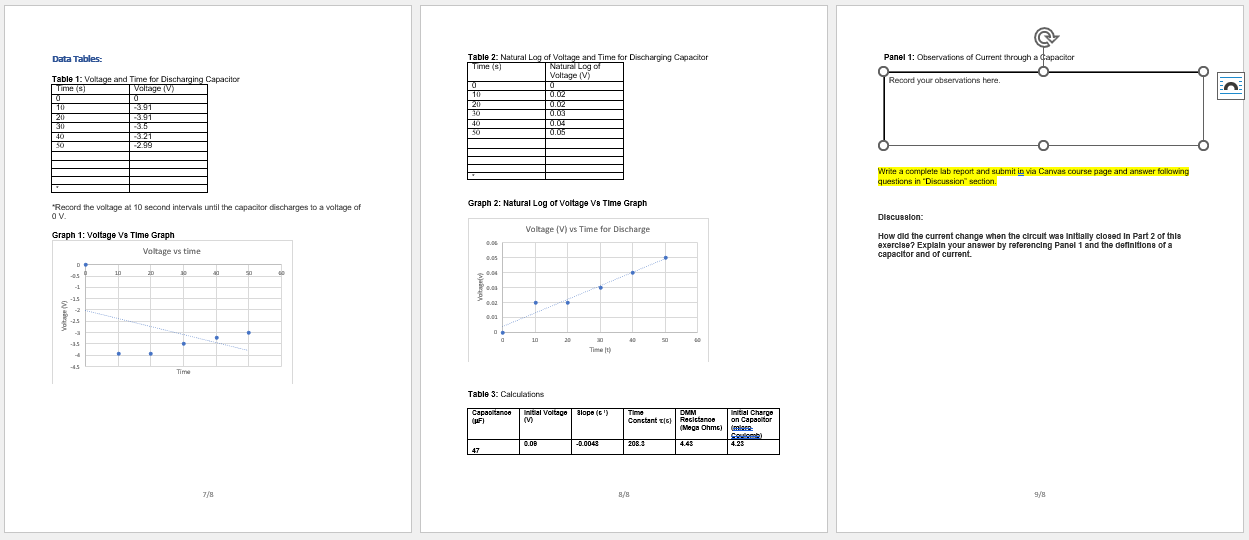
8. Disconnect a wire from the circuit and begin timing simultaneously. Record the voltage at 10 second intervals in Data Table 1 as the capacitor discharges to a voltage of 0 V. Note: The DMM leads must remain attached to the capacitor. The capacitor and DMM form a complete circult and the capacitor discharges through the DMM. 9. Turn off the DMM. 10. Use a computer graphing program such as EXCEL to create an x-y scatter plot with the capacitor voltage on the y-axis versus time on the x-axis. 11. Copy the graph as Graph 1 to Data & Analysis section. 12. Calculate the natural log of the capacitor voltage for each time point and record in Data Table 2. 13. Use a computer graphing program to create an x-y scatter plot with the natural log of the capacitor voltage on the y-axis versus time on the x-axis. 14. Add a linear trendline to your graph and display the best fit equation. Note: Only graph the ID(V) value once if it is calculated more than once. 15. Copy the graph as Graph 2 to Data & Analysis section. 16. Record the capacitance of the capacitor (printed on the side of the capacitor) and the initial voltage (from Data Table 1) in Data Table 3. 17. Record the slope from your best-fit equation in step 14 in Data Table 3. 18. Calculate the capacitor time constant using the slope with the equation: slope Note: Use the conversion factor 1 y = 10** F. 21. Record the DMM resistance in MQ in Data Table 3. Note: Use the conversion factor 1 MQ = 10* 22. Calculate the initial charge Q on the capacitor using the following equation: Q-CV Note: Values must be in standard Si units (Coulombs, Farada, and Volts). 23. Record the initial charge in UC in Data Table 3. Note: Use the conversion factor 1 UC = 10* C. Part 2: Current Through a Charging Capacitor 1. Disconnect the circuit used in Part 1. 2. Discharge the capacitor by connecting alligator clips from a single jumper cable to the capacitor's two wires. 3. Set the DMM to the 2000 A setting so it reads as an ammeter. 4. Construct the open series circuit llustrated in Figure 4. A. Use one jumper cable to connect the two battery holders with batteries in place. B. Connect a second jumper cable between the black wire of the connected battery holders with batteries and one of the LED contacts. C. Connect the third jumper cable between the second contact of the LED and one of the capacitor wires. D. Connect the fourth jumper cable between the second wire of the capacitor and to the black lead of the DMM. Capacitor LED Figure 4. Series circuit for measuring current through a capacitor. 5. Turn on the DMM (if equipped with the power switch). 6. Close the circuit by touching the red lead of the ammeter to the red wire of the connected battery holders and observe the LED and DMM reading. Note: If nothing happens, reverse the connections at the LED and try again. If you are not able to observe the behavior because of the short time window, try again. The capacitor must be discharged, as done in Part 2 step 2, between each trial. To check this, measure the voltage across the capacitor with the DMM. 7. Record your observations in Panel 1 and include in Data and Analysis section. Cleanup: Disconnect the circuit. Clean and return all HOL materials to the lab kit. 19. Record your time constant value in Data Table 3. 20. Calculate the internal DMM resistance R using the following equation: I RC Discharge of a Capacitor Lab Assignment The objectives of this lab are to: Objectives 1. observe a capacitor as it charges and discharges. 2. determine the time constant and charge accumulation of a capacitor. Background Review capacitors section in Chapter 19 and 21 in your textbook and PPT slides. Student Supplied | Digital stopwatch" Pen or pencil Sheet of paper Materials Hol. Suppiled | 1.5 V AA battery Battery holder 47 micen Farad Capacitor Digital multimeter Jumper cable LED Pair of safety goggles 100 Ohms Resistor *Either a physical stopwatch or computer/phone app may be used as long as it records to 0.01 second. Note: The capacitor can be found in your Capacitor bag. It will be labeled with the capacitance in u on its cylindrical body. It is the largest item in the capacitor bag. The 100 resistor can be found in your resistor bag. It will be labeled with the following color code: Brown, Black, Black, Black, Gold (or Silver). 2. Construct a series circuit as shown in Figure 1. A. Use one jumper cable to connect the two battery holders with batteries in place- connect one black wire to the other's red wire. B. Connect a second jumper cable between the black wire of the connected battery holders and one of the 100 Q resistor wires. C. Connect the third jumper cable between the second wire of the 100 resistor and one of the wires of the capacitor. D. Connect the fourth jumper cable between the other wire of the capacitor and the free end of the battery series. 1000 resistor Figure 2. DMM leads connected to jumper cables. Inset picture shows close-up of DMM lead-jumper cable connections. 5. Attach the jumper cables from the DMM to the capacitor as shown in Figure 3. Procedure You will complete a lab report that includes data tables, photos, graphs (if any) following the instructions given in "How to write a formal lab report". The lab report should be a single Word document. You will submit the report by using SURMIT link given in weekly lab modules in MyHCC (Canvas) lab course. Part 1: Voltage of a Discharging Capacitor 1. Gather the jumper cables, pateties and holders, the 100 resistor, the 47 capacitor, and the digital multimeter (DMM) and put on your safety goggles. Capacitor Figure 1. Series RC circuit prior to connecting the DMM to the capacitor. 3. Set the DMM to the 20 DCV setting so it reads as a voltmeter. 4. Connect two additional jumper cables to the DMM leads. See Figure 2. Figure 3. Full circuit with DMM included. 6. Turn on the DMM and record the voltage for time 1-0 in Data Table 1. 7. Place a stopwatch beside the DMM where it can be seen easily. Data Tables: Table 1: Voltage and Time for Discharging Capacitor Voltage (V) | -3.91 Time(s) 0 10 20 30 -3.5 40 -3.21 50 -2.99 -3.91 *Record the voltage at 10 second intervals until the capacitor discharges to a voltage of 0 V. Graph 1: Voltage Ve Time Graph -1 -2 -25 - + Voltage vs time Time 7/8 40 Table 2: Natural Log of Voltage and Time for Discharging Capacitor Time (3) Natural Log of Panel 1: Observations of Current through a Capacitor Record your observations here. Voltage (V) 10 0.002 0.02 30 0.03 40 0.04 0.05 Graph 2: Natural Log of Voltage Vs Time Graph Voltage (V) vs Time for Discharge 0.06 0.05 0.04 0.02 0.01 0 10 40 Time (1) Table 3: Calculations Capacitance (UF) Initial Voltage M Slope (c) DMM Constant(s) Resistance (Mega Ohms) Initial Charge on Capacitor Coulomb) 0.08 -0.0043 208.3 4.43 4.23 8/8 Write a complete lab report and submit in via Canvas course page and answer following questions in "Discussion" section. Discussion: How did the current change when the circuit was initially closed In Part 2 of this exercise? Explain your answer by referencing Panel 1 and the definitions of a capacitor and of current. 9/8
Step by Step Solution
There are 3 Steps involved in it
Step: 1
Heres a detailed explanation of the lab procedure and calculations required for the Discharge of a Capacitor Lab Assignment Objective 1 Observe a capacitor as it charges and discharges 2 Determine the ...
See step-by-step solutions with expert insights and AI powered tools for academic success
Step: 2

Step: 3

Ace Your Homework with AI
Get the answers you need in no time with our AI-driven, step-by-step assistance
Get Started


