Question: @#%$^&*(*&$^#%@$#%^&*(*&^%$^#@$^&* c++ no namespace please! CSE 232, Lab Exercise 6 Partner Choose a partner in the lab to work with on this exercise. Two people
@#%$^&*(*&$^#%@$#%^&*(*&^%$^#@$^&*
c++ no namespace please!
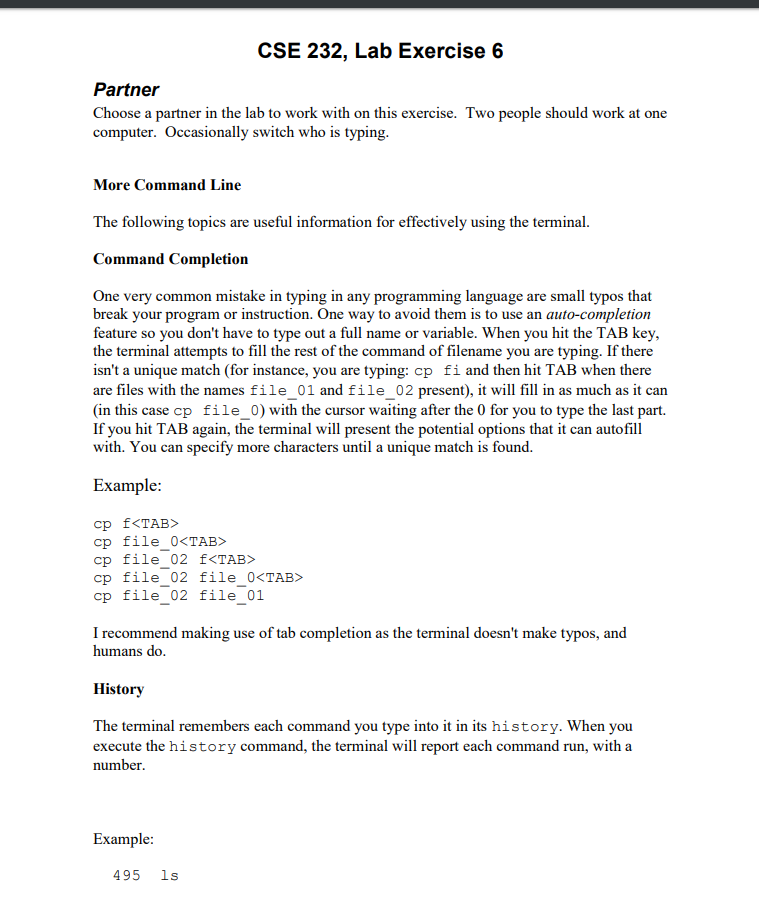
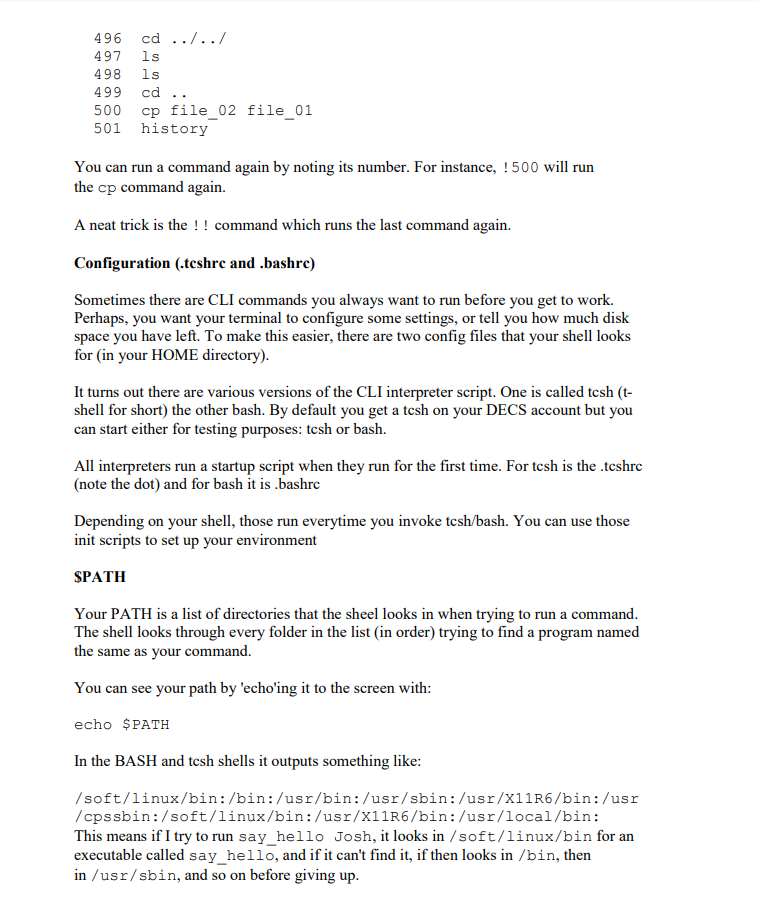
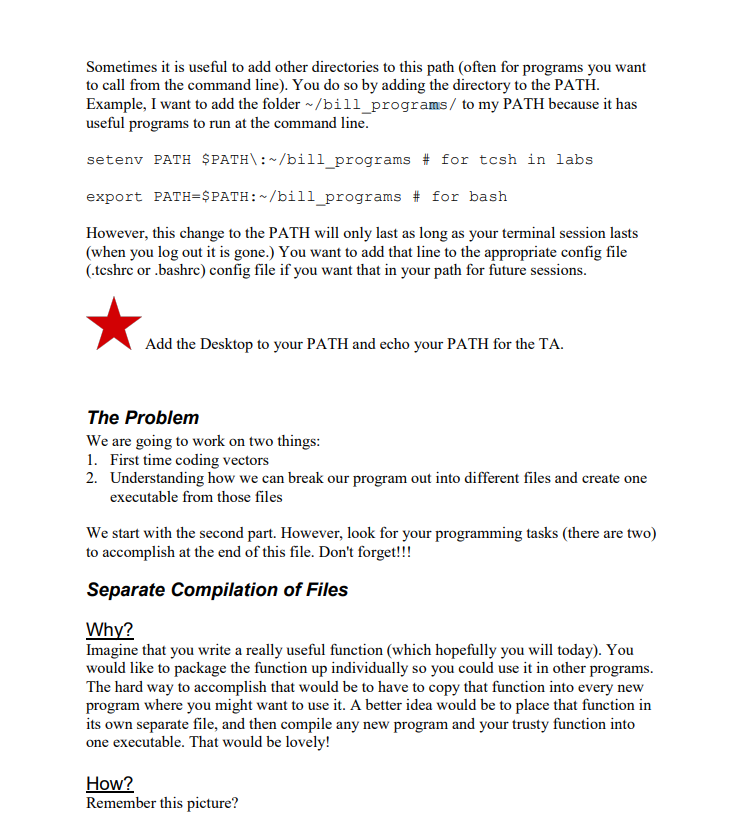
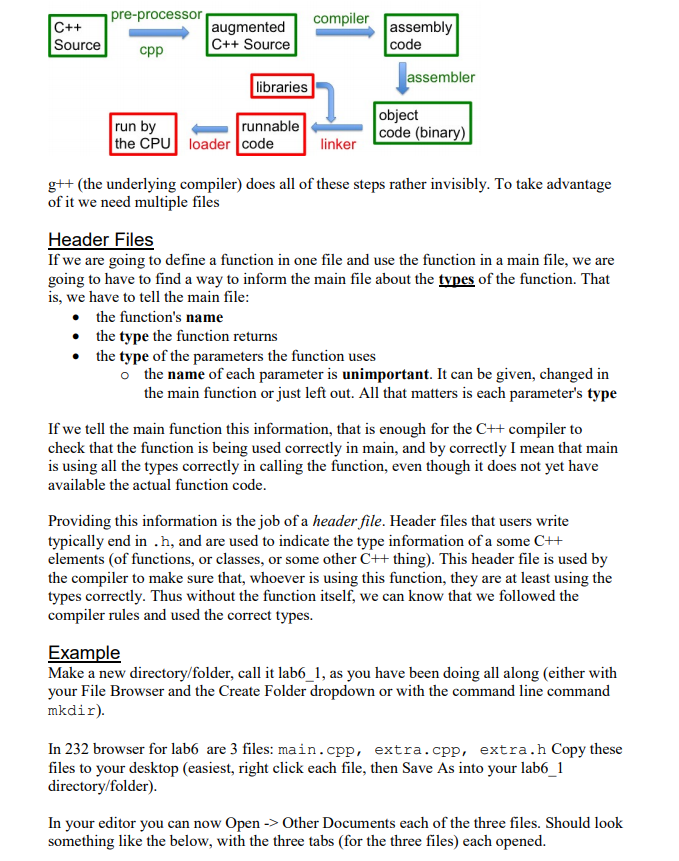
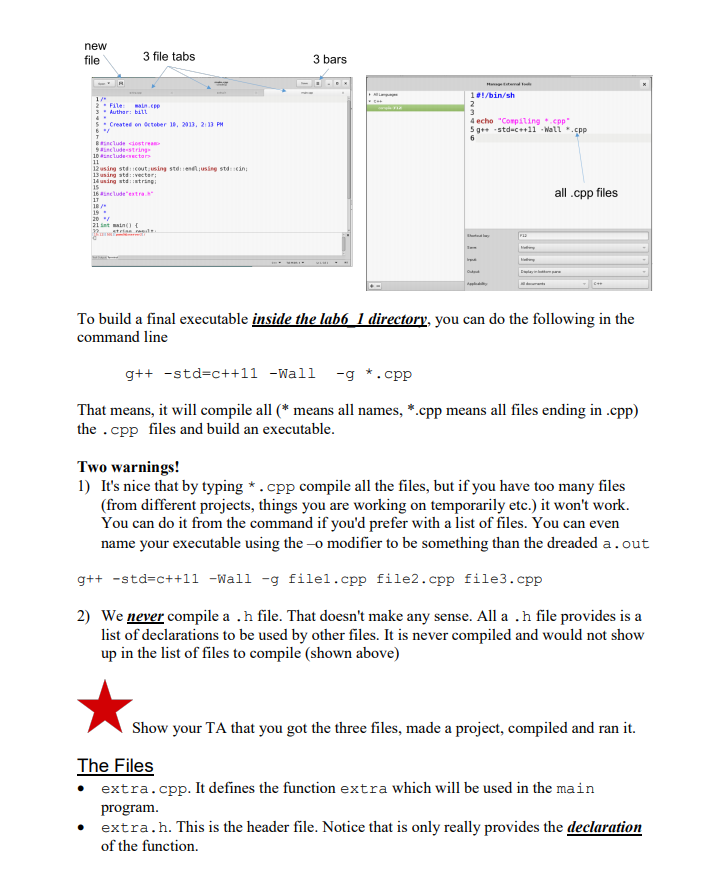
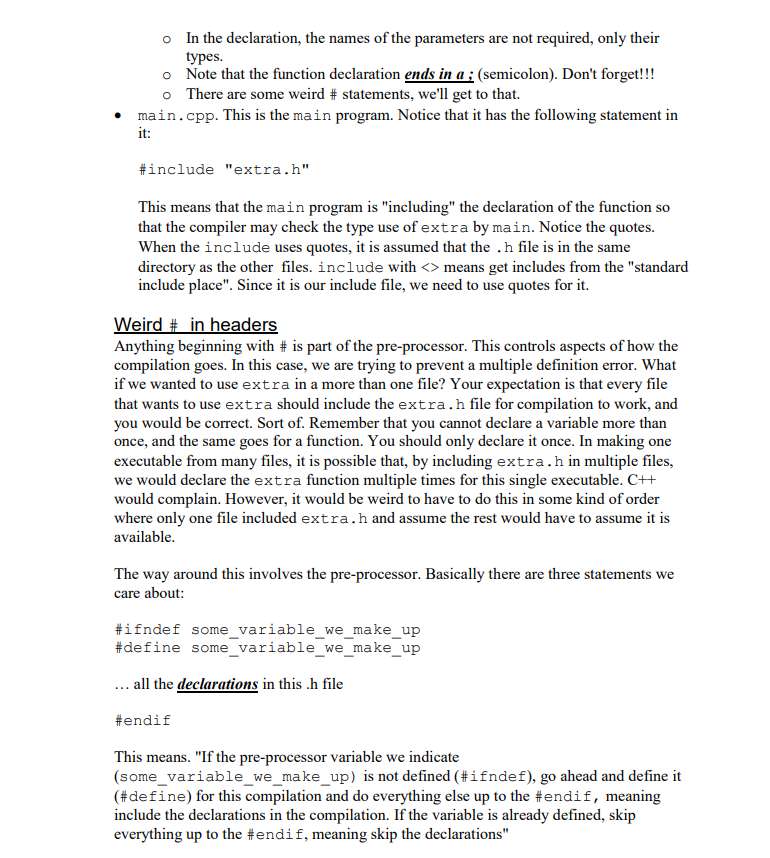
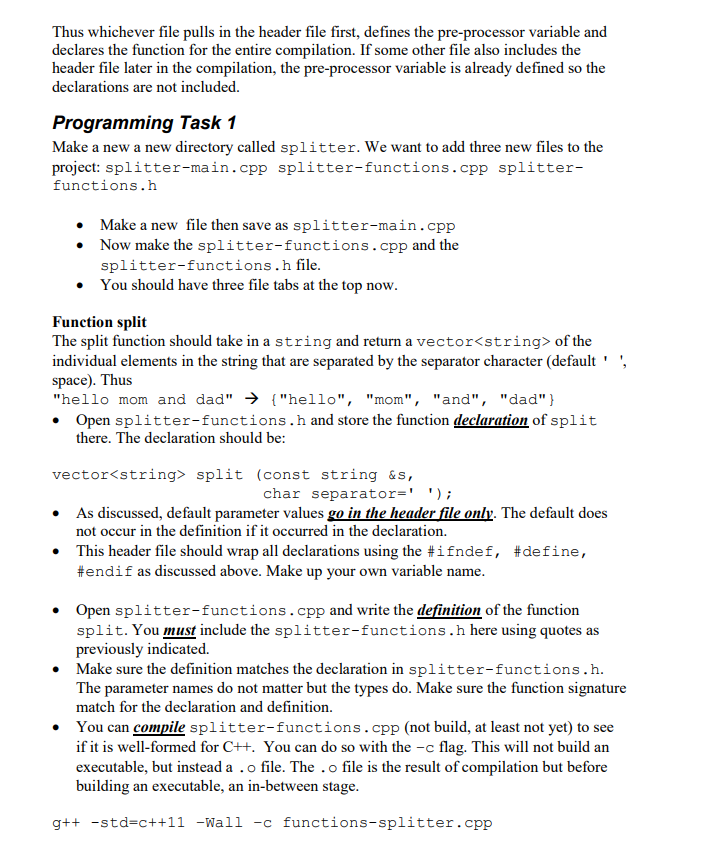
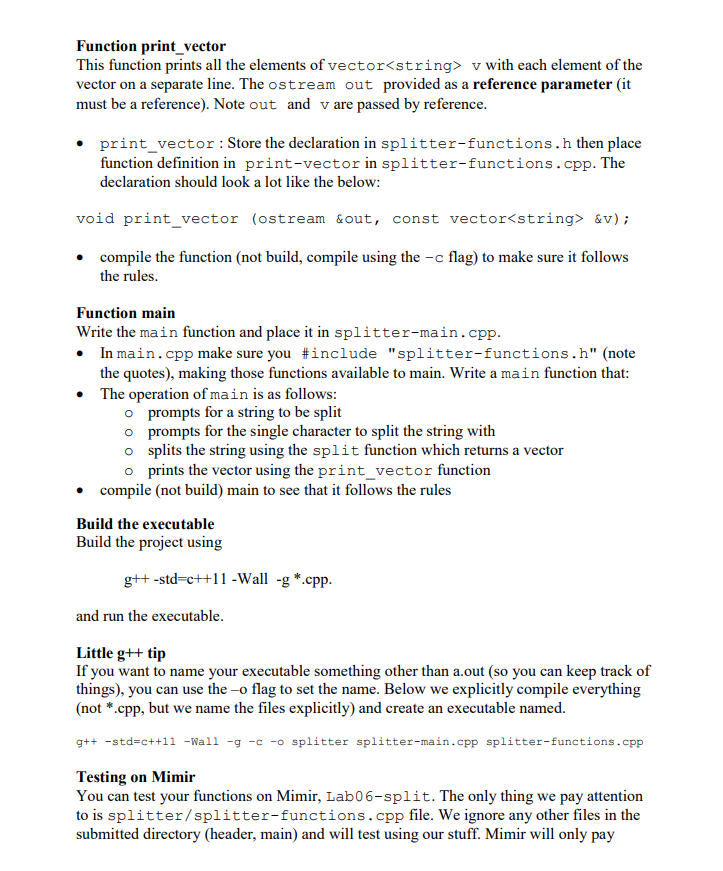
CSE 232, Lab Exercise 6 Partner Choose a partner in the lab to work with on this exercise. Two people should work at one computer. Occasionally switch who is typing More Command Line The following topics are useful information for effectively using the terminal Command Completion One very common mistake in typing in any programming language are small typos that break your program or instruction. One way to avoid them is to use an auto-completion feature so you don't have to type out a full name or variable. When you hit the TAB key, the terminal attempts to fill the rest of the command of filename you are typing. If there isn't a unique match (for instance, you are typing: cp fi and then hit TAB when there are files with the names file 01 and file 02 present), it will fill in as much as it can (in this case cp file_0) with the cursor waiting after the 0 for you to type the last part. If you hit TAB again, the terminal will present the potential options that it can autofill with. You can specify more characters until a unique match is found. Example cp f cp file_0 cp file 02 f cp file 02 file O cp file_02 file 01 I recommend making use of tab completion as the terminal doesn't make typos, and humans do History The terminal remembers each command you type into it in its history. When you execute the history command, the terminal will report each command run, with a number Example: 495 ls 496 cd . ./. ./ 497 1s 498 ls 499 cd .. 500 cp file 02 file 01 501 history You can run a c the cp command again. d again by noting its number. For instance, !500 will run A neat trick is the ! ! command which runs the last command again. Configuration (teshrc and .bashrc) Sometimes there are CLI commands you always want to run before you get to work. Perhaps, you want your terminal to configure some settings, or tell you how much disk space you have left. To make this easier, there are two config files that your shell looks for (in your HOME directory) It turns out there are various versions of the CLI interpreter script. One is called tcsh (t shell for short) the other bash. By default you get a tcsh on your DECS account but you can start either for testing purposes: tcsh or bash. All interpreters run a startup script when they run for the first time. For tcsh is the .tcshrc (note the dot) and for bash it is.bashrc Depending on your shell, those run everytime you invoke tcsh/bash. You can use those init scripts to set up your environment SPATH Your PATH is a list of directories that the sheel looks in when trying to run a command The shell looks through every folder in the list (in order) trying to find a program named the same as your command. You can see your path by 'echo'ing it to the screen with echo $PATH In the BASH and tcsh shells it outputs something like /soft/linux/bin:/bin:/usr/bin: /usr/sbin:/usr/X11R6/bin: /usr /cpssbin:/soft/linux/bin:/usr/x11R6/bin:/usr/local/bin: This means if I try to run say-hello Josh, it looks in / soft/linux/bin for an executable called say hello, and if it can't find it, if then looks in /bin, then in/usr/sbin, and so on before giving up Sometimes it is useful to add other directories to this path (often for programs you want to call from the command line). You do so by adding the directory to the PATH. Example, I want to add the folder /bill_programs/ to my PATH because it has useful programs to run at the command line. setenv PATH $PATH\:-/billprograms # for tcsh in labs - export PATH-$PATH:-/bill-programs # for bash However, this change to the PATH will only last as long as your terminal session lasts (when you log out it is gone.) You want to add that line to the appropriate config file (teshrc or.bashrc) config file if you want that in your path for future sessions Add the Desktop to your PATH and echo your PATH for the TA The Problem We are going to work on two things 1. First time coding vectors 2. Understanding how we can break our program out into different files and create one executable from those files We start with the second part. However, look for your programming tasks (there are two) to accomplish at the end of this file. Don't forget!!! Separate Compilation of Files Why? Imagine that you write a really useful function (which hopefully you will today). You would like to package the function up individually so you could use it in other programs. The hard way to accomplish that would be to have to copy that function into every new program where you might want to use it. A better idea would be to place that function in its own separate file, and then compile any new program and your trusty function into one executable. That would be lovely! How2 Remember this picture? augmented COmpiler C++ Source pre-processor compilerassembly Source code cpp assembler ibraries object code (binary) runnable the CPU loader code linker gt+ (the underlying compiler) does all of these steps rather invisibly. To take advantage of it we need multiple files Header Files If we are going to define a function in one file and use the function in a main file, we are going to have to find a way to inform the main file about the tvpes of the function. That is, we have to tell the main file the function's name the type the function returns the type of the parameters the function uses the name of each parameter is unimportant. It can be given, changed in the main function or just left out. All that matters is each parameter's type o If we tell the main function this information, that is enough for the C++ compiler to check that the function is being used correctly in main, and by correctly I mean that main is using all the types correctly in calling the function, even though it does not yet have available the actual function code Providing this information is the job of a header file. Header files that users write typically end in .h, and are used to indicate the type information of a some Ctt elements (of functions, or classes, or some other C+thing). This header file is used by the compiler to make sure that, whoever is using this function, they are at least using the types correctly. Thus without the function itself, we can know that we followed the compiler rules and used the correct types. Example Make a new directory/folder, call it lab6 1, as you have been doing all along (either with your File Browser and the Create Folder dropdown or with the command line command mkdir). In 232 browser for lab6 are 3 files: main.cpp, extra.cpp, extra.h Copy these files to your desktop (easiest, right click each file, then Save As into your lab61 directory/folder) In your editor you can now Open -> Other Documents each of the three files. Should look something like the below, with the three tabs (for the three files) each opened. new file 3 file tabs 3 bars I #!/bin/ sh 4 echo Compitingepp SCreated on October 18, 2013, 2:33 P 12using sta::cout.sing std:eusing std::cin include estra all .cpp files To build a final executable inside the lab6 I directory, you can do the following in the command line g++ -std-c++11 -Wal1 g.cpp That means, it will compile all (* means all names, *.cpp means all files ending in .cpp) the.cpp files and build an executable Two warnings! 1) It's nice that by typing *. cpp compile all the files, but if you have too many files (from different projects, things you are working on temporarily etc.) it won't work. You can do it from the command if you'd prefer with a list of files. You can even name your executable using the -o modifier to be something than the dreaded a.out g+t-std-c++11-Wall - g filel.cpp file2.cpp file3.cpp 2) We neyer compile a .h file. That doesn't make any sense. All a .h file provides is a list of declarations to be used by other files. It is never compiled and would not show up in the list of files to compile (shown above) Show your TA that you got the three files, made a project, compiled and ran it. The Files . extra.cpp. It defines the function extra which will be used in the main program. . extra.h. This is the header file. Notice that is only really provides the declaration of the function. In the declaration, the names of the parameters are not required, only their types. Note that the function declaration ends in a; (semicolon). Don't forget!!! There are some weird # statements, we'll get to that. o o o main.cpp. This is the main program. Notice that it has the following statement in it: . #include "extra . h" This means that the main program is "including" the declaration of the function so that the compiler may check the type use of extra by main. Notice the quotes. When the include uses quotes, it is assumed that the .h file is in the same directory as the other files. include with means get includes from the "standard include place". Since it is our include file, we need to use quotes for it Weird # in headers Anything beginning with # is part of the pre-processor. This controls aspects of how the compilation goes. In this case, we are trying to prevent a multiple definition error. What if we wanted to use extra in a more than one file? Your expectation is that every file that wants to use extra should include the extra.h file for compilation to work, and you would be correct. Sort of. Remember that you cannot declare a variable more than once, and the same goes for a function. You should only declare it once. In making one executable from many files, it is possible that, by including extra.h in multiple files, we would declare the extra function multiple times for this single executable. C++ would complain. However, it would be weird to have to do this in some kind of order where only one file included extra.h and assume the rest would have to assume it is available The way around this involves the pre-processor. Basically there are three statements we care about: #indef somevariablewemakeup #de fine some variable we make up ---- all the declarations in this .h file #endIf This means. "If the pre-processor variable we indicate (some-variable-we-make-up) is not defined (#1 fndef), go ahead and define t (# define) for this compilation and do everything else up to the #endif, meaning include the declarations in the compilation. If the variable is already defined, skip everything up to the # endif, meaning skip the declarations" Thus whichever file pulls in the header file first, defines the pre-processor variable and declares the function for the entire compilation. If some other file also includes the header file later in the compilation, the pre-processor variable is already defined so the declarations are not included. Programming Task 1 Make a new a new directory called splitter. We want to add three new files to the project: splitter-main.cpp splitter-functions.cpp splitter- functions.h Make a new file then save as splitter-main.cpp Now make the splitter-functions.cpp and the splitter-functions.h file You should have three file tabs at the top now . Function split The split function should take in a string and return a vector of the individual elements in the string that are separated by the separator character (default'', space). Thus "hello mom and dad" > ("hello", "mom", "and", "dad" Open splitter-functions.h and store the function declaration of split there. The declaration should be vector split (const string &s, char separator-' As discussed, default parameter values go in the header file only. The default does not occur in the definition if it occurred in the declaration. This header file should wrap all declarations using the #1 fnde, #endif as discussed above. Make up your own variable name . # define, Open splitter-functions.cpp and write the definition of the function split. You must include the splitter-functions.h here using quotes as previously indicated. Make sure the definition matches the declaration in splitter-functions.h. The parameter names do not matter but the types do. Make sure the function signature match for the declaration and definition. You can compile splitter-functions.cpp (not build, at least not yet) to see if it is well-formed for C+t. You can do so with the -c flag. This will not build an executable, but instead a .o file. The .o file is the result of compilation but before building an executable, an in-between stage g++ -std-c++11 -Wall -c functions-splitter.cpp Function print vector This function prints all the elements of vector v with each element of the vector on a separate line. The ostream out provided as a reference parameter (it must be a reference). Note out and v are passed by reference print_vector : Store the declaration in splitter-functions.h then place function definition in print-vector in splitter-functions.cpp. The declaration should look a lot like the below: void print_vector (ostream &out, const vector &v)i compile the function (not build, compile using the -c flag) to make sure it follows the rules e Function main Write the main function and place it in splitter-main.cpp . In main.cpp make sure you #include "splitter-functions .h" (note the quotes), making those functions available to main. Write a main function that The operation of main is as follows o o o o prompts for a string to be split prompts for the single character to split the string with splits the string using the split function which returns a vector prints the vector using the print vector function e compile (not build) main to see that it follows the rules Build the executable Build the project using gt+-std-c++11-Wall -g *.cpp and run the executable Little g++ tip If you want to name your executable something other than a.out (so you can keep track of things), you can use the-o flag to set the name. Below we explicitly compile everything .cpp, but we name the files explicitly) and create an executable named. g+t-std c++11-Wall-g -c-o splitter splitter-main.cpp splitter-functions.cpp Testing on Mimir You can test your functions on Mimir, Lab06-split. The only thing we pay attention to is splitter/splitter-functions.cpp file. We ignore any other files in the submitted directory (header, main) and will test using our stuff. Mimir will only pay ii. after the operation, copy the remaining elements from the longer 1 vector in the result vector if op is something else, return an empty vector iv. 3. Write a vecops-main.cpp and test your function by sending in two vectors and printing the result Testing on Mimir Again, can test your functions on Mimir, Lab06-vecops. You can only submit the vecops-functions.cpp file. We provide the header and the main, and will test using our stuff. You just supply the function definitions. This is the advantage of local work. You write your own main and test, then just submit the vecops-functions.cpp to test


