Answered step by step
Verified Expert Solution
Question
1 Approved Answer
C++ (Qt framework) Here are the files that need to be modified: mainwindow.cpp mainwindow.h card.h card.cpp cards.qrc (Add the missing cards and change the path
C++ (Qt framework)
Here are the files that need to be modified:
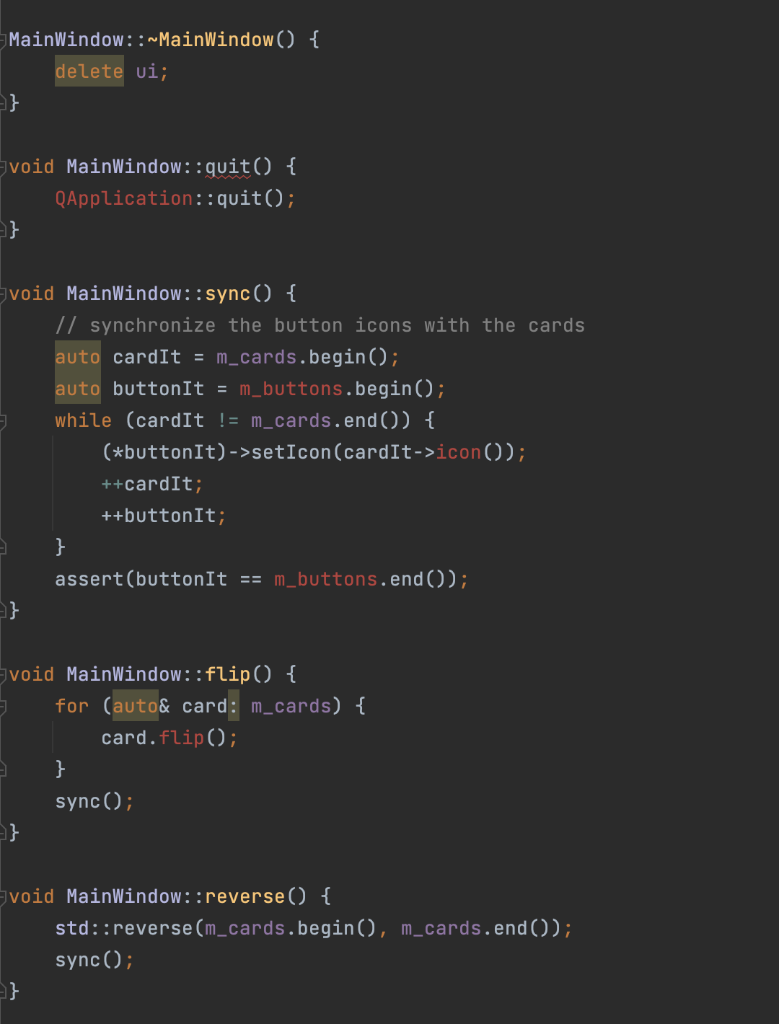
mainwindow.cpp
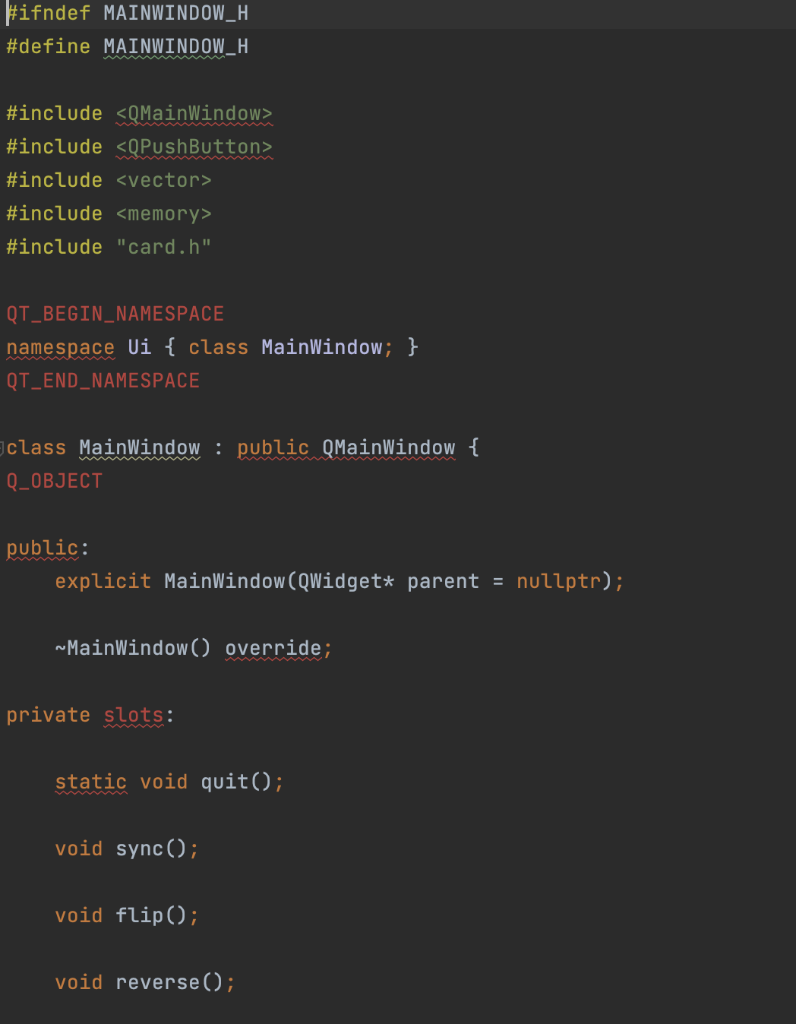
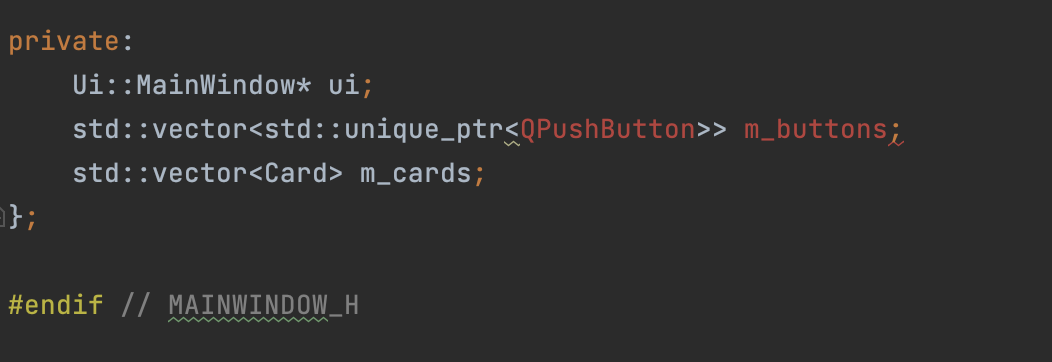
mainwindow.h
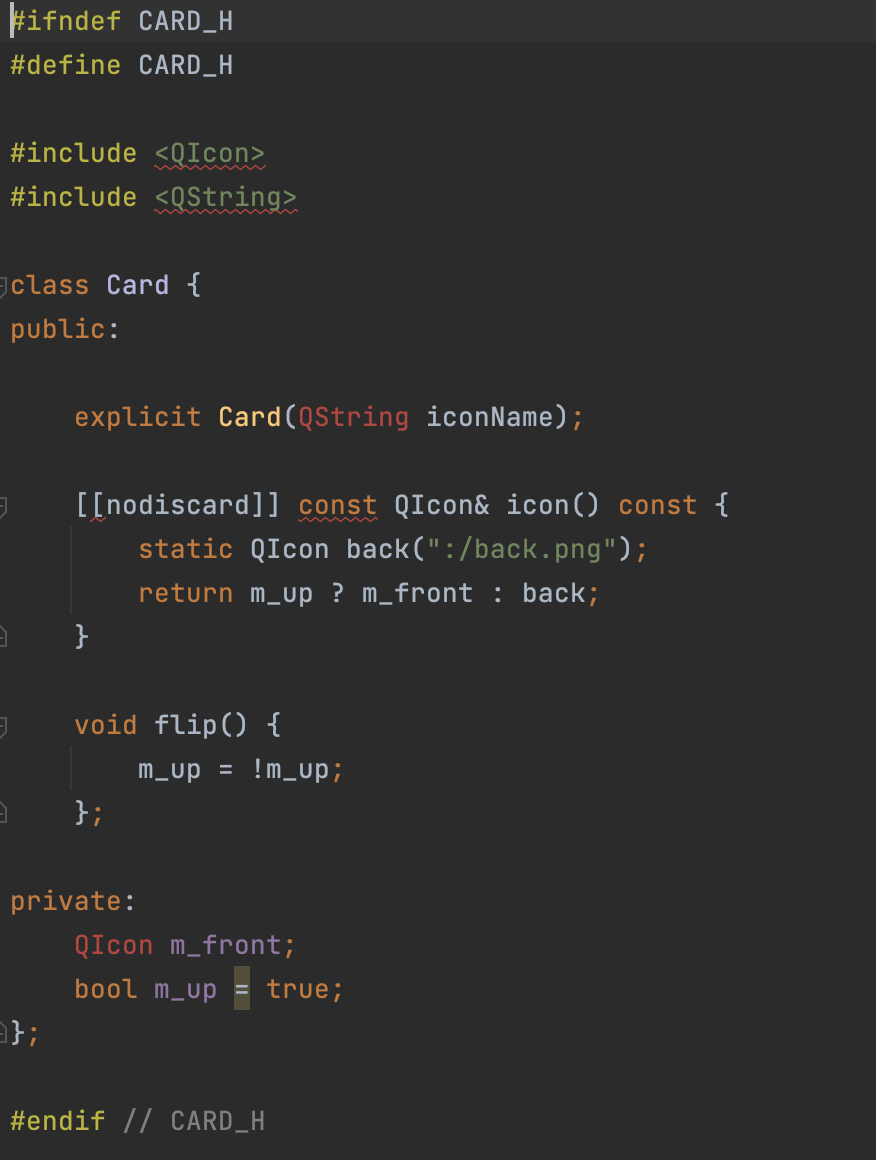
card.h
card.cpp

cards.qrc (Add the missing cards and change the path to the card images)
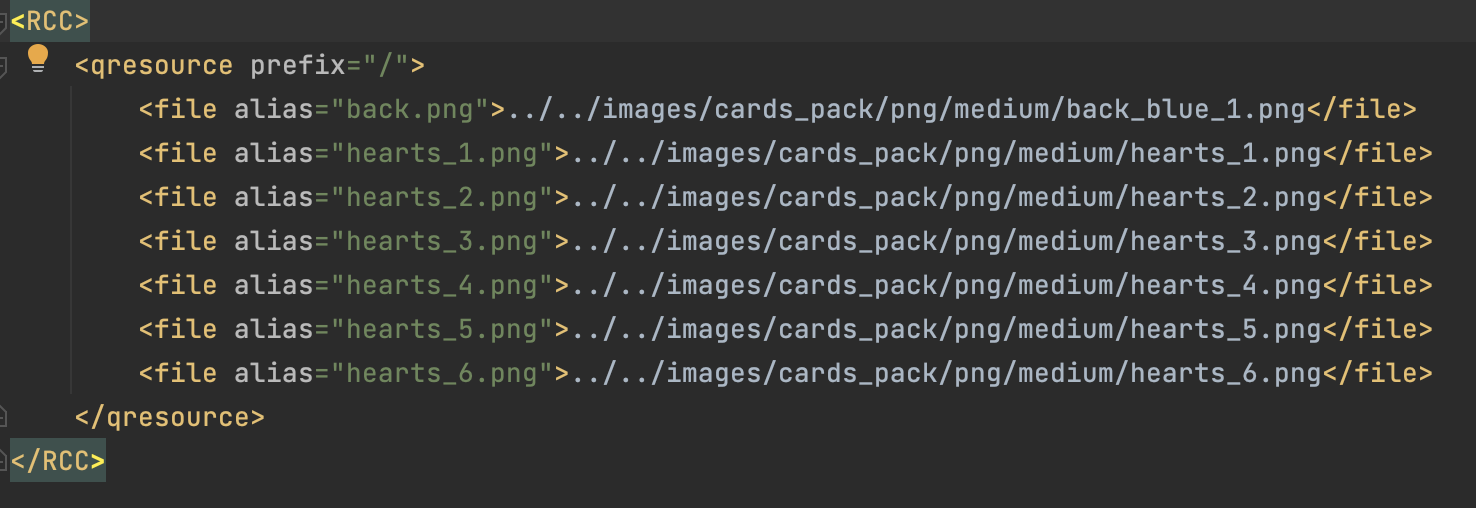
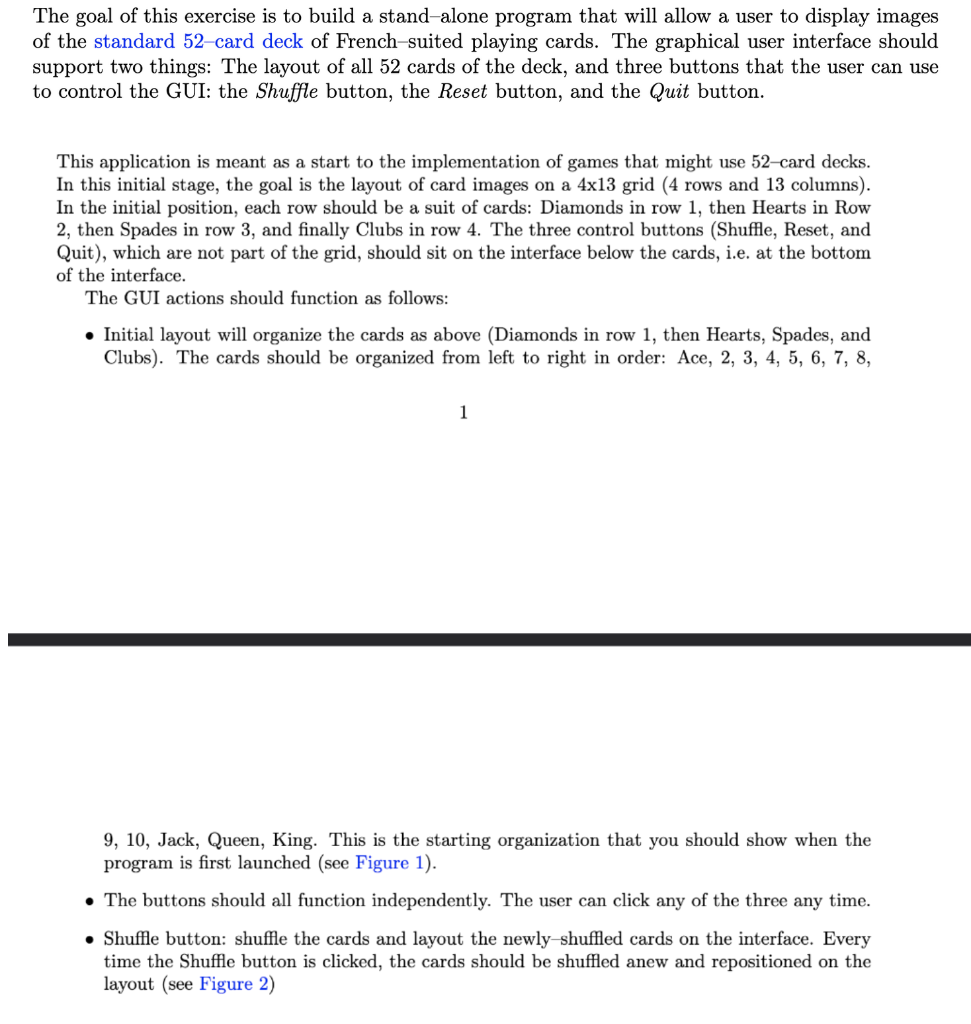
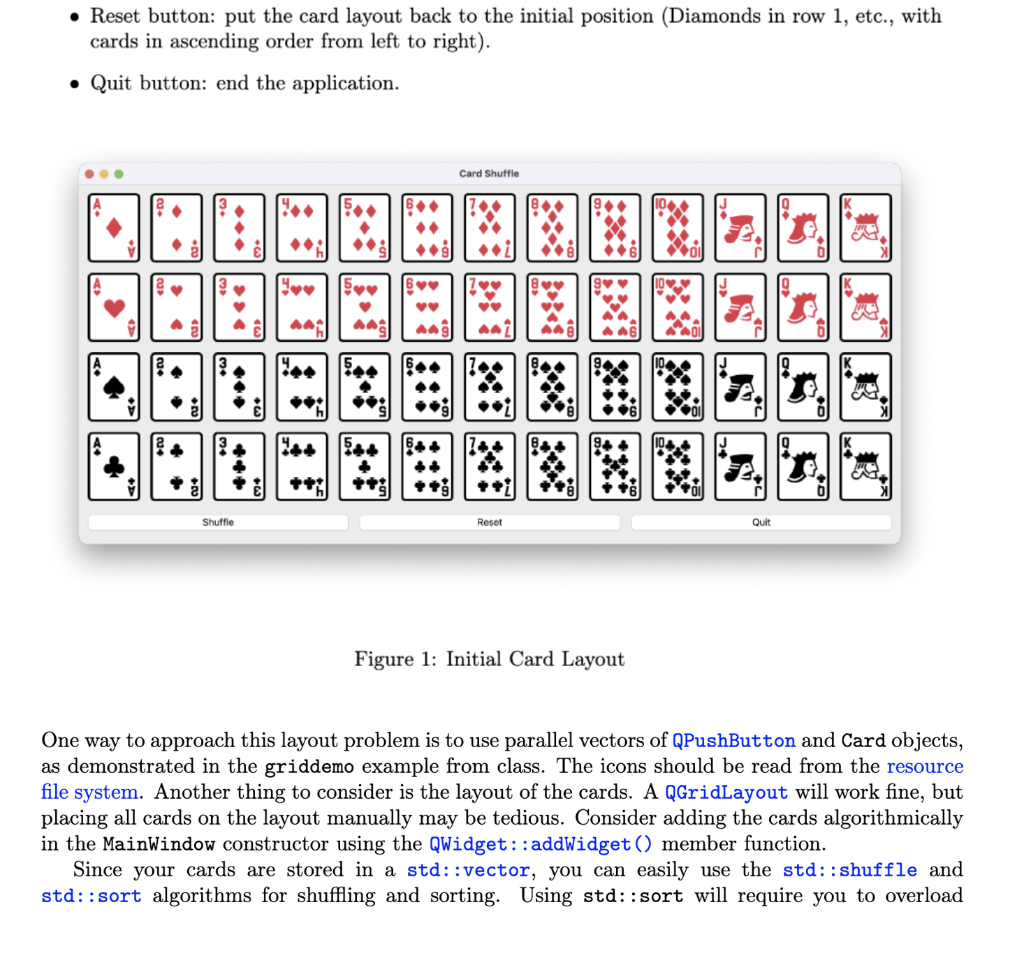
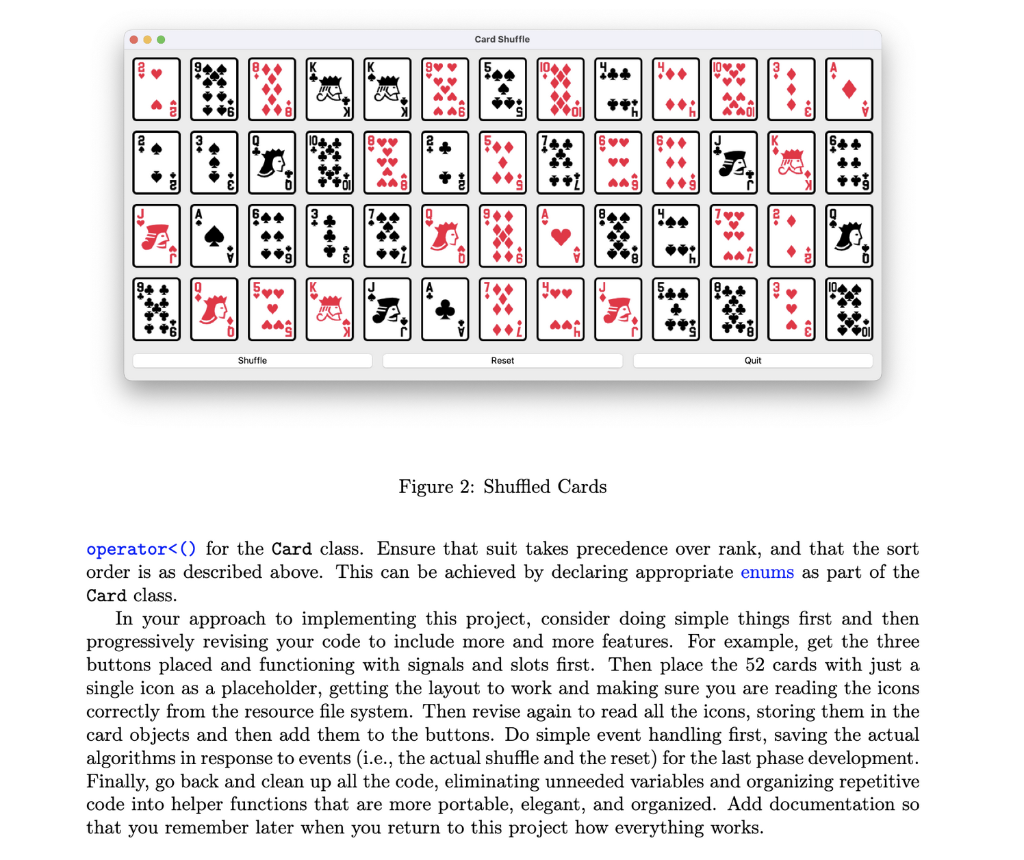
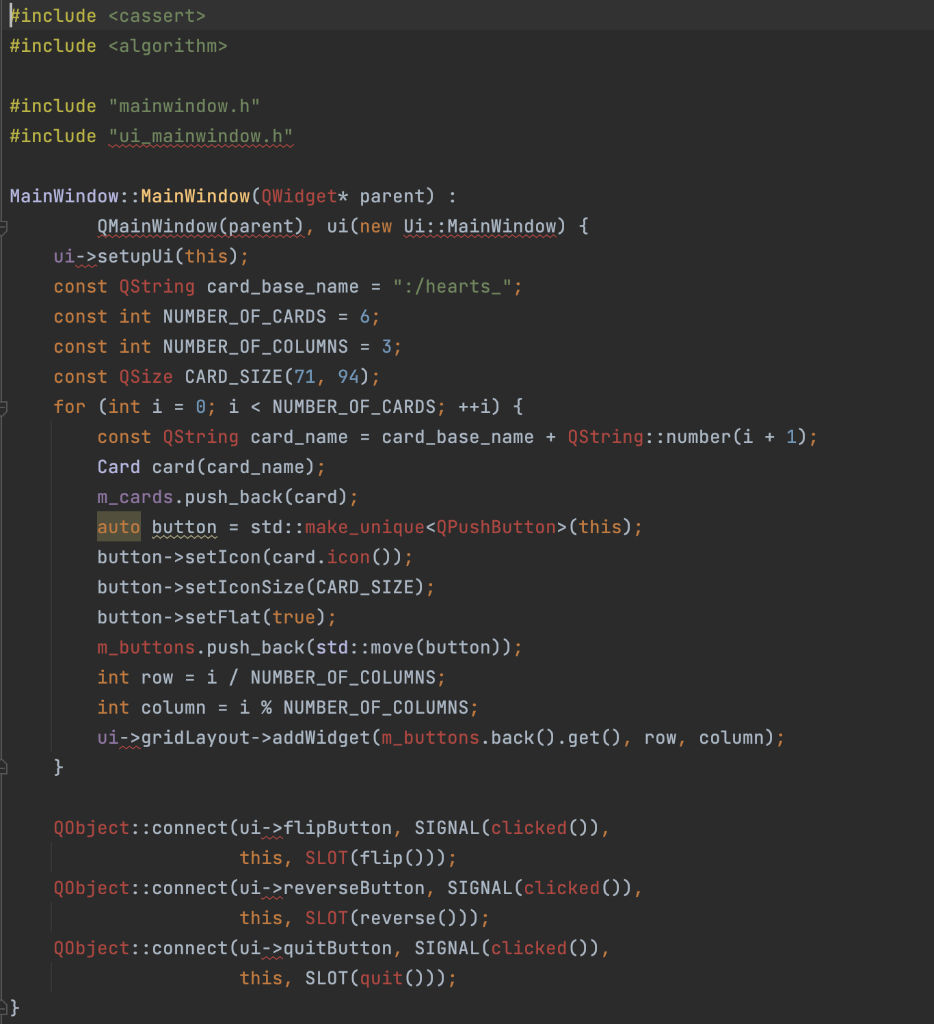
The goal of this exercise is to build a stand-alone program that will allow a user to display imag of the standard 52-card deck of French-suited playing cards. The graphical user interface shou support two things: The layout of all 52 cards of the deck, and three buttons that the user can u to control the GUI: the Shuffle button, the Reset button, and the Quit button. This application is meant as a start to the implementation of games that might use 52-card decks. In this initial stage, the goal is the layout of card images on a 413 grid (4 rows and 13 columns). In the initial position, each row should be a suit of cards: Diamonds in row 1, then Hearts in Row 2 , then Spades in row 3, and finally Clubs in row 4. The three control buttons (Shuffle, Reset, and Quit), which are not part of the grid, should sit on the interface below the cards, i.e. at the bottom of the interface. The GUI actions should function as follows: - Initial layout will organize the cards as above (Diamonds in row 1, then Hearts, Spades, and Clubs). The cards should be organized from left to right in order: Ace, 2, 3, 4, 5, 6, 7, 8, 1 9, 10, Jack, Queen, King. This is the starting organization that you should show when the program is first launched (see Figure 1). - The buttons should all function independently. The user can click any of the three any time. - Shuffle button: shuffle the cards and layout the newly-shuffled cards on the interface. Every time the Shuffle button is clicked, the cards should be shuffled anew and repositioned on the layout (see Figure 2) Figure 2: Shuffled Cards operator setupUi(this); const QString card_base_name = ":/hearts_"; const int NUMBER_OF_CARDS =6; const int NUMBER_OF_COLUMNS =3; const QSize CARD_SIZE (71,94); for (int i=0;i (this); button->setIcon ( card.icon()); button->setIconSize(CARD_SIZE); button > setFlat (true); m_buttons.push_back(std::move(button)); int row =i/ NUMBER_OF_COLUMNS; int column =i \% NUMBER_OF_COLUMNS; ui->gridLayout->addWidget(m_buttons.back().get() row, column) \} QObject:: connect(ui->flipButton, SIGNAL(clicked()), this, SLOT(flip())); QObject::connect(ui->reverseButton, SIGNAL(clicked()), this, SLOT(reverse())); QObject::connect(ui->quitButton, SIGNAL(clicked()), this, SLOT(quit())); \} MainWindow:: MainWindow() \{ delete ui; \} void MainWindow: quit() \{ QApplication: :quit(); \} void MainWindow::sync() \{ I/ synchronize the button icons with the cards auto cardIt =mcards.begin(); auto buttonIt =mbuttons.begin( ); while (cardIt ! = m_cards.end()) \{ (*buttonIt) ->setIcon(cardIt->icon()); ++ cardIt; ++ buttonIt; \} assert(buttonIt ==mbuttons. end () ); \} void MainWindow::flip() \{ for (auto\& card: m_cards) \{ card.flip(); \} sync(); \} void MainWindow: reverse() \{ std::reverse(m_cards.begin(), m_cards.end()); sync(); \} \#ifndef MAINWINDOW_H \#define MAINWINDOW_H \#include \#include > \#include > \#include \#include "card.h" QT_BEGIN_NAMESPACE namespace Ui \{ class MainWindow; } QT_END_NAMESPACE class MainWindow : public QMainWindow \{ Q_OBJECT public: explicit MainWindow(QWidget* parent = nullptr); MainWindow() override; private slots: static void quit(); void sync(); void flip(); private: Ui:: MainWindow* ui; std::vector> m_buttons; std: :vector> m_cards; \}; \#endif / / MAINWINDOW_H \#include |"card.h" \#include Card::Card(QString iconName): m_front(iconName) \{ assert(!m_front.isNull())
Step by Step Solution
There are 3 Steps involved in it
Step: 1

Get Instant Access to Expert-Tailored Solutions
See step-by-step solutions with expert insights and AI powered tools for academic success
Step: 2

Step: 3

Ace Your Homework with AI
Get the answers you need in no time with our AI-driven, step-by-step assistance
Get Started


