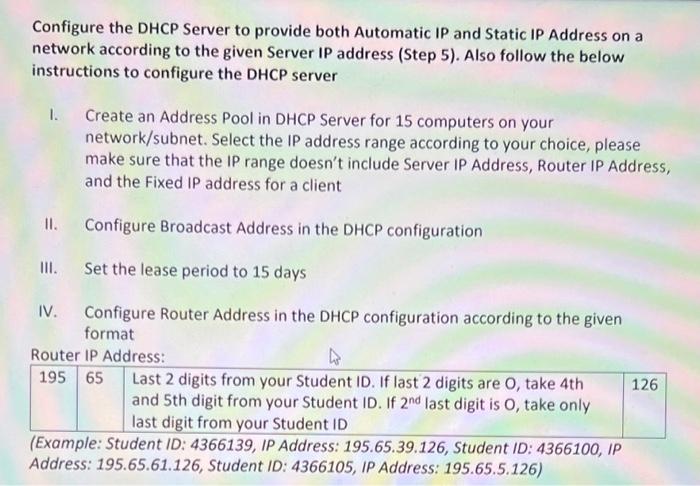
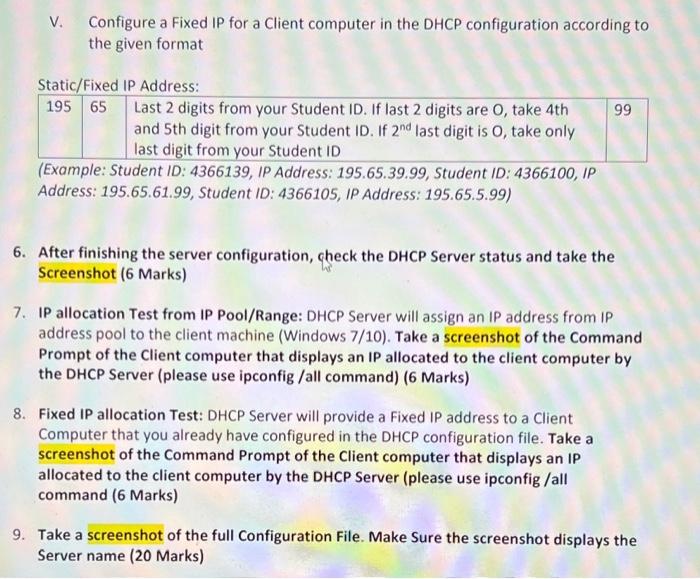
Configure the DHCP Server to provide both Automatic IP and Static IP Address on a network according to the given Server IP address (Step 5). Also follow the below instructions to configure the DHCP server I. Create an Address Pool in DHCP Server for 15 computers on your network/subnet. Select the IP address range according to your choice, please make sure that the IP range doesn't include Server IP Address, Router IP Address, and the Fixed IP address for a client II. Configure Broadcast Address in the DHCP configuration III. Set the lease period to 15 days IV. Configure Router Address in the DHCP configuration according to the given format Router IP Address: \begin{tabular}{|l|l|l|l|} \hline 195 & 65 & Last2digitsfromyourStudentID.Iflast2digitsareO,take4thand5thdigitfromyourStudentID.If2ndlastdigitisO,takeonlylastdigitfromyourStudentID & 126 \\ \hline \end{tabular} (Example: Student ID: 4366139, IP Address: 195.65.39.126, Student ID: 4366100, IP Address: 195.65.61.126, Student ID: 4366105, IP Address: 195.65.5.126 ) V. Configure a Fixed IP for a Client computer in the DHCP configuration according to the given format 6. After finishing the server configuration, check the DHCP Server status and take the Screenshot (6 Marks) 7. IP allocation Test from IP Pool/Range: DHCP Server will assign an IP address from IP address pool to the client machine (Windows 7/10 ). Take a screenshot of the Command Prompt of the Client computer that displays an IP allocated to the client computer by the DHCP Server (please use ipconfig /all command) (6 Marks) 8. Fixed IP allocation Test: DHCP Server will provide a Fixed IP address to a Client Computer that you already have configured in the DHCP configuration file. Take a screenshot of the Command Prompt of the Client computer that displays an IP allocated to the client computer by the DHCP Server (please use ipconfig /all command (6 Marks) 9. Take a screenshot of the full Configuration File. Make Sure the screenshot displays the Server name (20 Marks)