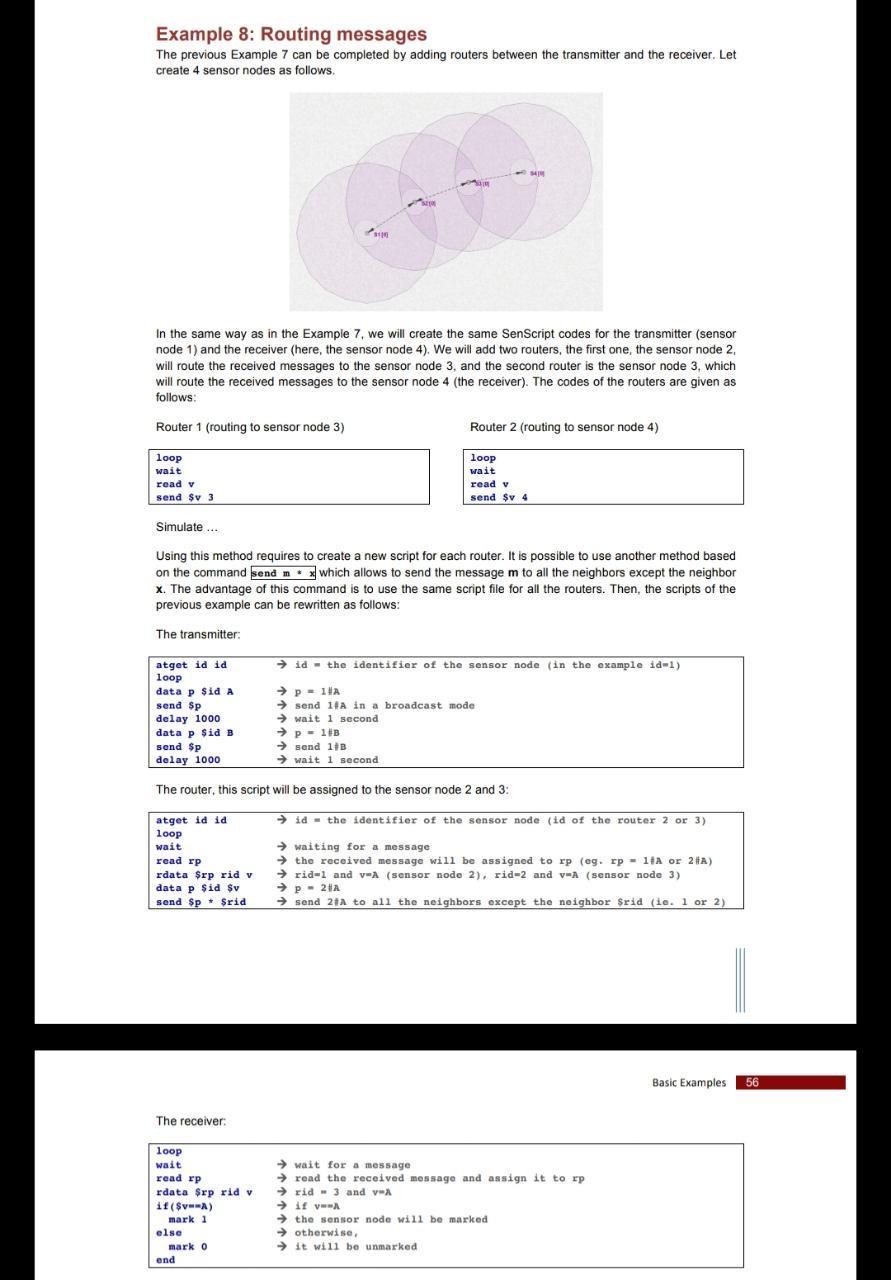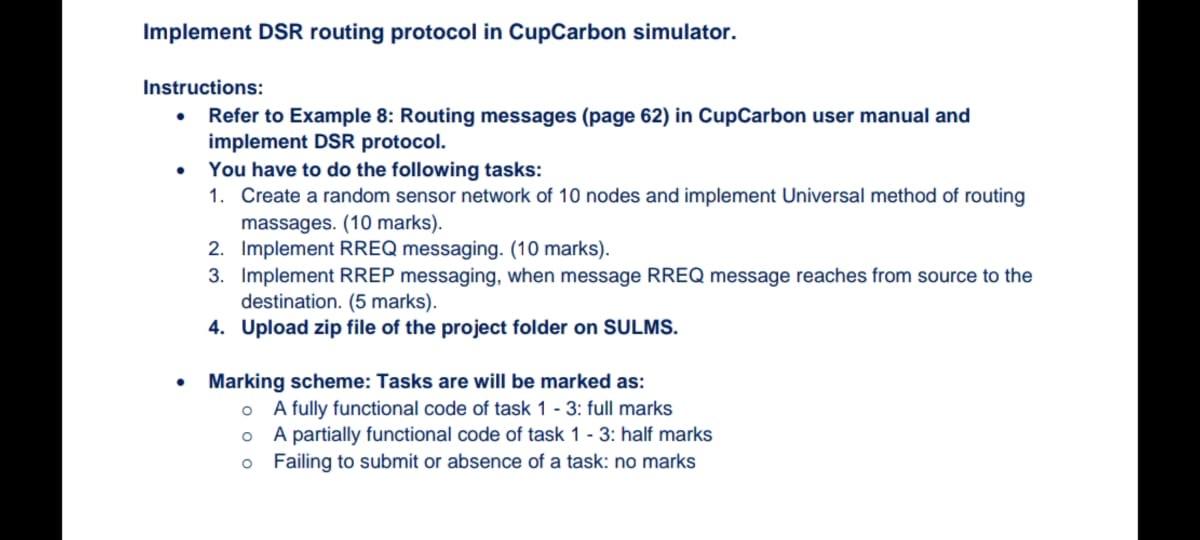

Example 8: Routing messages The previous Example 7 can be completed by adding routers between the transmitter and the receiver. Let create 4 sensor nodes as follows 41 In the same way as in the Example 7, we will create the same SenScript codes for the transmitter (sensor node 1) and the receiver (here, the sensor node 4). We will add two routers, the first one, the sensor node 2 will route the received messages to the sensor node 3, and the second router is the sensor node 3, which will route the received messages to the sensor node 4 (the receiver). The codes of the routers are given as follows: Router 1 (routing to sensor node 3) Router 2 (routing to sensor node 4) ) loop wait read v send $v 3 loop wait read v send $v 4 Simulate ... Using this method requires to create a new script for each router. It is possible to use another method based on the command send mx which allows to send the message m to all the neighbors except the neighbor x. The advantage of this command is to use the same script file for all the routers. Then, the scripts of the previous example can be rewritten as follows: The transmitter: id - the identifier of the sensor node (in the example id-1) atget id id loop data p Sid A send Sp delay 1000 data p Sid B send Sp delay 1000 PIA send 18A in a broadcast mode wait 1 second P-1B send 118 wait 1 second The router, this script will be assigned to the sensor node 2 and 3: id - the identifier of the sensor node (id of the router 2 or 3) atget id ia loop wait read rp rdata $rp rid v data p Sid Sv send Sp. Srid waiting for a message the received message will be assigned to rp (eg. rp - 11A or 2) rid-1 and v=A (sensor sode 2), rid-2 and v-A (sensor node 3) P2#A send 211 to all the neighbors except the neighbor Srid (ie. 1 or 2) Basic Examples 56 The receiver loop wait read rp rdata Srp ridv if ($) mark 1 else marko ond wait for a message read the received message and assign it torp rid - 3 and vw if www the sensor node will be marked otherwise, it will be unmarked Implement DSR routing protocol in CupCarbon simulator. Instructions: Refer to Example 8: Routing messages (page 62) in CupCarbon user manual and implement DSR protocol. You have to do the following tasks: 1. Create a random sensor network of 10 nodes and implement Universal method of routing massages. (10 marks). 2. Implement RREQ messaging. (10 marks). 3. Implement RREP messaging, when message RREQ message reaches from source to the destination. (5 marks). 4. Upload zip file of the project folder on SULMS. Marking scheme: Tasks are will be marked as: o A fully functional code of task 1 - 3: full marks o A partially functional code of task 1 - 3: half marks ailing to submit or absence of a task: no marks o


