Question: I'm setting up my raspberry pi but with the instructions giving, I'm not able to complete this. I really need help. 11:09 o moodle.selu.edu Prepare
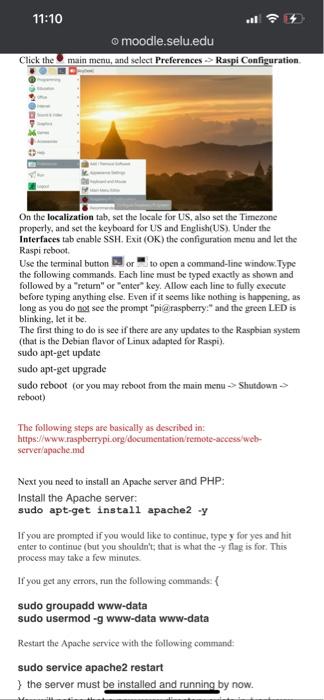
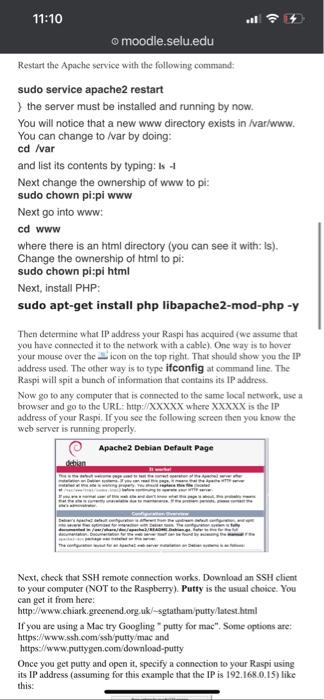
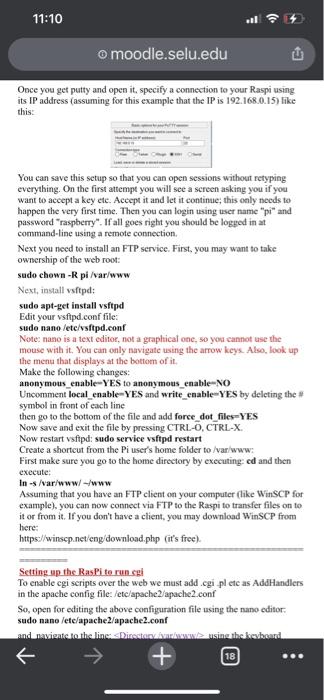
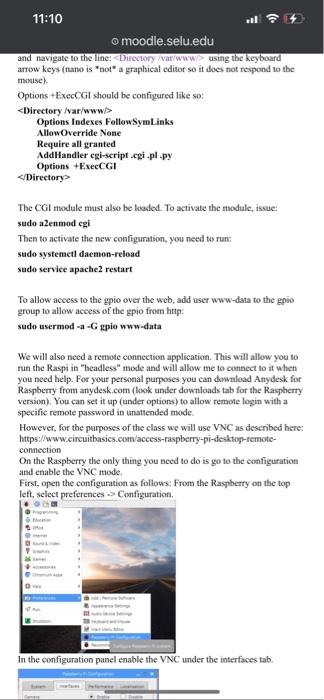
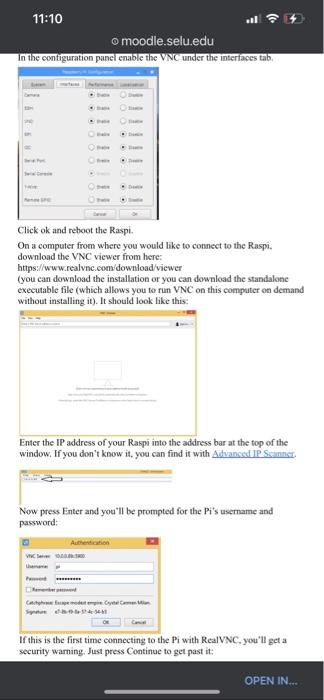
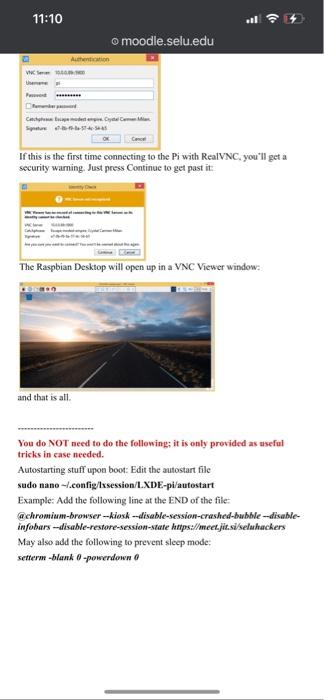
11:09 o moodle.selu.edu Prepare an SD card for the Raspi First download an image of an operating system suitable for the Raspi. Get "Raspbian with desktop" from here: lattos/www.raspberry or downloads Unpack (unzip) the compressed file to obtain the system image file. Then use an SD imager software to flash the extracted system image file on an SD card. You may use the following - Raspberry Pi Imager for Windows https://downloads.raspberrypi.org/imager/imager.exe Raspberry Pi maret for macOS https://downloads.raspberrypi.org/imager/imager.dmg Running this imager should detect an SD card that is connected to the computer right before the imager is started; however, double check to make sure it is not detecting your computer's regular drive(s) because flashing will erase the selected drive. Then all you have to do is select the system image and write flash it to the SD card. This will take a while to finish, it may take half an hour or more depending on the computer you are using Once finished, the SD card contains a bootable operating system for the Raspi; you can insert it in the Raspi BEFORE you connect it to power and then connect it to power and boot it up. Also make sure to have a monitor connected via the HDMI port and a USB keyboard and mouse via the USB ports BEFORE you power it up. If anything seems wrong, make sure the SD card is inserted properly in the Raspi. Upon powering it up you should see a red and green blinking lights. A steady red light and no booting means the card is not being read. In case the SD card gets corrupt, or if you wish to re-flash the card, you have to erase it first and format it. Do NOT try formatting it with your computer's native system. You will need an SD Memory Card Formatter for that purpose: get one from here: https://www.ssttorg download formater Use that one to erase a card, and use the imager to flash the SD card with a new operating system Note: Once you finish the entire setup described here and you have a well behaving fresh system, it is a good idea to make a copy of the SD card (after you power down the Raspi). Ir later something goes wrong and the SD card contents are corrupt, you can then re-flash the SD card with this copy so that you will not need to do the setup all over after flashing the initial operating system. For this you can use the same software that you used to flash the card except that this time you will have to specify a name for the iso file (the copy) and select "Read" from the card (instead of writing to it). It is also a good idea to do backups like this periodically so that you do not lose your work. Raspis are pretty resilient but I have seen students corrupting cards somehow (rarely but nevertheless it has happened). How to configure Raspi for the first time When you first boot the Raspi with the supplied card (the one I gave you) it will boot into the Graphical User Interface (GUI) which looks like some kind of windows By default, the locale (keyboard, time etc.) is set to Britain so sote keys may not work (like the # or other characters may be showing different characters than your keyboard indicates) so you need to set the configuration first Click the main menu, and select Preferences -- Raspi Configuration 11:10 o moodle.selu.edu Click the main menu, and select Preferences - Raspi Configuration On the localization tab, set the locale for US, also set the Timezone properly, and set the keyboard for US and English(US). Under the Interfaces tab enable SSH.Exit (OK) the configuration menu and let the Raspi reboot Use the terminal button to open a command-line window. Type the following commands. Each line must be typed exactly as shown and followed by a "retum" or "enter key. Allow cach line to fully execute before typing anything else. Even if it seems like nothing is happening, as long as you do not see the prompt "pi@raspberry" and the green LED is blinking, let it be The first thing to do is see if there are any updates to the Raspbian system (that is the Debian flavor of Linux adapted for Raspi). sudo apt-get update sudo apt-get upgrade sudo reboot (or you may reboot from the main menu -> Shutdown-> reboot) The following steps are basically as described in: https://www.raspberrypi.org/documentation remote-access/wcb- server/apache.md Next you need to install an Apache server and PHP: Install the Apache server: sudo apt-get install apache2 - If you are prompted if you would like to continue, type y for yes and hit enter to continue (but you shouldn't that is what the -y flag is for. This process may take a few minutes. If you get any errors, run the following commands: { sudo groupadd www-data sudo usermod - www.data www-data Restart the Apache service with the following command sudo service apache2 restart } the server must be installed and running by now. 11:10 o moodle.selu.edu Restart the Apache service with the following command: sudo service apache2 restart the server must be installed and running by now. You will notice that a new www directory exists in /var/www. You can change to Ivar by doing: cd /var and list its contents by typing is Next change the ownership of www to pi: sudo chown pipi www Next go into www: cd www where there is an html directory (you can see it with: is). Change the ownership of html to pi: sudo chown pi:pi html Next, install PHP: sudo apt-get install php libapache2-mod-php -y Then determine what IP address your Raspi has acquired (we assume that you have connected it to the network with a cable). One way is to hover your mouse over the icon on the top right. That should show you the IP address used. The other way is to type ifconfig at command line. The Raspi will spit a bunch of information that contains its IP address Now go to any computer that is connected to the same local network, use a browser and go to the URL: http://XXXXX where XXXXX is the IP address of your Raspi, If you see the following screen then you know the web server is running properly. Apache2 Debian Default Page Next, check that SSH remote connection works. Download an SSH client to your computer (NOT to the Raspberry). Putty is the usual choice. You can get it from here: http://www.chiark greenend.org.uk/~sgtatham/putty/latest.html If you are using a Mac try Googling putty for mae". Some options are: https://www.ssh.com/ssh/putty/mac and https://www.puttygen.com/download-putty Once you get putty and open it, specify a connection to your Raspi using its IP address (assuming for this example that the IP is 192.168.0.15) like 11:10 o moodle.selu.edu Once you get putty and open it specify a connection to your Raspi using its IP address (assuming for this example that the IP is 192.168.0.15) like this: You can save this setup so that you can open sessions without retyping everything. On the first attempt you will see a screen asking you if you want to accept a key etc. Accept it and let it continue this only needs to happen the very first time. Then you can login using user name "pi" and password "raspberry". If all goes right you should be logged in at command-line using a remote connection Next you need to install an FTP service. First, you may want to take ownership of the web root: sudo chown- pi/var/www Next, install vsftpd: sudo apt-get install vsftpd Edit your vsftpd.conf file: sudo nano /etc/vsftpd.conf Note: nano is a text editor, not a graphical one, so you cannot use the mouse with it. You can only navigate using the arrow keys. Also, look up the menu that displays at the bottom of it, Make the following changes: anonymous_enable YES to anonymous_enable-NO Uncomment local enable-YES and write_enable-YES by deleting the symbol in front of cach line then go to the bottom of the file and add force_dot_files-YES Now save and exit the file by pressing CTRL-O, CTRL-X. Now restart vsftpd: sudo service vsftpd restart Create a shortcut from the Pi user's home folder to /var/ www: First make sure you go to the home directory by executing ed and then execute In /var/www/-/www Assuming that you have an FTP client on your computer (like WinSCP for example), you can now connect via FTP to the Raspi to transfer files on to it or from it. If you don't have a client, you may download WinSCP from here: https://winsep.net/eng download.php (it's free). Setting up the RasPi to run cgi To enable cgi scripts over the web we must add.cgi plete as AddHandlers in the apache config file: /etc/apache2/apache2.conf So, open for editing the above configuration file using the nano editor sudo nano /etc/apache2/apache2.conf and nevient to the lines Diedering the bear + 18 O. 11:10 o moodle.selu.edu and navigate to the line: Directory /var/www/> using the keyboard arrow keys (nano is not a graphical editor so it does not respond to the mouse) Options ExecCGI should be configured like so:
Step by Step Solution
There are 3 Steps involved in it

Get step-by-step solutions from verified subject matter experts


