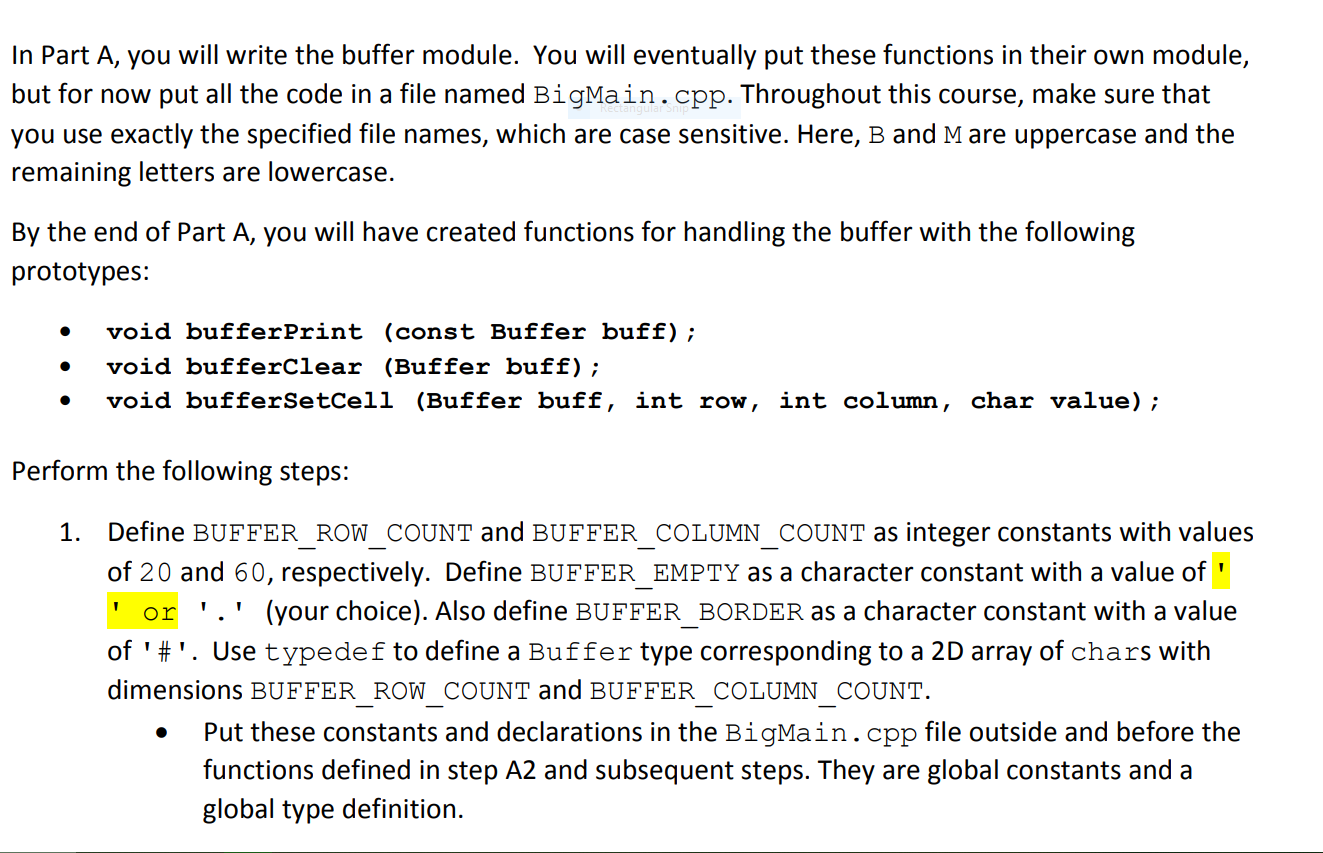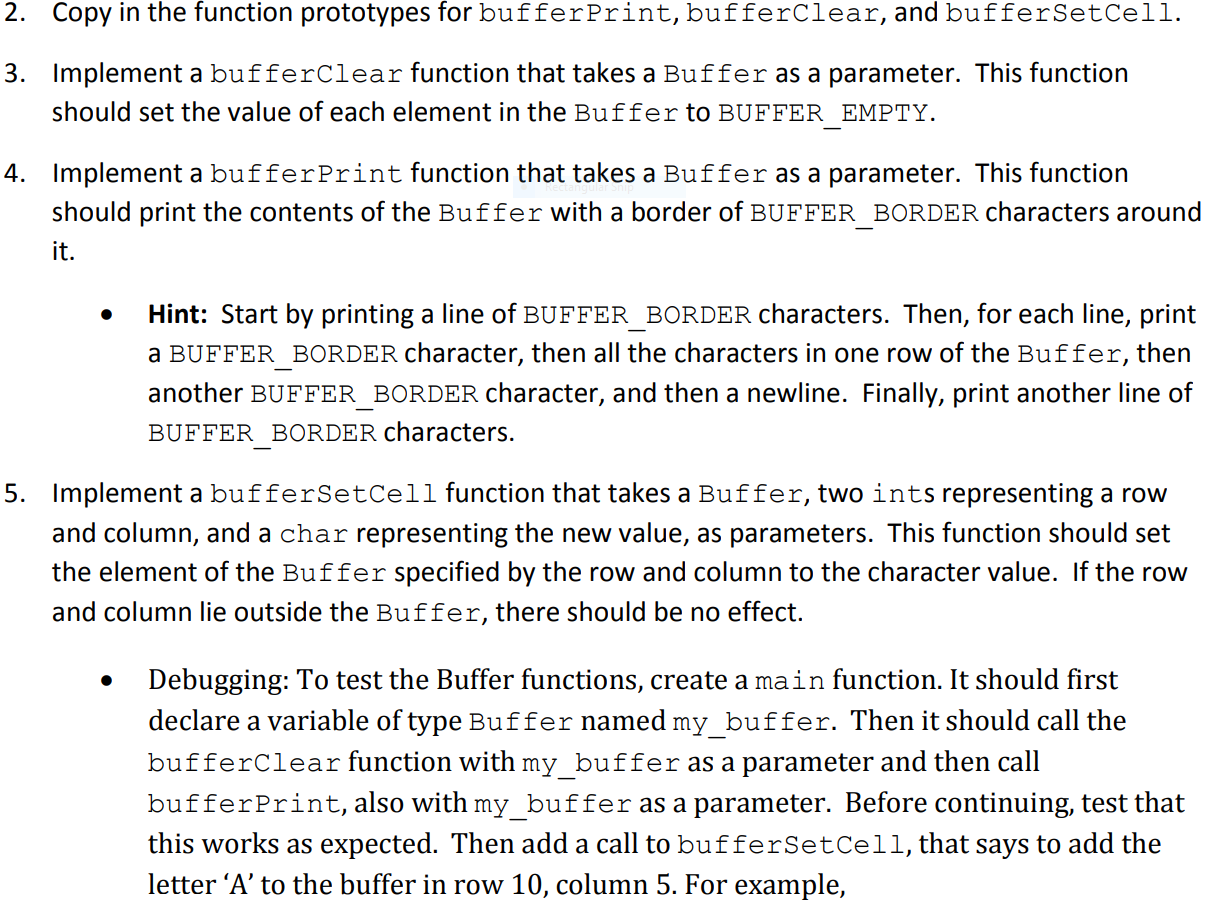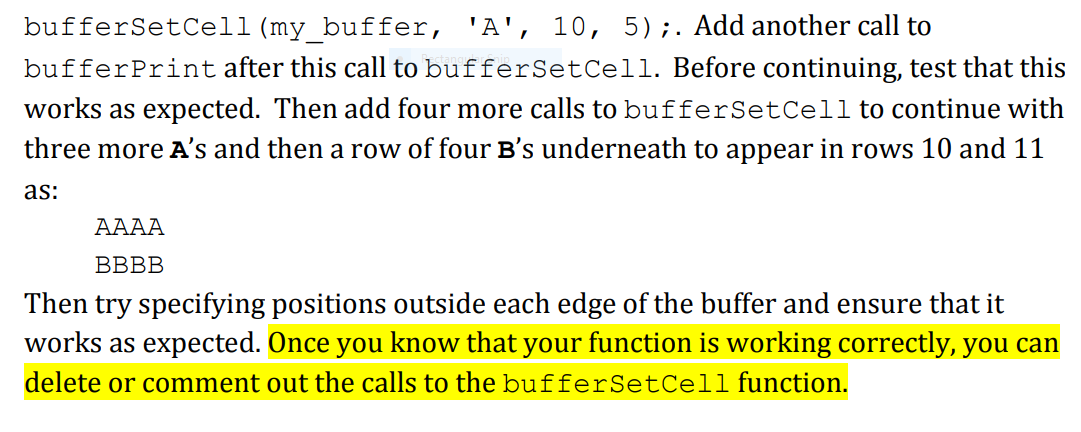


In Part A, you will write the buffer module. You will eventually put these functions in their own module, but for now put all the code in a file named BigMain.cpp. Throughout this course, make sure that you use exactly the specified file names, which are case sensitive. Here, B and Mare uppercase and the remaining letters are lowercase. By the end of Part A, you will have created functions for handling the buffer with the following prototypes: void bufferPrint (const Buffer buff); void bufferclear (Buffer buff); void bufferSetCell (Buffer buff, int row, int column, char value); Perform the following steps: 1. Define BUFFER_ROW_COUNT and BUFFER_COLUMN_COUNT as integer constants with values of 20 and 60, respectively. Define BUFFER EMPTY as a character constant with a value of ' ' or '.' (your choice). Also define BUFFER BORDER as a character constant with a value of '#'. Use typedef to define a Buffer type corresponding to a 2D array of chars with dimensions BUFFER_ROW_COUNT and BUFFER_COLUMN_COUNT. Put these constants and declarations in the BigMain.cpp file outside and before the functions defined in step A2 and subsequent steps. They are global constants and a global type definition. 2. Copy in the function prototypes for bufferPrint, bufferclear, and bufferSetCell. 3. Implement a bufferclear function that takes a Buffer as a parameter. This function should set the value of each element in the Buffer to BUFFER_EMPTY. 4. Implement a bufferPrint function that takes a Buffer as a parameter. This function should print the contents of the Buffer with a border of BUFFER BORDER characters around it. Hint: Start by printing a line of BUFFER_BORDER characters. Then, for each line, print a BUFFER BORDER Character, then all the characters in one row of the Buffer, then another BUFFER BORDER character, and then a newline. Finally, print another line of BUFFER BORDER characters. 5. Implement a buffersetcell function that takes a Buffer, two ints representing a row and column, and a char representing the new value, as parameters. This function should set the element of the Buffer specified by the row and column to the character value. If the row and column lie outside the Buffer, there should be no effect. Debugging: To test the Buffer functions, create a main function. It should first declare a variable of type Buffer named my_buffer. Then it should call the bufferclear function with my_buffer as a parameter and then call bufferPrint, also with my buffer as a parameter. Before continuing, test that this works as expected. Then add a call to buffersetCell, that says to add the letter A to the buffer in row 10, column 5. For example, bufferSetCell (my_buffer, 'A', 10, 5);. Add another call to bufferPrint after this call to buffersetcell. Before continuing, test that this works as expected. Then add four more calls to buffersetcell to continue with three more A's and then a row of four B's underneath to appear in rows 10 and 11 as: AAAA BBBB Then try specifying positions outside each edge of the buffer and ensure that it works as expected. Once you know that your function is working correctly, you can delete or comment out the calls to the buffersetcell function. In Part A, you will write the buffer module. You will eventually put these functions in their own module, but for now put all the code in a file named BigMain.cpp. Throughout this course, make sure that you use exactly the specified file names, which are case sensitive. Here, B and Mare uppercase and the remaining letters are lowercase. By the end of Part A, you will have created functions for handling the buffer with the following prototypes: void bufferPrint (const Buffer buff); void bufferclear (Buffer buff); void bufferSetCell (Buffer buff, int row, int column, char value); Perform the following steps: 1. Define BUFFER_ROW_COUNT and BUFFER_COLUMN_COUNT as integer constants with values of 20 and 60, respectively. Define BUFFER EMPTY as a character constant with a value of ' ' or '.' (your choice). Also define BUFFER BORDER as a character constant with a value of '#'. Use typedef to define a Buffer type corresponding to a 2D array of chars with dimensions BUFFER_ROW_COUNT and BUFFER_COLUMN_COUNT. Put these constants and declarations in the BigMain.cpp file outside and before the functions defined in step A2 and subsequent steps. They are global constants and a global type definition. 2. Copy in the function prototypes for bufferPrint, bufferclear, and bufferSetCell. 3. Implement a bufferclear function that takes a Buffer as a parameter. This function should set the value of each element in the Buffer to BUFFER_EMPTY. 4. Implement a bufferPrint function that takes a Buffer as a parameter. This function should print the contents of the Buffer with a border of BUFFER BORDER characters around it. Hint: Start by printing a line of BUFFER_BORDER characters. Then, for each line, print a BUFFER BORDER Character, then all the characters in one row of the Buffer, then another BUFFER BORDER character, and then a newline. Finally, print another line of BUFFER BORDER characters. 5. Implement a buffersetcell function that takes a Buffer, two ints representing a row and column, and a char representing the new value, as parameters. This function should set the element of the Buffer specified by the row and column to the character value. If the row and column lie outside the Buffer, there should be no effect. Debugging: To test the Buffer functions, create a main function. It should first declare a variable of type Buffer named my_buffer. Then it should call the bufferclear function with my_buffer as a parameter and then call bufferPrint, also with my buffer as a parameter. Before continuing, test that this works as expected. Then add a call to buffersetCell, that says to add the letter A to the buffer in row 10, column 5. For example, bufferSetCell (my_buffer, 'A', 10, 5);. Add another call to bufferPrint after this call to buffersetcell. Before continuing, test that this works as expected. Then add four more calls to buffersetcell to continue with three more A's and then a row of four B's underneath to appear in rows 10 and 11 as: AAAA BBBB Then try specifying positions outside each edge of the buffer and ensure that it works as expected. Once you know that your function is working correctly, you can delete or comment out the calls to the buffersetcell function


