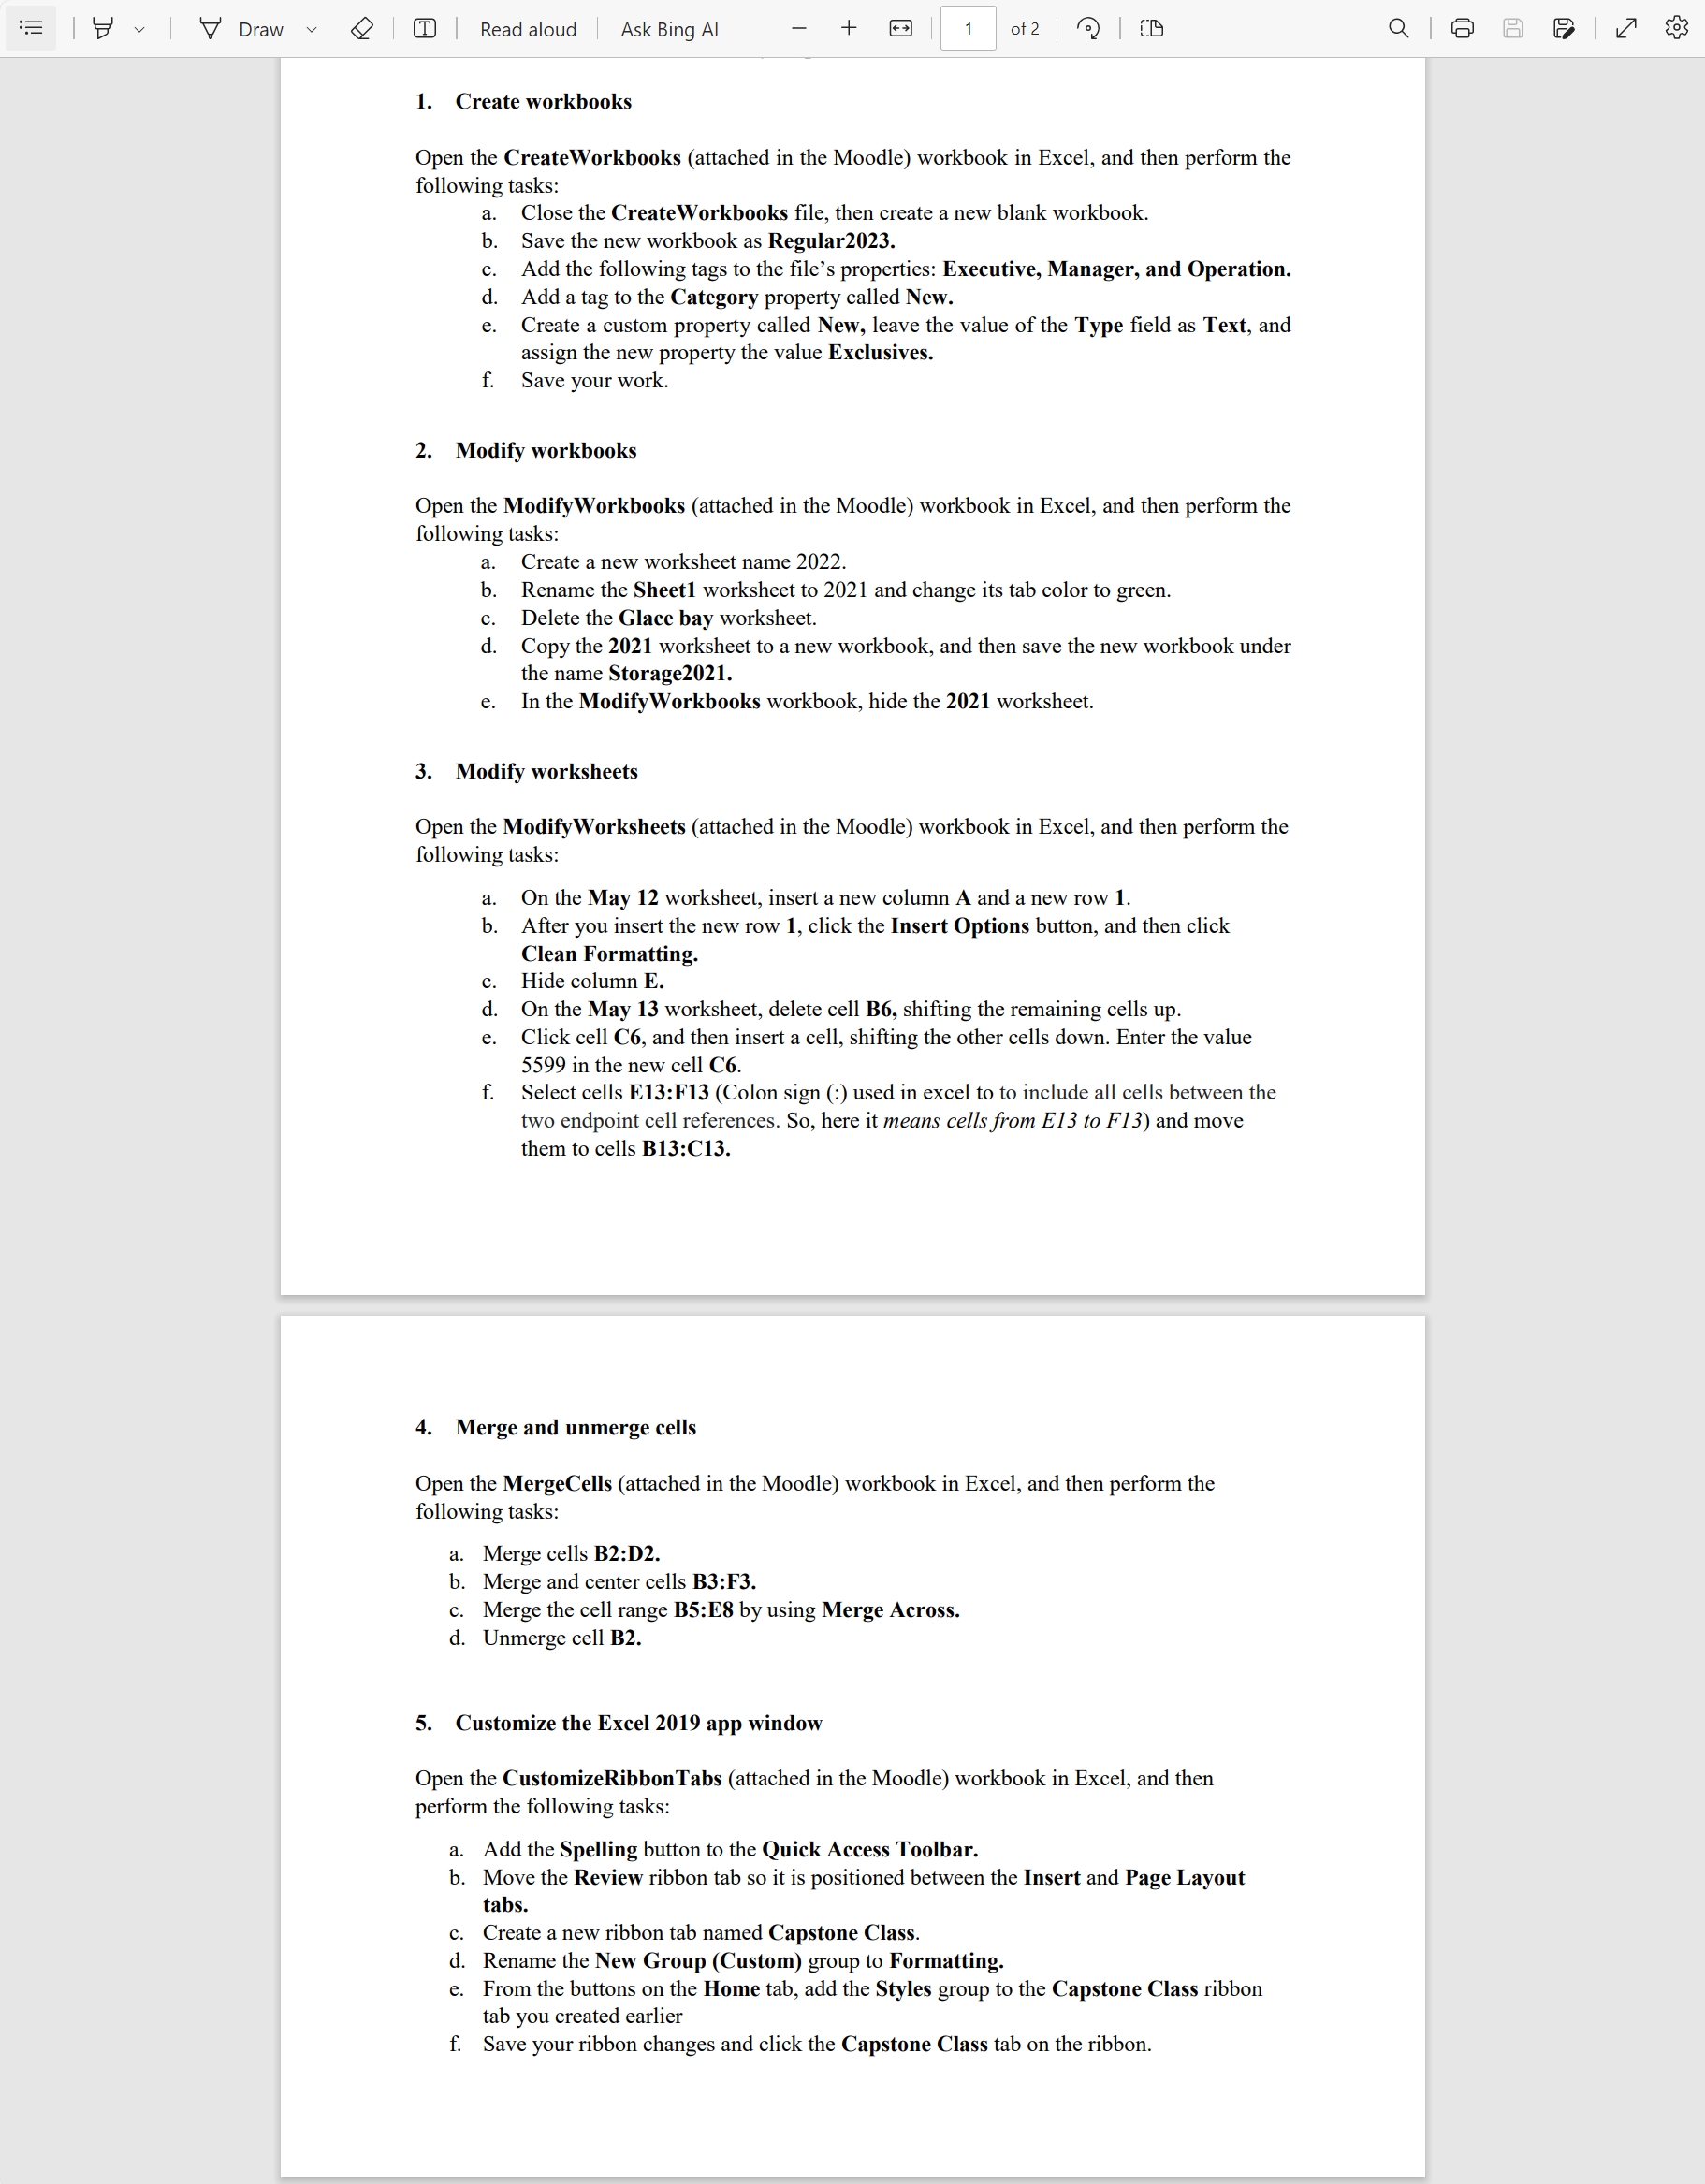
Question: Open the CreateWorkbooks (attached in the Moodle) workbook in Excel, and then perform the following tasks: a. Close the CreateWorkbooks file, then create a new

Open the CreateWorkbooks (attached in the Moodle) workbook in Excel, and then perform the following tasks: a. Close the CreateWorkbooks file, then create a new blank workbook. b. Save the new workbook as Regular2023. c. Add the following tags to the file's properties: Executive, Manager, and Operation. d. Add a tag to the Category property called New. e. Create a custom property called New, leave the value of the Type field as Text, and assign the new property the value Exclusives. f. Save your work. 2. Modify workbooks Open the ModifyWorkbooks (attached in the Moodle) workbook in Excel, and then perform the following tasks: a. Create a new worksheet name 2022 . b. Rename the Sheet1 worksheet to 2021 and change its tab color to green. c. Delete the Glace bay worksheet. d. Copy the 2021 worksheet to a new workbook, and then save the new workbook under the name Storage2021. e. In the ModifyWorkbooks workbook, hide the 2021 worksheet. 3. Modify worksheets Open the ModifyWorksheets (attached in the Moodle) workbook in Excel, and then perform the following tasks: a. On the May 12 worksheet, insert a new column A and a new row 1. b. After you insert the new row 1, click the Insert Options button, and then click Clean Formatting. c. Hide column E. d. On the May 13 worksheet, delete cell B6, shifting the remaining cells up. e. Click cell C6, and then insert a cell, shifting the other cells down. Enter the value 5599 in the new cell C6. f. Select cells E13:F13 (Colon sign (:) used in excel to to include all cells between the two endpoint cell references. So, here it means cells from E13 to F13) and move them to cells B13:C13. 4. Merge and unmerge cells Open the MergeCells (attached in the Moodle) workbook in Excel, and then perform the following tasks: a. Merge cells B2:D2. b. Merge and center cells B3:F3. c. Merge the cell range B5:E8 by using Merge Across. d. Unmerge cell B2. 5. Customize the Excel 2019 app window Open the CustomizeRibbonTabs (attached in the Moodle) workbook in Excel, and then perform the following tasks: a. Add the Spelling button to the Quick Access Toolbar. b. Move the Review ribbon tab so it is positioned between the Insert and Page Layout tabs. c. Create a new ribbon tab named Capstone Class. d. Rename the New Group (Custom) group to Formatting. e. From the buttons on the Home tab, add the Styles group to the Capstone Class ribbon tab you created earlier f. Save your ribbon changes and click the Capstone Class tab on the ribbon. Open the CreateWorkbooks (attached in the Moodle) workbook in Excel, and then perform the following tasks: a. Close the CreateWorkbooks file, then create a new blank workbook. b. Save the new workbook as Regular2023. c. Add the following tags to the file's properties: Executive, Manager, and Operation. d. Add a tag to the Category property called New. e. Create a custom property called New, leave the value of the Type field as Text, and assign the new property the value Exclusives. f. Save your work. 2. Modify workbooks Open the ModifyWorkbooks (attached in the Moodle) workbook in Excel, and then perform the following tasks: a. Create a new worksheet name 2022 . b. Rename the Sheet1 worksheet to 2021 and change its tab color to green. c. Delete the Glace bay worksheet. d. Copy the 2021 worksheet to a new workbook, and then save the new workbook under the name Storage2021. e. In the ModifyWorkbooks workbook, hide the 2021 worksheet. 3. Modify worksheets Open the ModifyWorksheets (attached in the Moodle) workbook in Excel, and then perform the following tasks: a. On the May 12 worksheet, insert a new column A and a new row 1. b. After you insert the new row 1, click the Insert Options button, and then click Clean Formatting. c. Hide column E. d. On the May 13 worksheet, delete cell B6, shifting the remaining cells up. e. Click cell C6, and then insert a cell, shifting the other cells down. Enter the value 5599 in the new cell C6. f. Select cells E13:F13 (Colon sign (:) used in excel to to include all cells between the two endpoint cell references. So, here it means cells from E13 to F13) and move them to cells B13:C13. 4. Merge and unmerge cells Open the MergeCells (attached in the Moodle) workbook in Excel, and then perform the following tasks: a. Merge cells B2:D2. b. Merge and center cells B3:F3. c. Merge the cell range B5:E8 by using Merge Across. d. Unmerge cell B2. 5. Customize the Excel 2019 app window Open the CustomizeRibbonTabs (attached in the Moodle) workbook in Excel, and then perform the following tasks: a. Add the Spelling button to the Quick Access Toolbar. b. Move the Review ribbon tab so it is positioned between the Insert and Page Layout tabs. c. Create a new ribbon tab named Capstone Class. d. Rename the New Group (Custom) group to Formatting. e. From the buttons on the Home tab, add the Styles group to the Capstone Class ribbon tab you created earlier f. Save your ribbon changes and click the Capstone Class tab on the ribbon
Step by Step Solution
There are 3 Steps involved in it

Get step-by-step solutions from verified subject matter experts


