Answered step by step
Verified Expert Solution
Question
1 Approved Answer
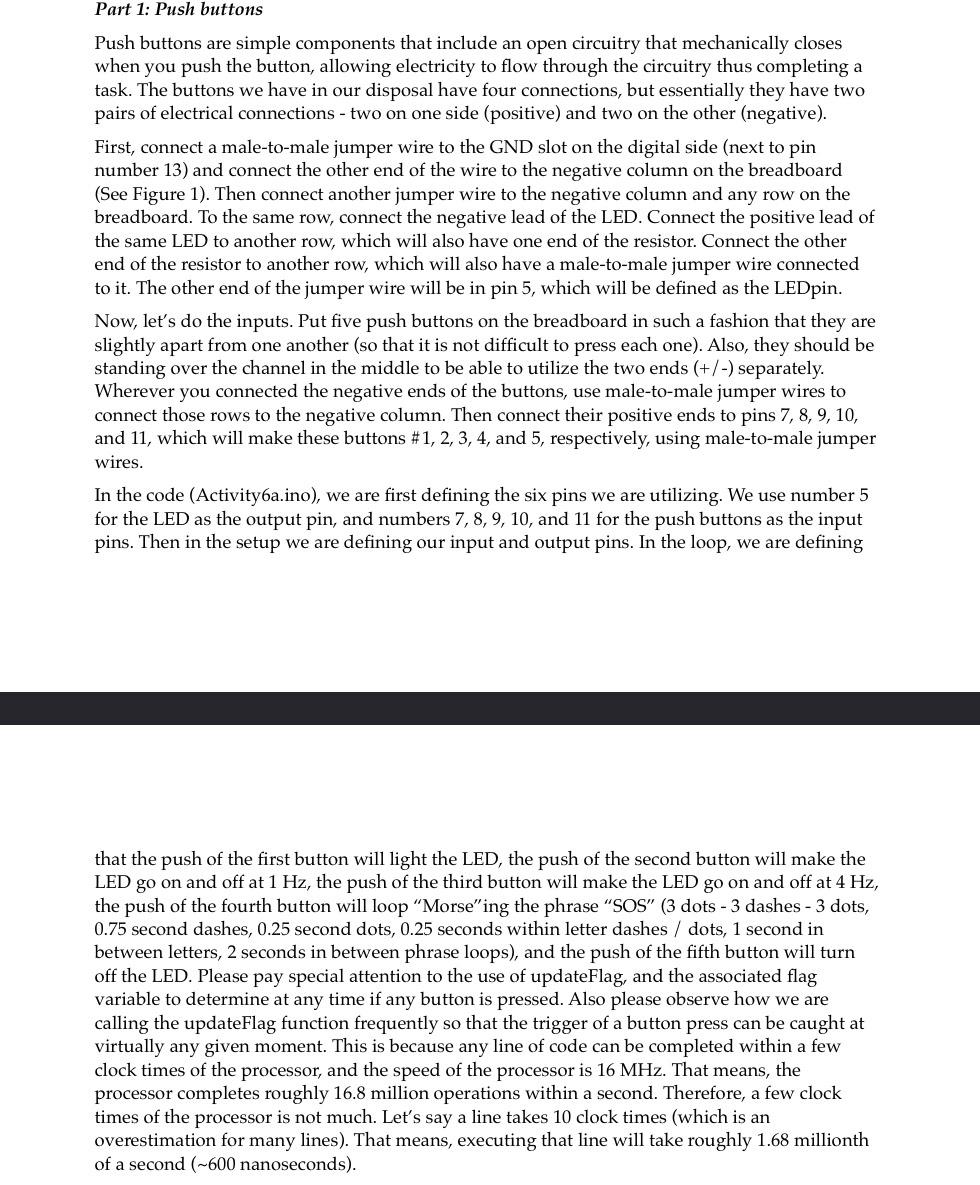
Part 1 : Push buttons Push buttons are simple components that include an open circuitry that mechanically closes when you push the button, allowing electricity
Part : Push buttons
Push buttons are simple components that include an open circuitry that mechanically closes when you push the button, allowing electricity to flow through the circuitry thus completing a task. The buttons we have in our disposal have four connections, but essentially they have two pairs of electrical connections two on one side positive and two on the other negative
First, connect a maletomale jumper wire to the GND slot on the digital side next to pin number and connect the other end of the wire to the negative column on the breadboard See Figure Then connect another jumper wire to the negative column and any row on the breadboard. To the same row, connect the negative lead of the LED. Connect the positive lead of the same LED to another row, which will also have one end of the resistor. Connect the other end of the resistor to another row, which will also have a maletomale jumper wire connected to it The other end of the jumper wire will be in pin which will be defined as the LEDpin.
Now, let's do the inputs. Put five push buttons on the breadboard in such a fashion that they are slightly apart from one another so that it is not difficult to press each one Also, they should be standing over the channel in the middle to be able to utilize the two ends separately. Wherever you connected the negative ends of the buttons, use maletomale jumper wires to connect those rows to the negative column. Then connect their positive ends to pins and which will make these buttons # and respectively, using maletomale jumper wires.
In the code Activityaino we are first defining the six pins we are utilizing. We use number for the LED as the output pin, and numbers and for the push buttons as the input pins. Then in the setup we are defining our input and output pins. In the loop, we are defining
that the push of the first button will light the LED, the push of the second button will make the LED go on and off at the push of the third button will make the LED go on and off at the push of the fourth button will loop "Morse" ing the phrase "SOS" dots dashes dots, second dashes, second dots, seconds within letter dashes dots, second in between letters, seconds in between phrase loops and the push of the fifth button will turn off the LED. Please pay special attention to the use of updateFlag, and the associated flag variable to determine at any time if any button is pressed. Also please observe how we are calling the updateFlag function frequently so that the trigger of a button press can be caught at virtually any given moment. This is because any line of code can be completed within a few clock times of the processor, and the speed of the processor is That means, the processor completes roughly million operations within a second. Therefore, a few clock times of the processor is not much. Let's say a line takes clock times which is an overestimation for many lines That means, executing that line will take roughly millionth of a second nanoseconds

Step by Step Solution
There are 3 Steps involved in it
Step: 1

Get Instant Access to Expert-Tailored Solutions
See step-by-step solutions with expert insights and AI powered tools for academic success
Step: 2

Step: 3

Ace Your Homework with AI
Get the answers you need in no time with our AI-driven, step-by-step assistance
Get Started


