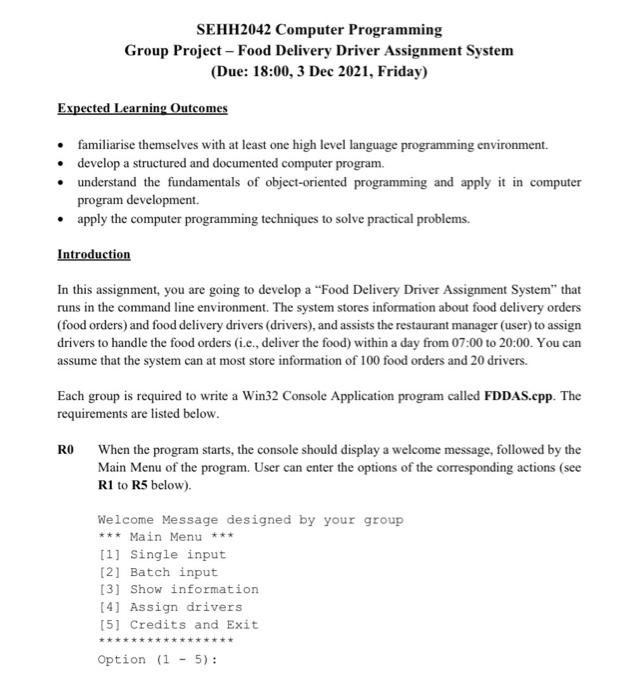
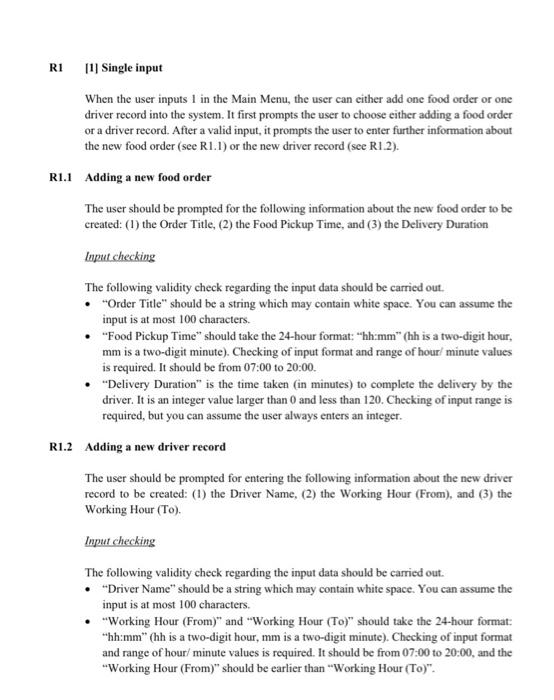
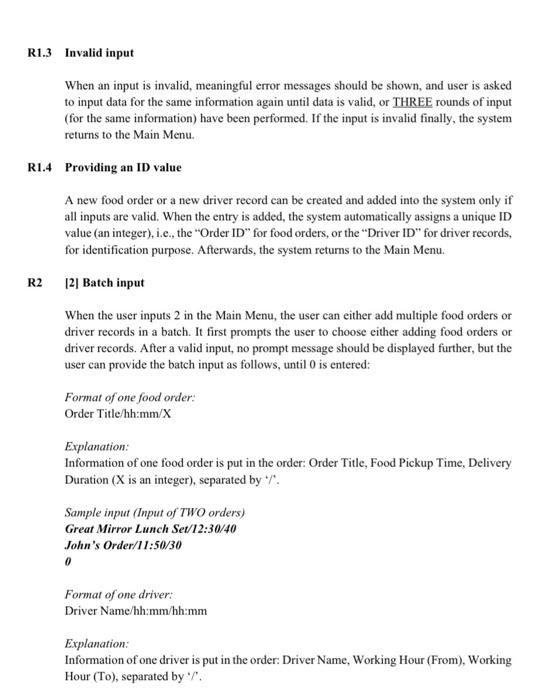
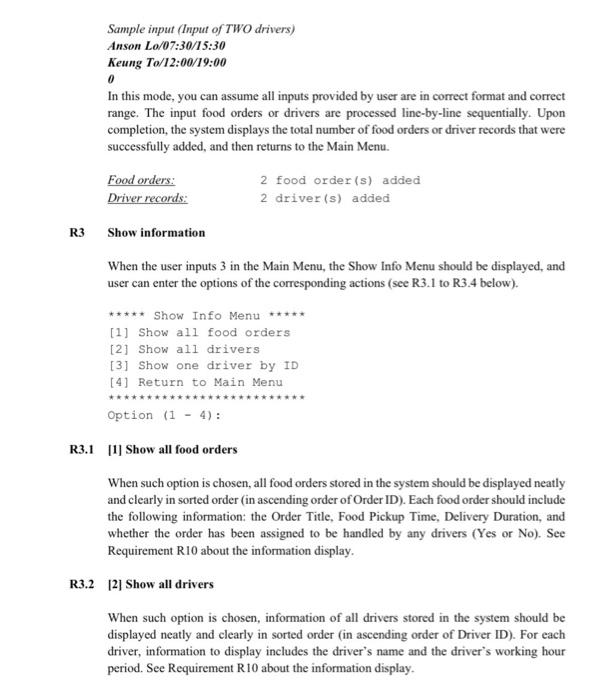
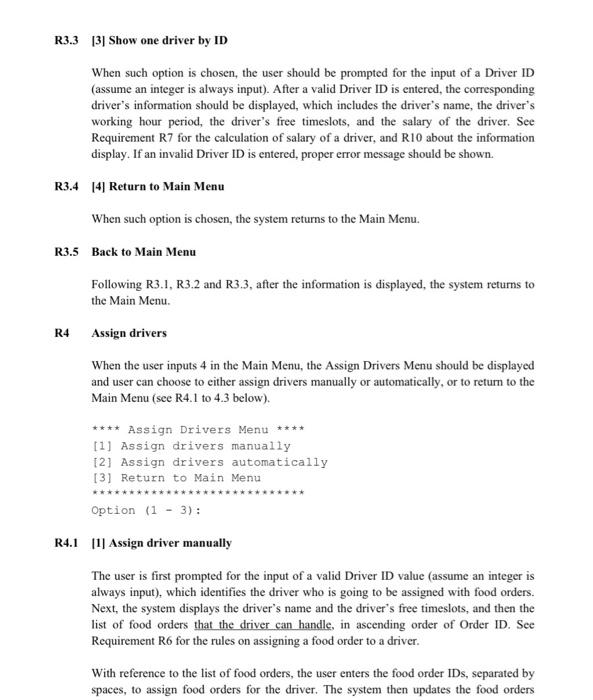
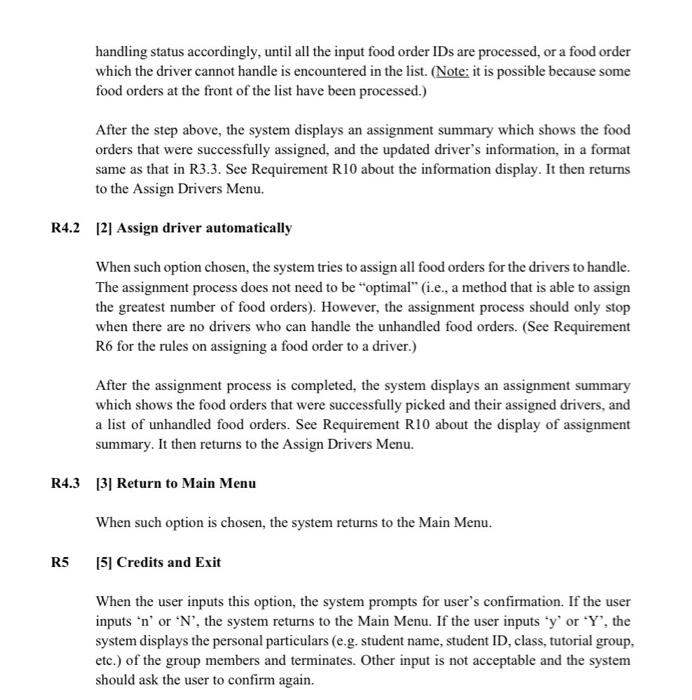
SEHH2042 Computer Programming Group Project - Food Delivery Driver Assignment System (Due: 18:00, 3 Dec 2021, Friday) Expected Learning Outcomes familiarise themselves with at least one high level language programming environment. develop a structured and documented computer program. understand the fundamentals of object-oriented programming and apply it in computer program development apply the computer programming techniques to solve practical problems. Introduction In this assignment, you are going to develop a "Food Delivery Driver Assignment System that runs in the command line environment. The system stores information about food delivery orders (food orders) and food delivery drivers (drivers), and assists the restaurant manager (user) to assign drivers to handle the food orders (i.c., deliver the food) within a day from 07:00 to 20:00. You can assume that the system can at most store information of 100 food orders and 20 drivers. Each group is required to write a Win32 Console Application program called FDDAS.epp. The requirements are listed below. RO When the program starts, the console should display a welcome message, followed by the Main Menu of the program. User can enter the options of the corresponding actions (see R1 to R5 below). Welcome Message designed by your group *** Main Menu *** [1] Single input [2] Batch input [3] Show information [4] Assign drivers [5] Credits and Exit **** Option (1 - 5): RI 11 Single input When the user inputs I in the Main Menu, the user can either add one food order or one driver record into the system. It first prompts the user to choose either adding a food order or a driver record. After a valid input, it prompts the user to enter further information about the new food order (see R1.1) or the new driver record (see R1.2). R1.1 Adding a new food order The user should be prompted for the following information about the new food order to be created: (1) the Order Title, (2) the Food Pickup Time, and (3) the Delivery Duration Input checking The following validity check regarding the input data should be carried out. Order Title" should be a string which may contain white space. You can assume the input is at most 100 characters. "Food Pickup Time" should take the 24-hour format: hh:mm" (hh is a two-digit hour, mm is a two-digit minute). Checking of input format and range of hour minute values is required. It should be from 07:00 to 20:00 "Delivery Duration" is the time taken (in minutes) to complete the delivery by the driver. It is an integer value larger than 0 and less than 120. Checking of input range is required, but you can assume the user always enters an integer. R1.2 Adding a new driver record The user should be prompted for entering the following information about the new driver record to be created: (1) the Driver Name, (2) the Working Hour (From), and (3) the Working Hour (To). Input checking The following validity check regarding the input data should be carried out. "Driver Name" should be a string which may contain white space. You can assume the input is at most 100 characters. "Working Hour (From)" and "Working Hour (To)" should take the 24-hour format: hh:mm" (hh is a two-digit hour, mm is a two-digit minute). Checking of input format and range of hour/ minute values is required. It should be from 07:00 to 20:00, and the **Working Hour (From)" should be earlier than "Working Hour (To)". R1.3 Invalid input When an input is invalid, meaningful error messages should be shown, and user is asked to input data for the same information again until data is valid, or THREE rounds of input (for the same information) have been performed. If the input is invalid finally, the system returns to the Main Menu. R1.4 Providing an ID value A new food order or a new driver record can be created and added into the system only if all inputs are valid. When the entry is added, the system automatically assigns a unique ID value (an integer), i.e., the "Order ID" for food orders, or the Driver ID" for driver records, for identification purpose. Afterwards, the system returns to the Main Menu. R2 [2] Batch input When the user inputs 2 in the Main Menu, the user can either add multiple food orders or driver records in a batch. It first prompts the user to choose either adding food orders or driver records. After a valid input, no prompt message should be displayed further, but the user can provide the batch input as follows, until 0 is entered: Format of one food order: Order Title/hh:mm/X Explanation: Information of one food order is put in the order: Order Title, Food Pickup Time, Delivery Duration (X is an integer), separated by 7. Sample input (Input of TWO orders) Great Mirror Lunch Set/12:30/40 John's Order/11:50/30 0 Format of one driver: Driver Name/hh:mm/hh:mm Explanation: Information of one driver is put in the order: Driver Name, Working Hour (From), Working Hour (To), separated by '/. Sample input (Input of TWO drivers) Anson Lo/07:30/15:30 Keung To/12:00/19:00 0 In this mode, you can assume all inputs provided by user are in correct format and correct range. The input food orders or drivers are processed line-by-line sequentially. Upon completion, the system displays the total number of food orders or driver records that were successfully added, and then returns to the Main Menu. Food orders: 2 food order(s) added Driver records: 2 driver(s) added R3 Show information When the user inputs 3 in the Main Menu, the Show Info Menu should be displayed, and user can enter the options of the corresponding actions (see R3.1 to R3.4 below). ***** Show Info Menu [1] Show all food orders [2] Show all drivers [3] Show one driver by ID [4] Return to Main Menu Option (1 - 4): R3.1 [1] Show all food orders When such option is chosen, all food orders stored in the system should be displayed neatly and clearly in sorted order (in ascending order of Order ID). Each food order should include the following information: the Order Title, Food Pickup Time, Delivery Duration, and whether the order has been assigned to be handled by any drivers (Yes or No). See Requirement R10 about the information display. R3.2 12] Show all drivers When such option is chosen, information of all drivers stored in the system should be displayed neatly and clearly in sorted order (in ascending order of Driver ID). For each driver, information to display includes the driver's name and the driver's working hour period. See Requirement R10 about the information display. R3.3 13] Show one driver by ID When such option is chosen, the user should be prompted for the input of a Driver ID (assume an integer is always input). After a valid Driver ID is entered the corresponding driver's information should be displayed, which includes the driver's name, the driver's working hour period, the driver's free timeslots, and the salary of the driver. See Requirement R7 for the calculation of salary of a driver, and R10 about the information display. If an invalid Driver ID is entered, proper error message should be shown. R3.4 141 Return to Main Menu When such option is chosen, the system returns to the Main Menu. R3.5 Back to Main Menu Following R3.1, R3.2 and R3.3, after the information is displayed, the system returns to the Main Menu. R4 Assign drivers When the user inputs 4 in the Main Menu, the Assign Drivers Menu should be displayed and user can choose to either assign drivers manually or automatically, or to return to the Main Menu (see R4.1 to 4.3 below). **** Assign Drivers Menu **** [1] Assign drivers manually [2] Assign drivers automatically [3] Return to Main Menu Option (1 - 3): R4.1 11) Assign driver manually The user is first prompted for the input of a valid Driver ID value (assume an integer is always input), which identifies the driver who is going to be assigned with food orders. Next, the system displays the driver's name and the driver's free timeslots, and then the list of food orders that the driver can handle, in ascending order of Order ID. See Requirement R6 for the rules on assigning a food order to a driver. With reference to the list of food orders, the user enters the food order IDs, separated by spaces, to assign food orders for the driver. The system then updates the food orders handling status accordingly, until all the input food order IDs are processed, or a food order which the driver cannot handle is encountered in the list. (Note: it is possible because some food orders at the front of the list have been processed.) After the step above, the system displays an assignment summary which shows the food orders that were successfully assigned, and the updated driver's information, in a format same as that in R3.3. See Requirement R10 about the information display. It then returns to the Assign Drivers Menu. R4.2 [2] Assign driver automatically When such option chosen, the system tries to assign all food orders for the drivers to handle. The assignment process does not need to be "optimal" (i.e., a method that is able to assign the greatest number of food orders). However, the assignment process should only stop when there are no drivers who can handle the unhandled food orders. (See Requirement R6 for the rules on assigning a food order to a driver.) After the assignment process is completed, the system displays an assignment summary which shows the food orders that were successfully picked and their assigned drivers, and a list of unhandled food orders. See Requirement R10 about the display of assignment summary. It then returns to the Assign Drivers Menu. R4.3 [3] Return to Main Menu When such option is chosen, the system returns to the Main Menu. R5 [5] Credits and Exit When the user inputs this option, the system prompts for user's confirmation. If the user inputs 'n' or N, the system returns to the Main Menu. If the user inputs 'y' or 'Y', the system displays the personal particulars (e.g. student name, student ID, class, tutorial group, etc.) of the group members and terminates. Other input is not acceptable and the system should ask the user to confirm again
