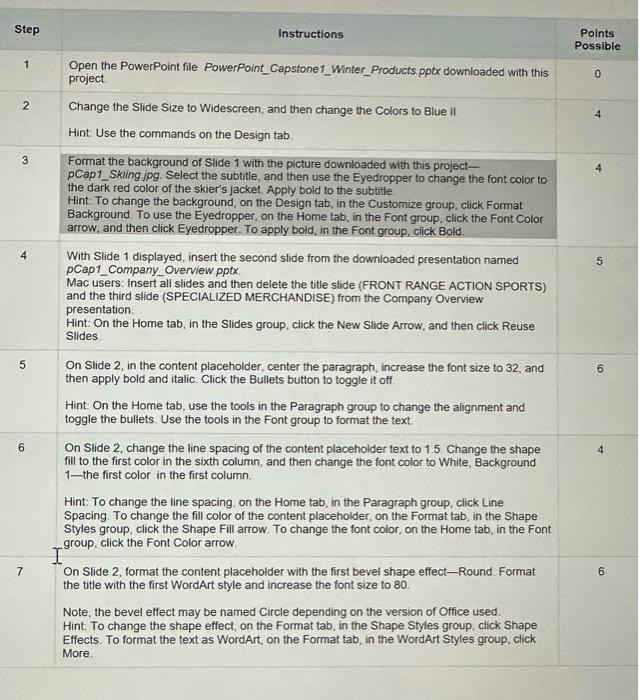
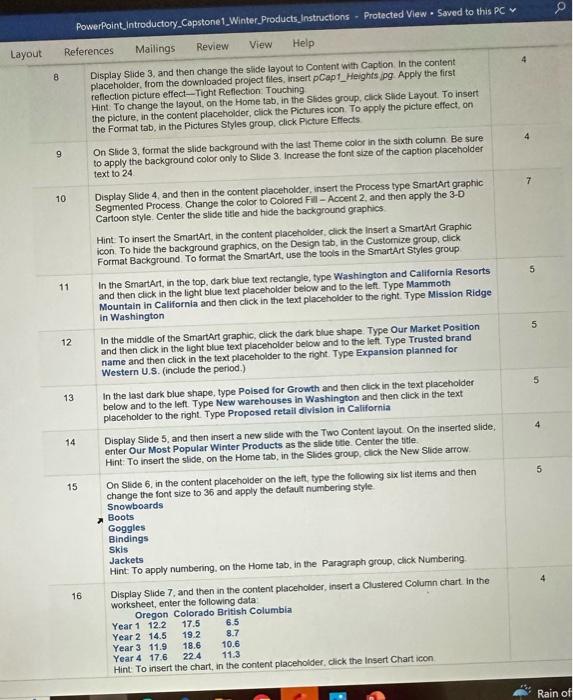
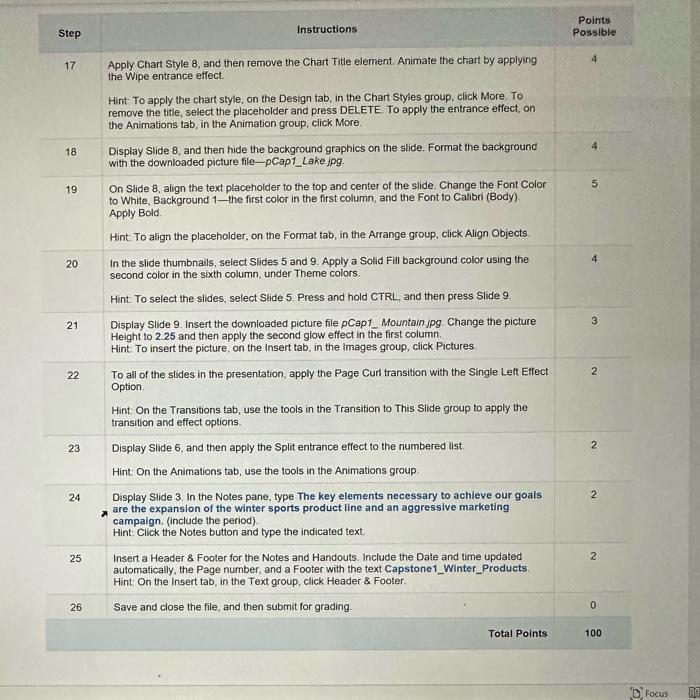
Step Instructions Points Possible 1 Open the PowerPoint file PowerPoint_Capstone1_Winter_Products.pptx downloaded with this project. 2 Change the Slide Size to Widescreen, and then change the Colors to Blue II 4 Hint: Use the commands on the Design tab. 3 Format the background of Slide 1 with the picture downloaded with this projectpCap1_Skling.jpg. Select the subtitle, and then use the Eyedropper to change the font color to the dark red color of the skier's jacket. Apply bold to the subtitle Hint: To change the background, on the Design tab, in the Custornize group, click Format Background. To use the Eyedropper, on the Home tab, in the Font group, click the Font Color arrow, and then click Eyedropper. To apply bold, in the Font group, click Bold. 4 With Slide 1 displayed, insert the second slide from the downloaded presentation named pCap1_Company_Overview.pptx. Mac users: Insert all slides and then delete the title slide (FRONT RANGE ACTION SPORTS) and the third slide (SPECIALIZED MERCHANDISE) from the Company Overview presentation. Hint: On the Home tab, in the Slides group, click the New Slide Arrow, and then click Reuse Slides. 5 On Slide 2, in the content placeholder, center the paragraph, increase the font size to 32, and 4 then apply bold and italic. Click the Bullets button to toggle it off. Hint: On the Home tab, use the tools in the Paragraph group to change the alignment and toggle the bullets. Use the tools in the Font group to format the text. 6 On Slide 2, change the line spacing of the content placeholder text to 1.5. Change the shape 5 fill to the first color in the sixth column, and then change the font color to White, Background 1- the first color in the first column. Hint: To change the line spacing, on the Home tab, in the Paragraph group, click Line Spacing. To change the fill color of the content placeholder, on the Format tab, in the Shape Styles group, click the Shape Fill arrow. To change the font color, on the Home tab, in the Font group, click the Font Color arrow. On Slide 2, format the content placeholder with the first bevel shape effect-Round. Format 4 6 the title with the first WordArt style and increase the font size to 80. Note, the bevel effect may be named Circle depending on the version of Office used. Hint: To change the shape effect, on the Format tab, in the Shape Styles group, click Shape Effects. To format the text as WordArt, on the Format tab, in the WordArt Styles group, click More. PowerPoint_introductory_Capstone1_Winter_Products_Instructions - Protected View - Saved to this PC : Layout References Mailings Review View Help 8. Display Stide 3, and then change the slide layout to Content with Caption. In the content: placeholder, from the downloaded project files, insert pCapt_Heights jpg Apply the first reflection picture effect-Tight Reflection Touching Hint. To change the layout, on the Home tab, in the Slides group, click Slide Layout. To insert the picture, in the content placeholder, click the Pictures icon. To apply the picture effect, on the Format tab, in the Pictures Styles group, click Picture Effects. 9. On Slide 3, format the slide background with the last Theme color in the sixth column. Be sure to apply the background color only to Slide 3 . Increase the font size of the caption placehoider text to 24 10 Display Slide 4 , and then in the content placeholder, insert the Process type Smartart graphic Segmented Process. Change the color to Colored Fill - Accent 2, and then apply the 3-D Cartoon style. Center the slide title and hide the background graphics. Hint. To insert the SmartArt, in the content placeholder, click the Insert a SmartArt Graphic icon. To hide the background graphics, on the Design tab, in the Custornize group, click Format Background. To format the SmartArt, use the tools in the SmartArt Styles group. 11 In the SmartArt, in the top, dark blue text rectangle, type Washington and California Resorts and then click in the light blue text placeholder beiow and to the left. Type Mammoth Mountain in California and then click in the text placehoider to the right. Type Mission Ridge In Washington 12 In the middle of the SmartArt graphic, click the dark blue shape. Type Our Market Position and then click in the light blue text placeholder below and to the left. Type Trusted brand name and then click in the text placeholder to the right. Type Expansion planned for Western U.S. (include the period.) 13 In the last dark blue shape, type Poised for Growth and then click in the taxt placehoider below and to the left. Type New warehouses in Washington and then click in the text placeholder to the right. Type Proposed retail division in California 14 Display Slide 5, and then insert a new slide with the Two Content layout. On the inserted slide; enter Our Most Popular Winter Products as the slide titie. Center the vitle. Hint: To insert the slide, on the Home tab, in the Sldes group, click the New Slide arrow. 15 On Slide 6, in the content placeholder on the left, type the following six list items and then change the font size to 36 and apply the default numbering style. Snowboards Boots Goggles Bindings Skis Jackets Hint. To apply numbering, on the Home tab, in the Paragraph group, chck Numbering 16 Display Slide 7, and then in the content placeholder, insert a Clustered Column chart in the worksheet, enter the following data Oregon Colorado British Columbia Year1Year2Year3Year412.214.511.917.617.519.218.622.46.58.710.611.3 Hint: To insert the chart, in the content placehoider, dick the Insert Chart icon Step Instructions Points Possible 17 Apply Chart Style 8, and then remove the Chart Title element. Animate the chart by applying 4. the Wipe entrance effect. Hint: To apply the chart style, on the Design tab, in the Chart Styles group, click More. To remove the title, select the placeholder and press DELETE. To apply the entrance effect, on the Animations tab, in the Animation group, click More. 18 Display Slide 8, and then hide the background graphics on the slide. Format the background 4 with the downloaded picture file-pCap1_Lake jpg. 19 On Slide 8, align the text placeholder to the top and center of the slide. Change the Font Color 5 to White, Background 1-the first color in the first column, and the Font to Calibri (Body). Apply Bold. Hint: To align the placeholder, on the Format tab, in the Arrange group, click Align Objects. 20 In the slide thumbnails, select Slides 5 and 9 . Apply a Solid Fill background color using the 4 second color in the sixth column, under Theme colors. Hint. To select the slides, select Slide 5. Press and hold CTRL, and then press Slide 9. 21 Display Slide 9. Insert the downloaded picture file Cap1 Mountain.jpg. Change the picture 3 Height to 2.25 and then apply the second glow effect in the first column. Hint: To insert the picture, on the insert tab, in the images group, click Pictures. 22 To all of the sides in the presentation, apply the Page Curl transition with the Single Left Effect 2 Option. Hint: On the Transitions tab, use the tools in the Transition to This Side group to apply the transition and effect options. 23 Display Slide 6, and then apply the Split entrance effect to the numbered list. 2 Hint: On the Animations tab, use the tools in the Animations group. 24 Display Slide 3 . In the Notes pane, type The key elements necessary to achieve our goals are the expansion of the winter sports product line and an aggressive marketing campaign. (include the period). Hint: Click the Notes button and type the indicated text. 25 Insert a Header \& Footer for the Notes and Handouts. Include the Date and time updated 2 automatically, the Page number, and a Footer with the text Capstone1_Winter_Products. Hint: On the Insert tab, in the Text group, click Header \& Footer. 26 Save and close the file, and then submit for grading. 0 Total Points 100


