Answered step by step
Verified Expert Solution
Question
1 Approved Answer
using System; namespace GoombaProject // if your namespace is different, modify this line. { class GoombaAdv : Goomba { private string[] goombaSpriteLeftFoot; private string[] goombaSpriteRightFoot;


using System;
namespace GoombaProject // if your namespace is different, modify this line.
{
class GoombaAdv : Goomba
{
private string[] goombaSpriteLeftFoot;
private string[] goombaSpriteRightFoot;
public GoombaAdv(int speed) : base(speed)
{
goombaSpriteLeftFoot = new string[10];
goombaSpriteRightFoot = new string[10];
SetSprite();
}
public void DrawSprite()
{
}
private void SetSprite()
{
@" ________ "; @" / \ "; @" / \ / \ "; @" / | | \ "; @" / -^------^- \ "; @"|________________| "; @" ____ / \ "; @"/____\ |____ "; @" ==== /____\ "; @" "; @" ________ "; @" / \ "; @" / \ / \ "; @" / | | \ "; @" / -^------^- \ "; @"|________________| "; @" / \ ____ "; @" ____| /____\ "; @"/____\ ==== "; @" ";
}
}
}
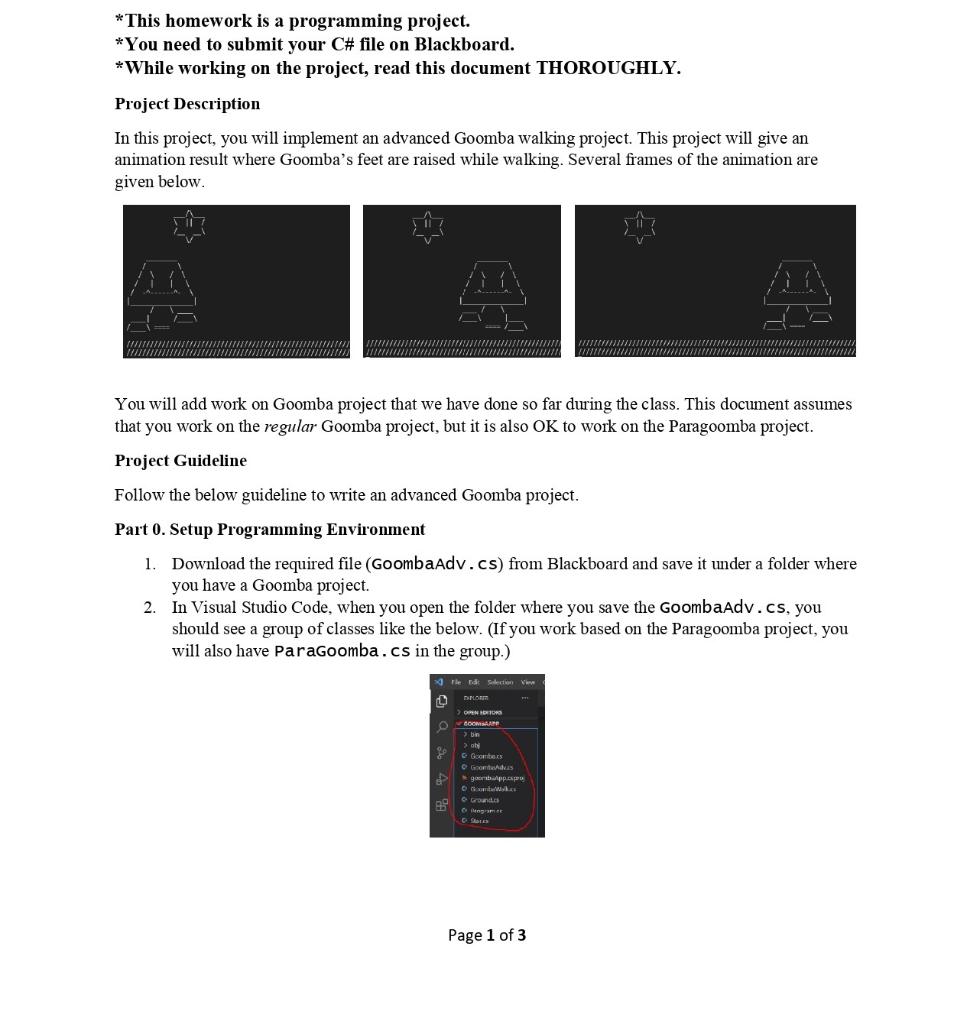
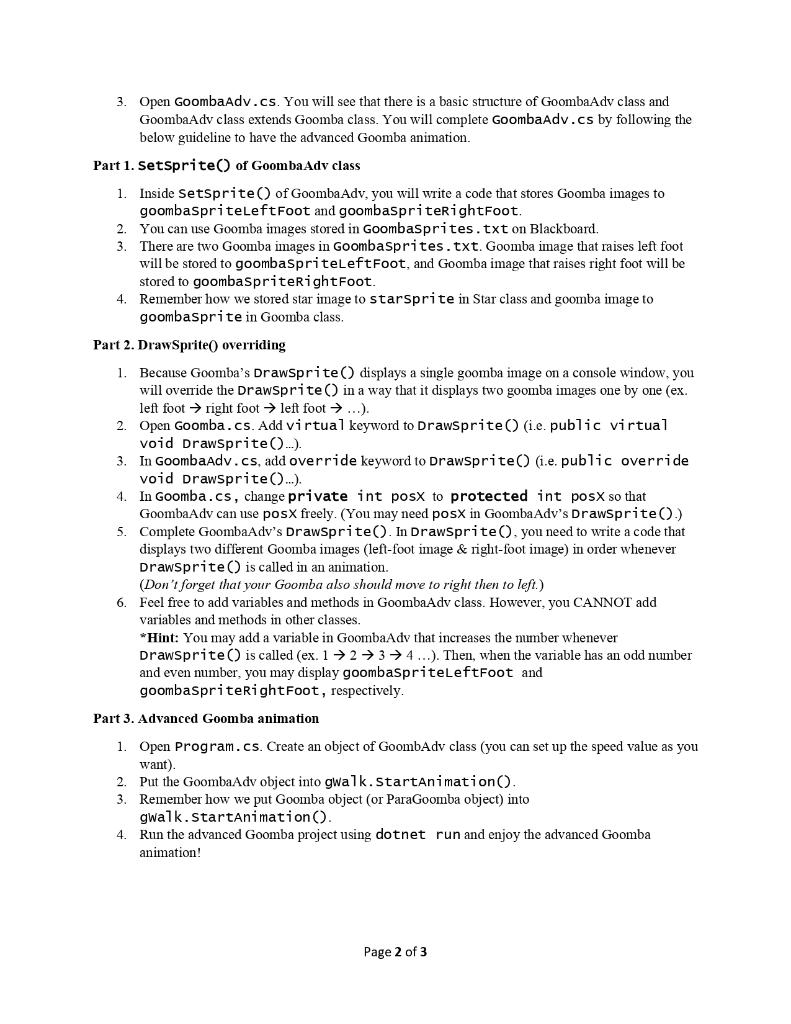
*This homework is a programming project. *You need to submit your C# file on Blackboard. *While working on the project, read this document THOROUGHLY. Project Description In this project, you will implement an advanced Goomba walking project. This project will give an animation result where Goomba's feet are raised while walking. Several frames of the animation are given below. You will add work on Goomba project that we have done so far during the class. This document assumes that you work on the regular Goomba project, but it is also OK to work on the Paragoomba project. Project Guideline Follow the below guideline to write an advanced Goomba project. Part 0. Setup Programming Environment 1. Download the required file (Goombaadv.cs) from Blackboard and save it under a folder where you have a Goomba project. 2. In Visual Studio Code, when you open the folder where you save the GoombaAdv.cs, you should see a group of classes like the below. (If you work based on the Paragoomba project, you will also have paraGoomba.cs in the group.) The de sector D DROIT OPINIO COMAR 3 > Garters Gomes - paarttupapy OG Ground Og Page 1 of 3 2 3. Open GoombaAdv.cs. You will see that there is a basic structure of GoombaAdv class and GoombaAdv class extends Goomba class. You will complete GoombaAdv.cs by following the below guideline to have the advanced Goomba animation. Part 1. SetSprite() of Goomba Adv class 1. Inside Setsprite() of Goomba Adv, you will write a code that stores Goomba images to goombaspriteLeftFoot and goombaspriteRightFoot. You can use Goomba images stored in Goombasprites.txt on Blackboard, 3. There are two Goomba images in Goombasprites.txt. Goomba image that raises left foot will be stored to goombaSpriteLeftFoot, and Goomba image that raises right foot will be stored to goombaSpriteRightFoot. 4. Remember how we stored star image to starsprite in Star class and goomba image to goombaSprite in Goomba class. Part 2. DrawSprite() overriding 1 Because Goomba's Drawsprite) displays a single goomba image on a console window, you will override the DrawSprite() in a way that it displays two goomba images one by one (ex. left foot right foot left foot ...). 2. Open Goomba.cs. Add virtual keyword to Drawsprite() (i.e. public virtual void DrawSprite()..... 3. In Goombaadv.cs, add override keyword to Drawsprite() (i.e. public override void DrawSprite(...). 4. In Goomba.cs, change private int post to protected int posX so that GoombaAdv can use posx freely. (You may need posX in Goomba Adv's DrawSprite().) 5. Complete GoombaAdv's DrawSprite(). In DrawSprite(), you need to write a code that displays two different Goomba images (left-foot image & right-foot image) in order whenever DrawSprite() is called in an animation. (Don't forget that your Goomba also should move to right then to left.) 6. Feel free to add variables and methods in GoombaAdv class. However, you CANNOT add variables and methods in other classes. *Hint: You may add a variable in GoombaAdv that increases the number whenever Drawsprite() is called (ex. 1+2+3+4...). Then, when the variable has an odd number and even number, you may display goombaspriteLeftFoot and goombaSpriteRight Foot, respectively. Part 3. Advanced Goomba animation 1. Open Program.cs. Create an object of GoombAdv class (you can set up the speed value as you want) 2. Put the GoombaAdv object into gwalk.Startanimation() 3. Remember how we put Goomba object (or ParaGoomba object) into gwalk. StartAnimation (). Run the advanced Goomba project using dotnet run and enjoy the advanced Goomba animation! 4. Page 2 of 3 *This homework is a programming project. *You need to submit your C# file on Blackboard. *While working on the project, read this document THOROUGHLY. Project Description In this project, you will implement an advanced Goomba walking project. This project will give an animation result where Goomba's feet are raised while walking. Several frames of the animation are given below. You will add work on Goomba project that we have done so far during the class. This document assumes that you work on the regular Goomba project, but it is also OK to work on the Paragoomba project. Project Guideline Follow the below guideline to write an advanced Goomba project. Part 0. Setup Programming Environment 1. Download the required file (Goombaadv.cs) from Blackboard and save it under a folder where you have a Goomba project. 2. In Visual Studio Code, when you open the folder where you save the GoombaAdv.cs, you should see a group of classes like the below. (If you work based on the Paragoomba project, you will also have paraGoomba.cs in the group.) The de sector D DROIT OPINIO COMAR 3 > Garters Gomes - paarttupapy OG Ground Og Page 1 of 3 2 3. Open GoombaAdv.cs. You will see that there is a basic structure of GoombaAdv class and GoombaAdv class extends Goomba class. You will complete GoombaAdv.cs by following the below guideline to have the advanced Goomba animation. Part 1. SetSprite() of Goomba Adv class 1. Inside Setsprite() of Goomba Adv, you will write a code that stores Goomba images to goombaspriteLeftFoot and goombaspriteRightFoot. You can use Goomba images stored in Goombasprites.txt on Blackboard, 3. There are two Goomba images in Goombasprites.txt. Goomba image that raises left foot will be stored to goombaSpriteLeftFoot, and Goomba image that raises right foot will be stored to goombaSpriteRightFoot. 4. Remember how we stored star image to starsprite in Star class and goomba image to goombaSprite in Goomba class. Part 2. DrawSprite() overriding 1 Because Goomba's Drawsprite) displays a single goomba image on a console window, you will override the DrawSprite() in a way that it displays two goomba images one by one (ex. left foot right foot left foot ...). 2. Open Goomba.cs. Add virtual keyword to Drawsprite() (i.e. public virtual void DrawSprite()..... 3. In Goombaadv.cs, add override keyword to Drawsprite() (i.e. public override void DrawSprite(...). 4. In Goomba.cs, change private int post to protected int posX so that GoombaAdv can use posx freely. (You may need posX in Goomba Adv's DrawSprite().) 5. Complete GoombaAdv's DrawSprite(). In DrawSprite(), you need to write a code that displays two different Goomba images (left-foot image & right-foot image) in order whenever DrawSprite() is called in an animation. (Don't forget that your Goomba also should move to right then to left.) 6. Feel free to add variables and methods in GoombaAdv class. However, you CANNOT add variables and methods in other classes. *Hint: You may add a variable in GoombaAdv that increases the number whenever Drawsprite() is called (ex. 1+2+3+4...). Then, when the variable has an odd number and even number, you may display goombaspriteLeftFoot and goombaSpriteRight Foot, respectively. Part 3. Advanced Goomba animation 1. Open Program.cs. Create an object of GoombAdv class (you can set up the speed value as you want) 2. Put the GoombaAdv object into gwalk.Startanimation() 3. Remember how we put Goomba object (or ParaGoomba object) into gwalk. StartAnimation (). Run the advanced Goomba project using dotnet run and enjoy the advanced Goomba animation! 4. Page 2 of 3Step by Step Solution
There are 3 Steps involved in it
Step: 1

Get Instant Access to Expert-Tailored Solutions
See step-by-step solutions with expert insights and AI powered tools for academic success
Step: 2

Step: 3

Ace Your Homework with AI
Get the answers you need in no time with our AI-driven, step-by-step assistance
Get Started


