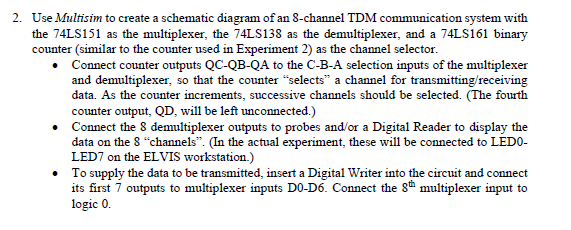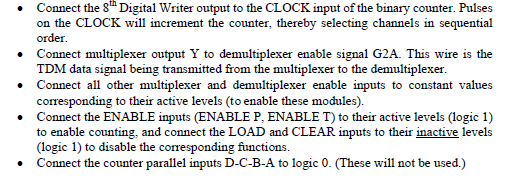

2. Use Multisim to create a schematic diagram of an 8-channel TDM communication system with the 74LS151 as the multiplexer, the 74LS138 as the demultiplexer, and a 74LS161 binary counter (similar to the counter used in Experiment 2) as the channel selector. Connect counter outputs QC-QB-QA to the C-B-A selection inputs of the multiplexer and demultiplexer, so that the counter "selects a channel for transmitting/receiving data. As the counter increments, successive channels should be selected. (The fourth counter output, QD, will be left unconnected.) Connect the 8 demultiplexer outputs to probes and/or a Digital Reader to display the data on the 8 "channels. (In the actual experiment, these will be connected to LEDO- LED7 on the ELVIS workstation.) To supply the data to be transmitted, insert a Digital Writer into the circuit and connect its first 7 outputs to multiplexer inputs DO-D6. Connect the gth multiplexer input to logic 0. Connect the 8th Digital Writer output to the CLOCK input of the binary counter. Pulses on the CLOCK will increment the counter, thereby selecting channels in sequential order. Connect multiplexer output Y to demultiplexer enable signal G2A. This wire is the TDM data signal being transmitted from the multiplexer to the demultiplexer. Connect all other multiplexer and demultiplexer enable inputs to constant values corresponding to their active levels (to enable these modules). Connect the ENABLE inputs (ENABLE P, ENABLE T) to their active levels (logic 1) to enable counting, and connect the LOAD and CLEAR inputs to their inactive levels (logic 1) to disable the corresponding functions. Connect the counter parallel inputs D-C-B-A to logic 0. (These will not be used.) 2. Use Multisim to create a schematic diagram of an 8-channel TDM communication system with the 74LS151 as the multiplexer, the 74LS138 as the demultiplexer, and a 74LS161 binary counter (similar to the counter used in Experiment 2) as the channel selector. Connect counter outputs QC-QB-QA to the C-B-A selection inputs of the multiplexer and demultiplexer, so that the counter "selects a channel for transmitting/receiving data. As the counter increments, successive channels should be selected. (The fourth counter output, QD, will be left unconnected.) Connect the 8 demultiplexer outputs to probes and/or a Digital Reader to display the data on the 8 "channels. (In the actual experiment, these will be connected to LEDO- LED7 on the ELVIS workstation.) To supply the data to be transmitted, insert a Digital Writer into the circuit and connect its first 7 outputs to multiplexer inputs DO-D6. Connect the gth multiplexer input to logic 0. Connect the 8th Digital Writer output to the CLOCK input of the binary counter. Pulses on the CLOCK will increment the counter, thereby selecting channels in sequential order. Connect multiplexer output Y to demultiplexer enable signal G2A. This wire is the TDM data signal being transmitted from the multiplexer to the demultiplexer. Connect all other multiplexer and demultiplexer enable inputs to constant values corresponding to their active levels (to enable these modules). Connect the ENABLE inputs (ENABLE P, ENABLE T) to their active levels (logic 1) to enable counting, and connect the LOAD and CLEAR inputs to their inactive levels (logic 1) to disable the corresponding functions. Connect the counter parallel inputs D-C-B-A to logic 0. (These will not be used.)


