Answered step by step
Verified Expert Solution
Question
1 Approved Answer
5-After installation and setup, boot the pfSense VM and log into the admin account by entering its username at the username prompt and the password
5-After installation and setup, boot the pfSense VM and log into the admin account by entering its username at the username prompt and the password at the password prompt.
6. Configure your LAN network adapter with a staticInternet Protocol (IP) address of 172.16.0.1, using a Class B subnet mask, which is 255.255.0.0. This will enable your other VMs to use this VM as their default gateway.

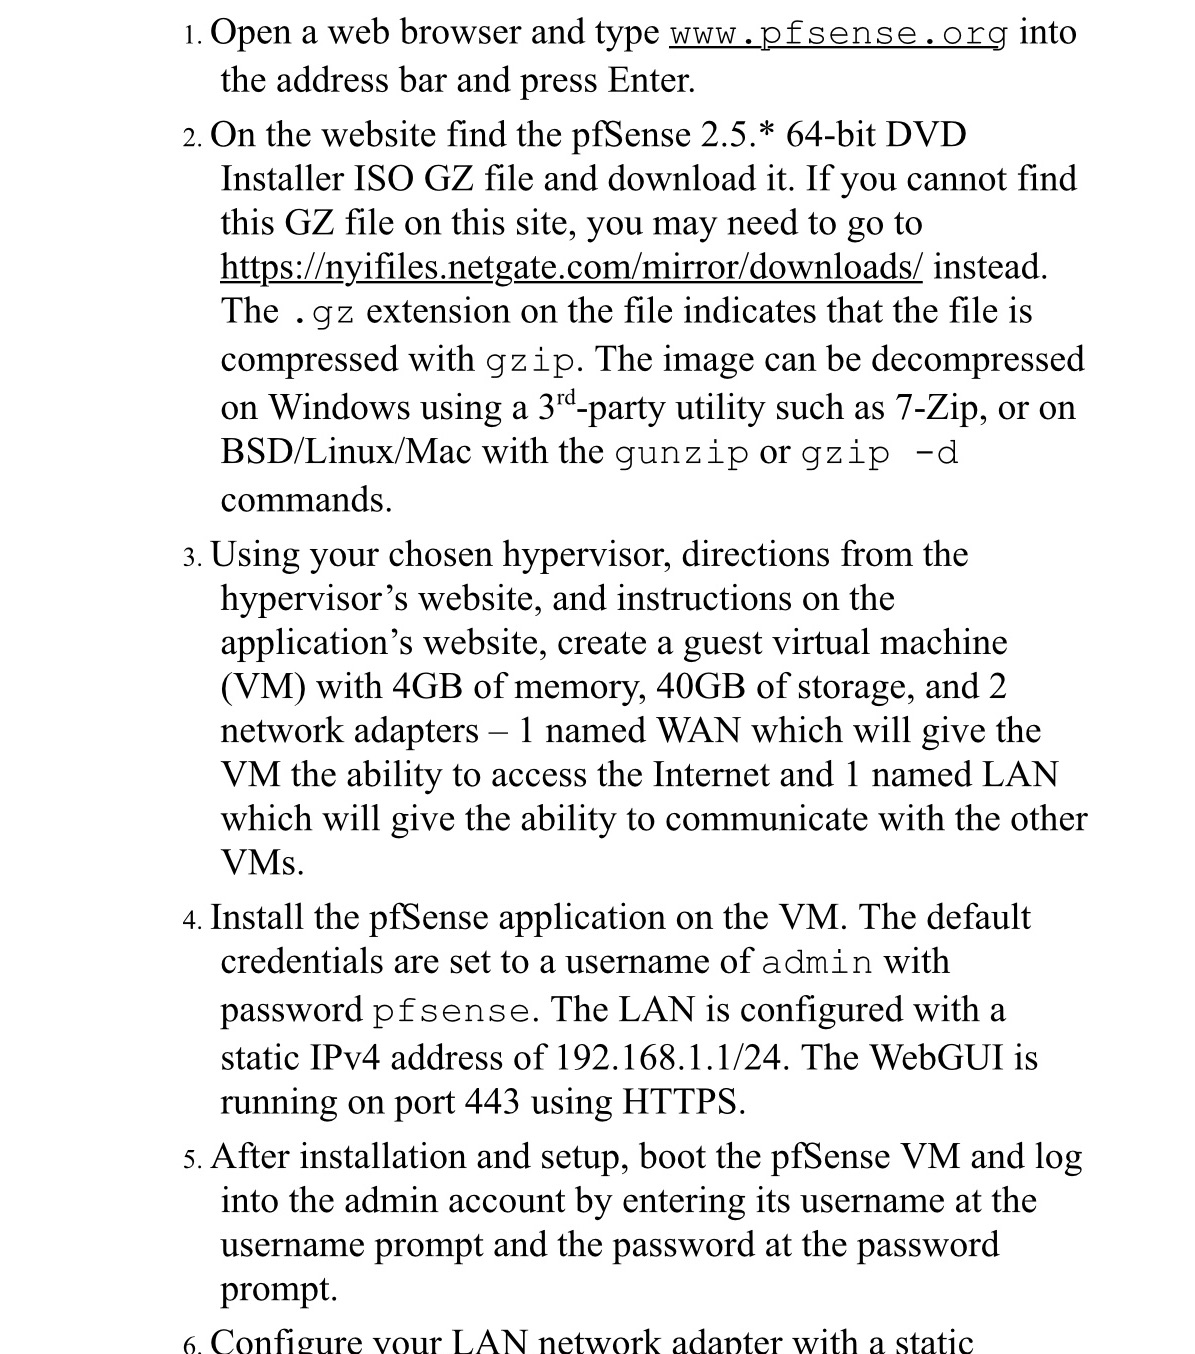
1. Open a web browser and type www.pfsense.org into the address bar and press Enter. 2. On the website find the pfSense 2.5.* 64-bit DVD Installer ISO GZ file and download it. If you cannot find this GZ file on this site, you may need to go to https://nyifiles.netgate.com/mirror/downloads/ instead. The .gz extension on the file indicates that the file is compressed with gzip. The image can be decompressed on Windows using a 3rd-party utility such as 7-Zip, or on BSD/Linux/Mac with the gunzip or gzip -d commands. 3. Using your chosen hypervisor, directions from the hypervisor's website, and instructions on the application's website, create a guest virtual machine (VM) with 4GB of memory, 40GB of storage, and 2 network adapters - 1 named WAN which will give the VM the ability to access the Internet and 1 named LAN which will give the ability to communicate with the other VMs. 4. Install the pfSense application on the VM. The default credentials are set to a username of admin with password pfsense. The LAN is configured with a static IPv4 address of 192.168.1.1/24. The WebGUI is running on port 443 using HTTPS. 5. After installation and setup, boot the pfSense VM and log into the admin account by entering its username at the username prompt and the password at the password prompt. 6. Configure vour LAN network adapter with a static
Step by Step Solution
There are 3 Steps involved in it
Step: 1
This question describes the process of setting up and configuring pfSense as a virtual machine VM us...
Get Instant Access to Expert-Tailored Solutions
See step-by-step solutions with expert insights and AI powered tools for academic success
Step: 2

Step: 3

Ace Your Homework with AI
Get the answers you need in no time with our AI-driven, step-by-step assistance
Get Started


