//blocking1 module fbosc1 (y1, y2, clk, rst); output y1, y2; input clk, rst; reg y1, y2; //ALWAYS #2 always @(posedge clk or posedge rst) if

| //blocking1 module fbosc1 (y1, y2, clk, rst); output y1, y2; input clk, rst; reg y1, y2; //ALWAYS #2 always @(posedge clk or posedge rst) if (rst==1) y2 = 1; // preset else y2 = y1; //ALWAYS #1 always @(posedge clk or posedge rst) if (rst==1) y1 = 0; // reset else y1 = y2;
endmodule //blocking2 module fbosc2 (y1, y2, clk, rst); output y1, y2; input clk, rst; reg y1, y2; //ALWAYS #1 always @(posedge clk or posedge rst) if (rst==1) y1 = 0; // reset else y1 = y2;
//ALWAYS #2 always @(posedge clk or posedge rst) if (rst==1) y2 = 1; // preset else y2 = y1;
endmodule //Non-blocking module fbosc3 (y1, y2, clk, rst); output y1, y2; input clk, rst; reg y1, y2; //ALWAYS #1 always @(posedge clk or posedge rst) if (rst) y1 else y1 //ALWAYS #2 always @(posedge clk or posedge rst) if (rst) y2 else y2 endmodule |
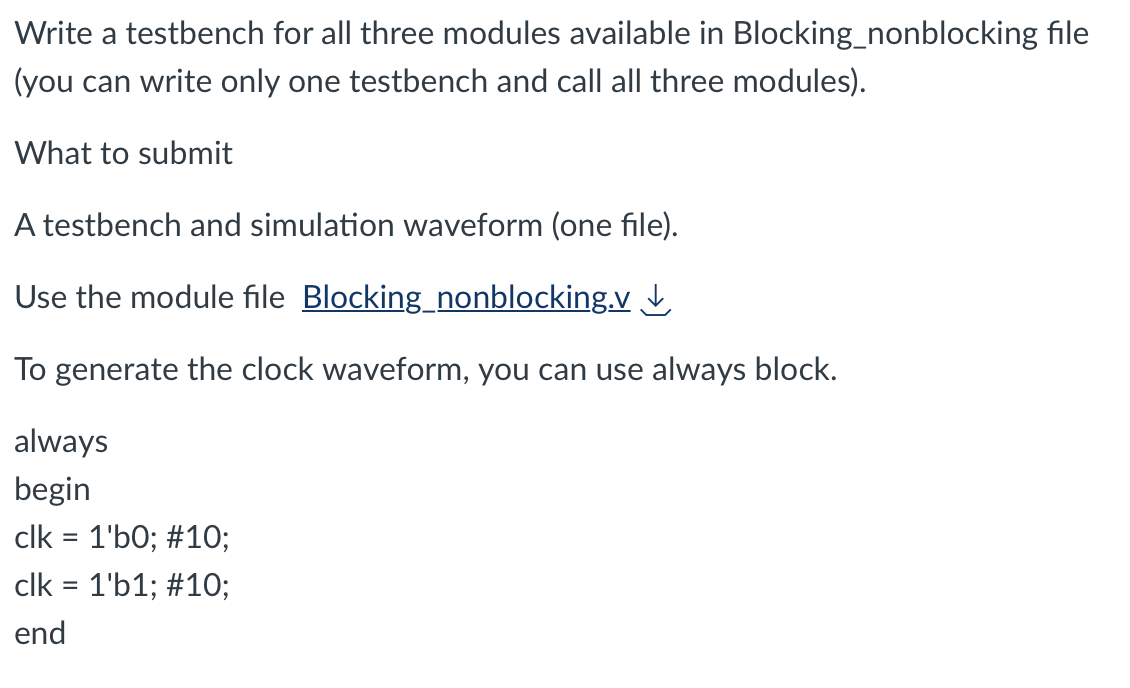
Write a testbench for all three modules available in Blocking_nonblocking file (you can write only one testbench and call all three modules). What to submit A testbench and simulation waveform (one file). Use the module file Blocking_nonblocking.v To generate the clock waveform, you can use always block. always begin clk=1b0;#10 clk = 1'b1; \#10; end
Step by Step Solution
There are 3 Steps involved in it
Step: 1

See step-by-step solutions with expert insights and AI powered tools for academic success
Step: 2

Step: 3

Ace Your Homework with AI
Get the answers you need in no time with our AI-driven, step-by-step assistance
Get Started


