

Question
Completing the Asteroid Game Introduction For this assignment, you will complete development of the COP3330 Asteroid Game by: (a) adding a new Missile class; (b)
Completing the Asteroid Game
Introduction
For this assignment, you will complete development of the COP3330 Asteroid Game by: (a) adding a new Missile class; (b) extending the Rocket class to launch missiles and make sounds; and (c) by implementing a interface that will allow the simulation engine to keep score and detect collisions between asteroids and your rocket, and between asteroids and missiles.
You will need to implement your own classes for the rocket, asteroids, missiles, and a test driver, but you will be able to use the same Blobz.jar external JAR file as for Programs 3 and 4, which contains the simulation engine and also useful classes and utilities for your program. The output of the program should be the game GUI, which will show your rocket displayed in a field of moving asteroids.
Here is a sample screenshot of a game in progress:
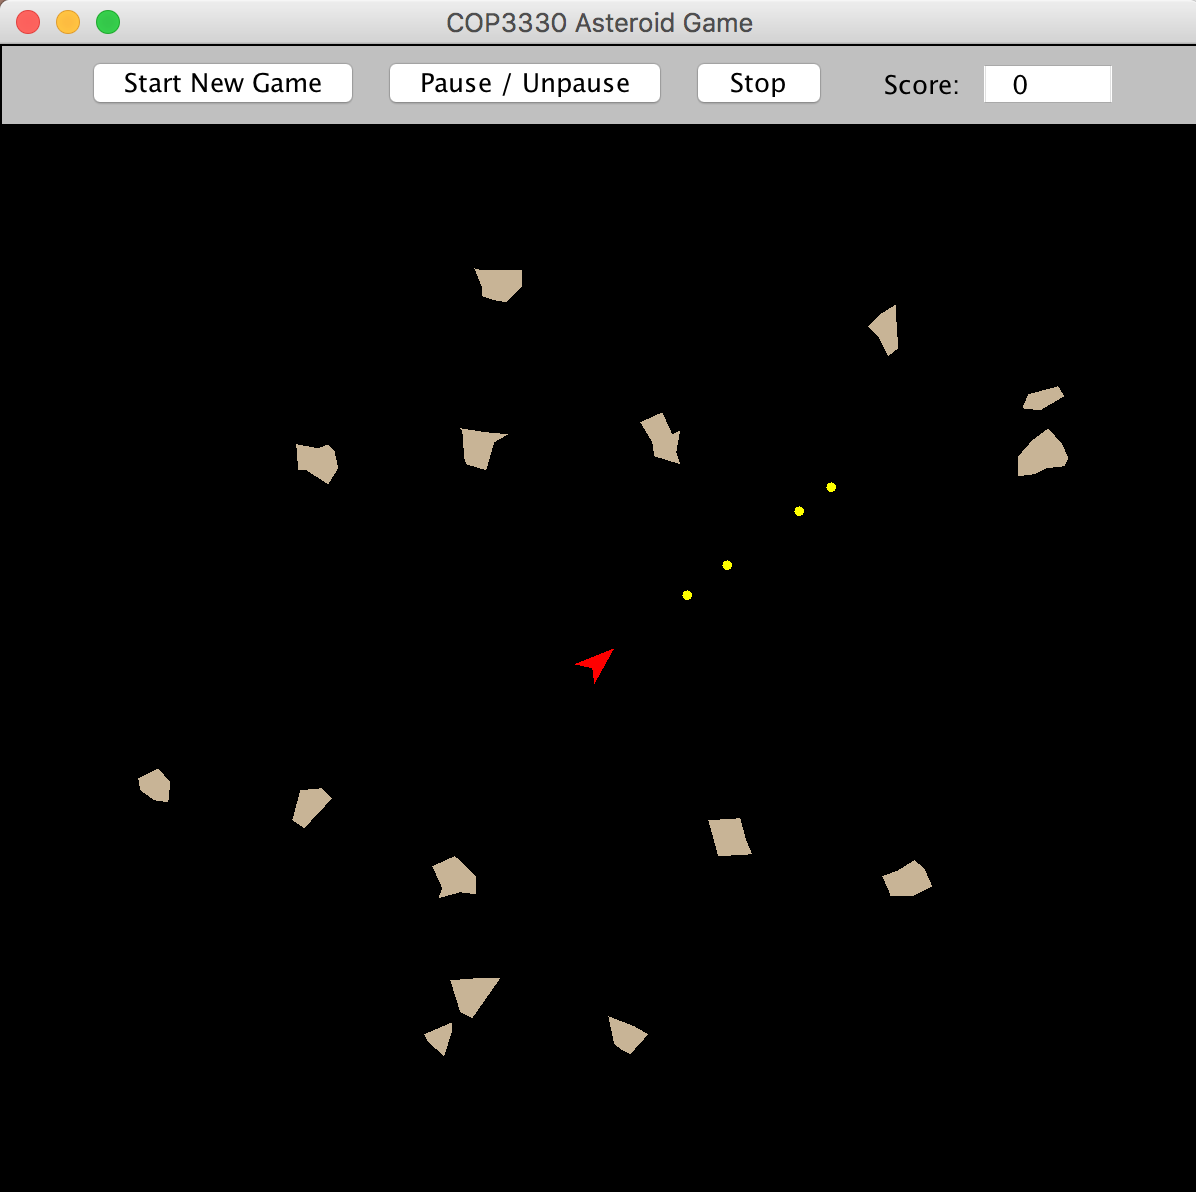
When the "Start New Game" button is pressed, the current display clears, the score is reset to zero, and a new game will begin with the rocket starting in the center and asteroids coming in from all directions along the boundaries of the playing area.
The right, left, and up arrow keys will control the rocket's rotation and forward motion. Pressing the spacebar will launch a missile and generate a sound.
When a missile strikes an asteroid, the asteroid is destroyed and 50 points are added to the score. The asteroid reappears along the boundary of the playing area at a random location according to its direction of motion.
When an asteroid strikes the rocket, the game ends and no further game actions can be taken.
A new game can be started by pressing the "Start New Game" button again. You can pause the game by pressing the Pause/Unpause button.
Eclipse Project Setup
1. Create a Java application project called "AsteroidGame" in Eclipse.
2. Right-click on the project name in the Package Explorer and select Properties. In the dialog that appears, select "java Build Path", then the "Libraries" tab, then the "Classpath" item, and then choose "Add External JARs". In the file chooser that appears, navigate to the Blobz.jar file in the test folder you created on your desktop and select it. The contents of this Libraries tab should be similar to the Libraries tab image that was presented in the Program 3 assignment.
3. In the Package Explorer, select the "src" subfolder of the project, right-click, choose "New" and then "File". Enter "MANIFEST.MF" as the file name. Please note that this file name must be all upper case.
4. Edit the MANIFEST.MF file to appear exactly as follows:
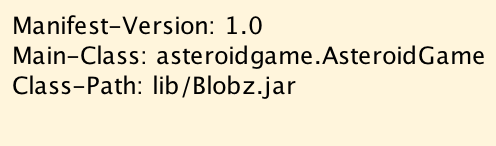
5. In the Package Explorer, select the "src" subfolder of the project, right-click, choose "New" and then "Package". Enter "asteroidgame" as the package name. This name must match the package name in the Main-Class attribute in the manifest file above.
6. Now, add your Asteroid.java source file to the asteroidgame package. This can be either a copy of the Asteroid.java file that you developed for Program 3, or it can be a version that you have since updated and improved.
7. Similarly, add your Rocket.java source file to the asteroidgame package. This can be either a copy of the Asteroid.java file that you developed for Program 3, or it can be a version that you have since updated and improved.
8. Now, create a new AsteroidGame.java file in the asteroidgame package. This class will will be similar to the AsteroidField.java and RocketSim.java classes that you developed for Programs 3 and 4. Detailed requirements for this class are described in the next section, below.
Program Development
At this point, you should have an "asteroidgame" package with the following files (and no other files) in it: AsteroidGame.java, Asteroid.java, and Rocket.java. To complete development of the game, you must now do the following:
A. Add a new Missile class:
The Missile class should extend the Blob class (not PolyBlob) and also implement the BlobProximity interface. Use a "speed" value of 5 (which should be a double) for calculating velocity components, as described in the preview lecture. Also use a fixed blob diameter of 5 pixels. The Missile constructor should take three arguments: the x and y locations of the missile's current location (both integers) and the direction (angle) in which the missile is moving (a double). Please note that there are no methods to implement for the BlobProximity interface. The Missile class should have only a constructor.
B. Modify the Rocket class as follows:
(1) The Rocket class should now also implement the BlobProximity interface in addition to implementing the BlobAction interface and extending the PolyBlob class.
(2) Add a third input argument for the Rocket constructor. This argument will be of type SandBox. This value will need to be saved as a static variable. You will need this reference in order to be able to launch missiles by adding them to the program's sandbox.
(3) Add another block of code in the keyAction() method for processing spacebar key events (key code 32). This block should run the new "launch" instance method described below and then run the BlobUtils playSound() static method to make a sound when a missile is launched.
(4) Add a new "launch(Sandbox sb)" method to launch the missile. This method is called from the keyAction() method as described above. The launch() method will calculate the start point for the missile to be 5 pixels ahead of the rocket and have it move in the same direction as the current rocket orientation. The method will then instantiate the Missile and add it to the sandbox, just as we do for asteroids and the rocket.
C. Develop the AsteroidGame class as follows:
(1) AsteroidGame must implement the BlobGUI interface so it can respond to presses of the "Start New Game" button.
(2) AsteroidGame must have a one-line main() method that instantiates the class, as follows:

As you can see, the main method takes one (1) command line argument, interprets it as an integer, and passes that integer to the constructor for the class.
(3) The AsteroidGame constructor should perform the following actions:
(i) save the input integer in a static variable (this number represents the number of asteroids that your program will need to create);
(ii) create a sandbox object;
(iii) set the sandbox to "flow" mode;
(iv) set the sandbox to run at 15 frames per second; and
(v) initialize the sandbox by passing "this" (the AsteroidGame object) to the sandbox's init() method.
(4) Add a "public void generate()" method that overrides the declaration in the BlobGUI interface. This method will perform the following actions:
(i) instantiate your rocket and add it to the center of the sandbox, as you did for Program 4; and
(ii) instantiate and add to the sandbox as many asteroids as are specified by the number that was input to the constructor for the class, as you did for Program 3. Each asteroid must be configured with independent random integer x and y velocity components between -3 and +3 ( no 0 values allowed), and with randomly chosen +.1 or -.1 rotation rates, as you did for Program 3.
Debugging and Program Export
1. Run and debug your program in Eclipse until you are satisfied with it.
2. Export an executable JAR file to the same AsteroidsTest folder that you used for Programs 3 and 4, as follows:
Highlight the project (AsteroidGame) in the Package Explorer
Choose File Export and select "JAR file" (not "Runnable JAR file"), then Next
Choose the project (AsteroidGame) as the resource to export; check the box to "Export Java source files and resources"; and use the Browse button and text field to choose "AsteroidGame.jar" as the name you want for the JAR file and be sure that it will be placed inside the AsteroidsTest folder on your Desktop; then choose Next
Make no choices on the "JAR Packaging Options" dialog and choose Next
On the "JAR Export" dialog, do not choose a main class. Instead, check the box to "Use existing manifest from workspace" and use the "Browse" button to select the MANIFEST.MF file that you created in your AsteroidGame project.
Choose "Finish" to complete the export of the JAR file. Your test folder should contain your JAR file at the top level. The folder will also likely contain the javadoc and lib subfolders. The "lib" subfolder should contain the Blobz.jar file. It is OK to leave your AsteroidField.jar from Program 3 and your RocketSim.jar from Program 4 also in the folder.
COP3330 Asteroid Game Start New Game Pause Unpause Stop Score: 0 COP3330 Asteroid Game Start New Game Pause Unpause Stop Score: 0Step by Step Solution
There are 3 Steps involved in it
Step: 1

Get Instant Access to Expert-Tailored Solutions
See step-by-step solutions with expert insights and AI powered tools for academic success
Step: 2

Step: 3
Ace Your Homework with AI
Get the answers you need in no time with our AI-driven, step-by-step assistance
Get Started