Could someone please help me with this:

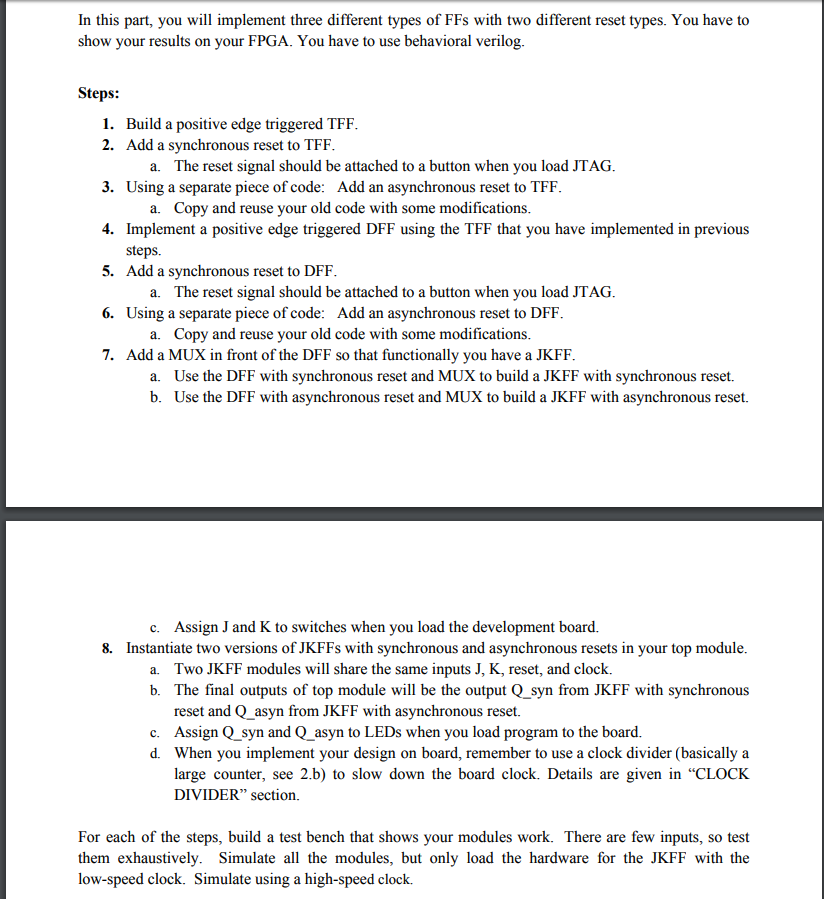
In this part, you will implement three different types of FFs with two different reset types. You have to show your results on your FPGA. You have to use behavioral verilog Steps: 1. Build a positive edge triggered TFF 2. Add a synchronous reset to TFF 3. Using a separate piece of code: Add an asynchronous reset to TFF 4. Implement a positive edge triggered DFF using the TFF that you have implemented in previous a. The reset signal should be attached to a button when you load JTAG a. Copy and reuse your old code with some modifications steps. Add a synchronous reset to DFF 5. a. The reset signal should be attached to a button when you load JTAG 6. Using a separate piece of code: Add an asynchronous reset to DFF a. Copy and reuse your old code with some modifications Add a MUX in front of the DFF so that functionally you have a JKFF 7. Use the DFF with synchronous reset and MUX to build a JKFF with synchronous reset. Use the DFF with asynchronous reset and MUX to build a JKFF with asynchronous reset. a. b. Assign J and K to switches when you load the development board. c. 8. Instantiate two versions of JKFFs with synchronous and asynchronous resets in your top module a. Two JKFF modules will share the same inputs J, K, reset, and clock. b. The final outputs of top module will be the output Q_syn from JKFF with synchronous reset and Q asyn from JKFF with asynchronous reset. c. Assign Q syn and Q asyn to LEDs when you load program to the board. d. When you implement your design on board, remember to use a clock divider (basically a large counter, see 2.b) to slow down the board clock. Details are given in "CLOCK DIVIDER" section. For each of the steps, build a test bench that shows your modules work. There are few inputs, so test them exhaustively. Simulate all the modules, but only load the hardware for the JKFF with the low-speed clock. Simulate using a high-speed clock. In this part, you will implement three different types of FFs with two different reset types. You have to show your results on your FPGA. You have to use behavioral verilog Steps: 1. Build a positive edge triggered TFF 2. Add a synchronous reset to TFF 3. Using a separate piece of code: Add an asynchronous reset to TFF 4. Implement a positive edge triggered DFF using the TFF that you have implemented in previous a. The reset signal should be attached to a button when you load JTAG a. Copy and reuse your old code with some modifications steps. Add a synchronous reset to DFF 5. a. The reset signal should be attached to a button when you load JTAG 6. Using a separate piece of code: Add an asynchronous reset to DFF a. Copy and reuse your old code with some modifications Add a MUX in front of the DFF so that functionally you have a JKFF 7. Use the DFF with synchronous reset and MUX to build a JKFF with synchronous reset. Use the DFF with asynchronous reset and MUX to build a JKFF with asynchronous reset. a. b. Assign J and K to switches when you load the development board. c. 8. Instantiate two versions of JKFFs with synchronous and asynchronous resets in your top module a. Two JKFF modules will share the same inputs J, K, reset, and clock. b. The final outputs of top module will be the output Q_syn from JKFF with synchronous reset and Q asyn from JKFF with asynchronous reset. c. Assign Q syn and Q asyn to LEDs when you load program to the board. d. When you implement your design on board, remember to use a clock divider (basically a large counter, see 2.b) to slow down the board clock. Details are given in "CLOCK DIVIDER" section. For each of the steps, build a test bench that shows your modules work. There are few inputs, so test them exhaustively. Simulate all the modules, but only load the hardware for the JKFF with the low-speed clock. Simulate using a high-speed clock


