Each of the following experimental variations in the procedure, may affect the concentration of amino acids determined. For each variation match the expected result to the experimental variation outlined.
NoteThe internal standard method is being used to quantify the amount of amino acid in the sample
1In Step 1. part 2., of the procedure only 98 L of the sample was added into the sample preparation vial.
2In Steps 3 and 4., part 5., some of the (upper) organic layer containing the analytes was left behind in the sample preparation vial.
HINT: Internal standard!!
3In Steps 3 and 4., part 7., only 97 L of the provided mobile phase was added to the analytes in each of the vials (incuding standards and samples) as the pipette used was inaccurate.
4The original SD1 solution actually contained a lower concentration of the amino acids than expected.
please select one of the following options for each situation above and explain.:
| A. | The concentration of amino acid will increase. |
| B. | The concentration of amino acid will decrease. |
| C. | The concentration of amino acid will not be affected by the change in procedure. |
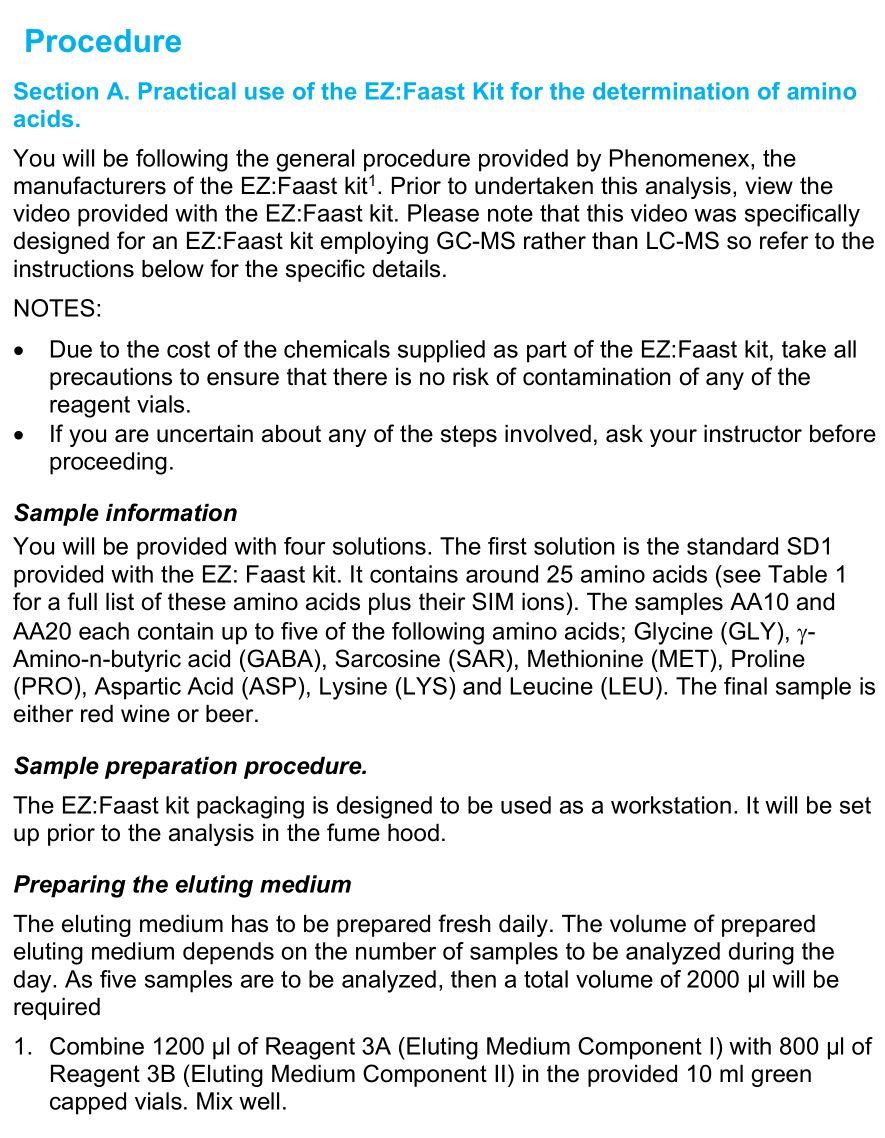
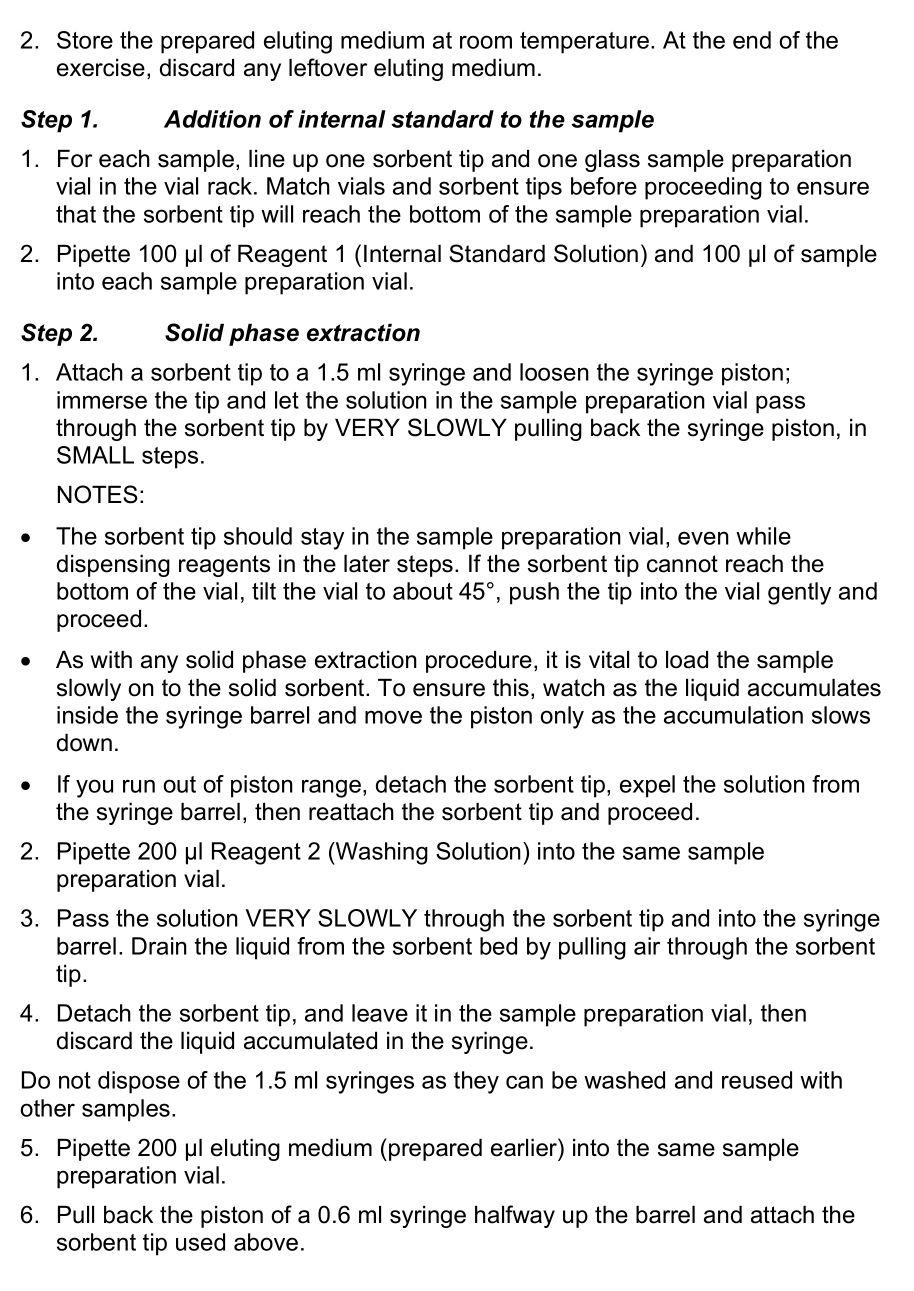
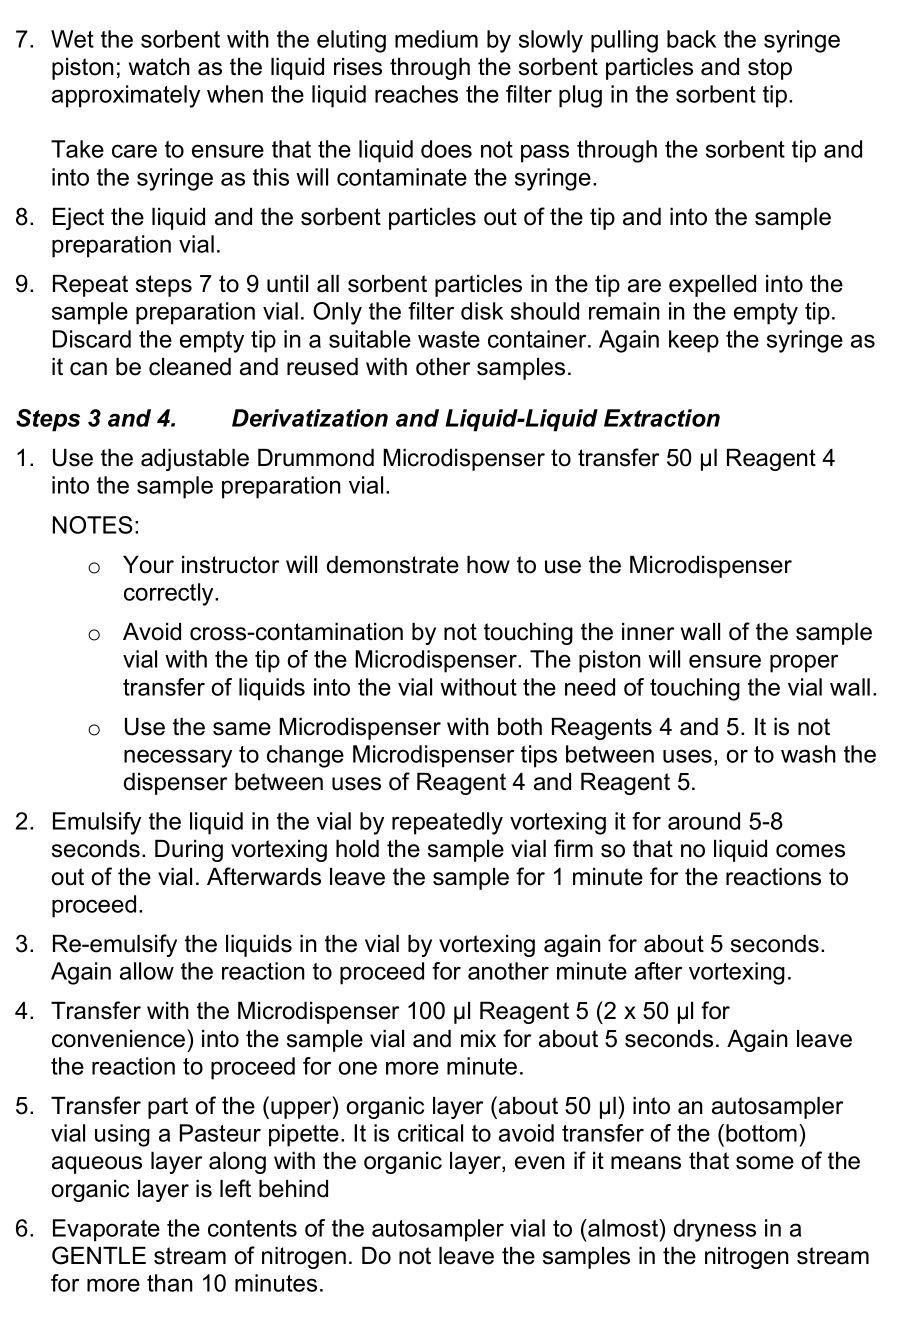
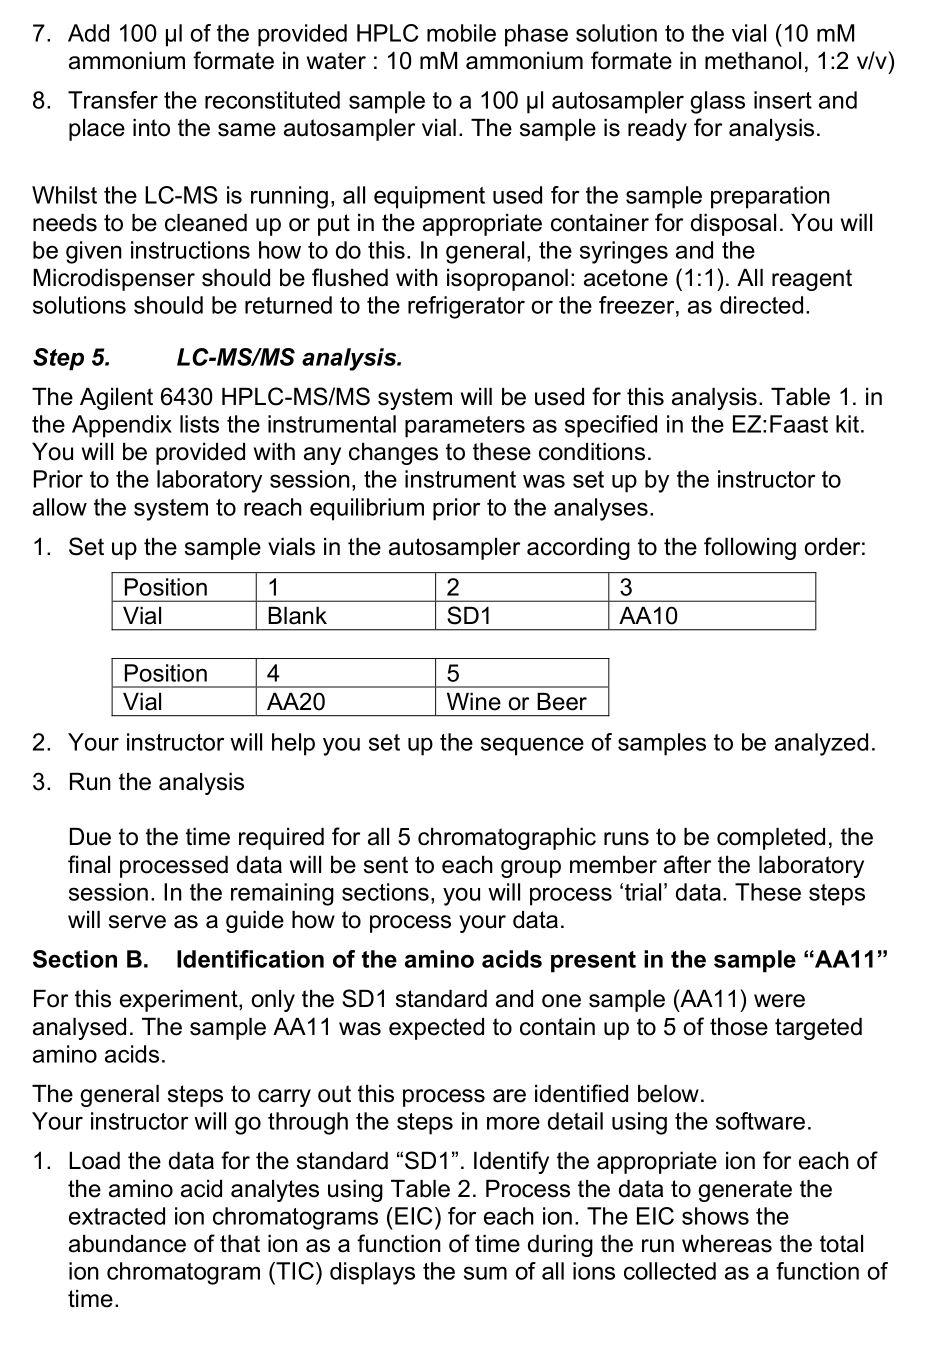
Section A. Practical use of the EZ:Faast Kit for the determination of amino acids. You will be following the general procedure provided by Phenomenex, the manufacturers of the EZ:Faast kit 1. Prior to undertaken this analysis, view the video provided with the EZ:Faast kit. Please note that this video was specifically designed for an EZ:Faast kit employing GC-MS rather than LC-MS so refer to the instructions below for the specific details. NOTES: - Due to the cost of the chemicals supplied as part of the EZ:Faast kit, take all precautions to ensure that there is no risk of contamination of any of the reagent vials. - If you are uncertain about any of the steps involved, ask your instructor before proceeding. Sample information You will be provided with four solutions. The first solution is the standard SD1 provided with the EZ: Faast kit. It contains around 25 amino acids (see Table 1 for a full list of these amino acids plus their SIM ions). The samples AA10 and AA20 each contain up to five of the following amino acids; Glycine (GLY), Amino-n-butyric acid (GABA), Sarcosine (SAR), Methionine (MET), Proline (PRO), Aspartic Acid (ASP), Lysine (LYS) and Leucine (LEU). The final sample is either red wine or beer. Sample preparation procedure. The EZ:Faast kit packaging is designed to be used as a workstation. It will be set up prior to the analysis in the fume hood. Preparing the eluting medium The eluting medium has to be prepared fresh daily. The volume of prepared eluting medium depends on the number of samples to be analyzed during the day. As five samples are to be analyzed, then a total volume of 2000l will be required 1. Combine 1200l of Reagent 3A (Eluting Medium Component I) with 800l of Reagent 3B (Eluting Medium Component II) in the provided 10ml green capped vials. Mix well. 2. Store the prepared eluting medium at room temperature. At the end of the exercise, discard any leftover eluting medium. Step 1. Addition of internal standard to the sample 1. For each sample, line up one sorbent tip and one glass sample preparation vial in the vial rack. Match vials and sorbent tips before proceeding to ensure that the sorbent tip will reach the bottom of the sample preparation vial. 2. Pipette 100l of Reagent 1 (Internal Standard Solution) and 100l of sample into each sample preparation vial. Step 2. Solid phase extraction 1. Attach a sorbent tip to a 1.5ml syringe and loosen the syringe piston; immerse the tip and let the solution in the sample preparation vial pass through the sorbent tip by VERY SLOWLY pulling back the syringe piston, in SMALL steps. NOTES: - The sorbent tip should stay in the sample preparation vial, even while dispensing reagents in the later steps. If the sorbent tip cannot reach the bottom of the vial, tilt the vial to about 45, push the tip into the vial gently and proceed. - As with any solid phase extraction procedure, it is vital to load the sample slowly on to the solid sorbent. To ensure this, watch as the liquid accumulates inside the syringe barrel and move the piston only as the accumulation slows down. - If you run out of piston range, detach the sorbent tip, expel the solution from the syringe barrel, then reattach the sorbent tip and proceed. 2. Pipette 200l Reagent 2 (Washing Solution) into the same sample preparation vial. 3. Pass the solution VERY SLOWLY through the sorbent tip and into the syringe barrel. Drain the liquid from the sorbent bed by pulling air through the sorbent tip. 4. Detach the sorbent tip, and leave it in the sample preparation vial, then discard the liquid accumulated in the syringe. Do not dispose of the 1.5ml syringes as they can be washed and reused with other samples. 5. Pipette 200 l eluting medium (prepared earlier) into the same sample preparation vial. 6. Pull back the piston of a 0.6ml syringe halfway up the barrel and attach the sorbent tip used above. 7. Wet the sorbent with the eluting medium by slowly pulling back the syringe piston; watch as the liquid rises through the sorbent particles and stop approximately when the liquid reaches the filter plug in the sorbent tip. Take care to ensure that the liquid does not pass through the sorbent tip and into the syringe as this will contaminate the syringe. 8. Eject the liquid and the sorbent particles out of the tip and into the sample preparation vial. 9. Repeat steps 7 to 9 until all sorbent particles in the tip are expelled into the sample preparation vial. Only the filter disk should remain in the empty tip. Discard the empty tip in a suitable waste container. Again keep the syringe as it can be cleaned and reused with other samples. Steps 3 and 4. Derivatization and Liquid-Liquid Extraction 1. Use the adjustable Drummond Microdispenser to transfer 50l Reagent 4 into the sample preparation vial. NOTES: - Your instructor will demonstrate how to use the Microdispenser correctly. - Avoid cross-contamination by not touching the inner wall of the sample vial with the tip of the Microdispenser. The piston will ensure proper transfer of liquids into the vial without the need of touching the vial wall. - Use the same Microdispenser with both Reagents 4 and 5. It is not necessary to change Microdispenser tips between uses, or to wash the dispenser between uses of Reagent 4 and Reagent 5. 2. Emulsify the liquid in the vial by repeatedly vortexing it for around 5-8 seconds. During vortexing hold the sample vial firm so that no liquid comes out of the vial. Afterwards leave the sample for 1 minute for the reactions to proceed. 3. Re-emulsify the liquids in the vial by vortexing again for about 5 seconds. Again allow the reaction to proceed for another minute after vortexing. 4. Transfer with the Microdispenser 100l Reagent 5(250l for convenience) into the sample vial and mix for about 5 seconds. Again leave the reaction to proceed for one more minute. 5. Transfer part of the (upper) organic layer (about 50l ) into an autosampler vial using a Pasteur pipette. It is critical to avoid transfer of the (bottom) aqueous layer along with the organic layer, even if it means that some of the organic layer is left behind 6. Evaporate the contents of the autosampler vial to (almost) dryness in a GENTLE stream of nitrogen. Do not leave the samples in the nitrogen stream for more than 10 minutes. 7. Add 100l of the provided HPLC mobile phase solution to the vial (10mM ammonium formate in water : 10mM ammonium formate in methanol, 1:2v/v ) 8. Transfer the reconstituted sample to a 100l autosampler glass insert and place into the same autosampler vial. The sample is ready for analysis. Whilst the LC-MS is running, all equipment used for the sample preparation needs to be cleaned up or put in the appropriate container for disposal. You will be given instructions how to do this. In general, the syringes and the Microdispenser should be flushed with isopropanol: acetone (1:1). All reagent solutions should be returned to the refrigerator or the freezer, as directed. Step 5. LC-MS/MS analysis. The Agilent 6430 HPLC-MS/MS system will be used for this analysis. Table 1. in the Appendix lists the instrumental parameters as specified in the EZ:Faast kit. You will be provided with any changes to these conditions. Prior to the laboratory session, the instrument was set up by the instructor to allow the system to reach equilibrium prior to the analyses. 1. Set up the sample vials in the autosampler according to the following order: 2. Your instructor will help you set up the sequence of samples to be analyzed. 3. Run the analysis Due to the time required for all 5 chromatographic runs to be completed, the final processed data will be sent to each group member after the laboratory session. In the remaining sections, you will process 'trial' data. These steps will serve as a guide how to process your data. Section B. Identification of the amino acids present in the sample "AA11" For this experiment, only the SD1 standard and one sample (AA11) were analysed. The sample AA11 was expected to contain up to 5 of those targeted amino acids. The general steps to carry out this process are identified below. Your instructor will go through the steps in more detail using the software. 1. Load the data for the standard "SD1". Identify the appropriate ion for each of the amino acid analytes using Table 2. Process the data to generate the extracted ion chromatograms (EIC) for each ion. The EIC shows the abundance of that ion as a function of time during the run whereas the total ion chromatogram (TIC) displays the sum of all ions collected as a function of time. Section A. Practical use of the EZ:Faast Kit for the determination of amino acids. You will be following the general procedure provided by Phenomenex, the manufacturers of the EZ:Faast kit 1. Prior to undertaken this analysis, view the video provided with the EZ:Faast kit. Please note that this video was specifically designed for an EZ:Faast kit employing GC-MS rather than LC-MS so refer to the instructions below for the specific details. NOTES: - Due to the cost of the chemicals supplied as part of the EZ:Faast kit, take all precautions to ensure that there is no risk of contamination of any of the reagent vials. - If you are uncertain about any of the steps involved, ask your instructor before proceeding. Sample information You will be provided with four solutions. The first solution is the standard SD1 provided with the EZ: Faast kit. It contains around 25 amino acids (see Table 1 for a full list of these amino acids plus their SIM ions). The samples AA10 and AA20 each contain up to five of the following amino acids; Glycine (GLY), Amino-n-butyric acid (GABA), Sarcosine (SAR), Methionine (MET), Proline (PRO), Aspartic Acid (ASP), Lysine (LYS) and Leucine (LEU). The final sample is either red wine or beer. Sample preparation procedure. The EZ:Faast kit packaging is designed to be used as a workstation. It will be set up prior to the analysis in the fume hood. Preparing the eluting medium The eluting medium has to be prepared fresh daily. The volume of prepared eluting medium depends on the number of samples to be analyzed during the day. As five samples are to be analyzed, then a total volume of 2000l will be required 1. Combine 1200l of Reagent 3A (Eluting Medium Component I) with 800l of Reagent 3B (Eluting Medium Component II) in the provided 10ml green capped vials. Mix well. 2. Store the prepared eluting medium at room temperature. At the end of the exercise, discard any leftover eluting medium. Step 1. Addition of internal standard to the sample 1. For each sample, line up one sorbent tip and one glass sample preparation vial in the vial rack. Match vials and sorbent tips before proceeding to ensure that the sorbent tip will reach the bottom of the sample preparation vial. 2. Pipette 100l of Reagent 1 (Internal Standard Solution) and 100l of sample into each sample preparation vial. Step 2. Solid phase extraction 1. Attach a sorbent tip to a 1.5ml syringe and loosen the syringe piston; immerse the tip and let the solution in the sample preparation vial pass through the sorbent tip by VERY SLOWLY pulling back the syringe piston, in SMALL steps. NOTES: - The sorbent tip should stay in the sample preparation vial, even while dispensing reagents in the later steps. If the sorbent tip cannot reach the bottom of the vial, tilt the vial to about 45, push the tip into the vial gently and proceed. - As with any solid phase extraction procedure, it is vital to load the sample slowly on to the solid sorbent. To ensure this, watch as the liquid accumulates inside the syringe barrel and move the piston only as the accumulation slows down. - If you run out of piston range, detach the sorbent tip, expel the solution from the syringe barrel, then reattach the sorbent tip and proceed. 2. Pipette 200l Reagent 2 (Washing Solution) into the same sample preparation vial. 3. Pass the solution VERY SLOWLY through the sorbent tip and into the syringe barrel. Drain the liquid from the sorbent bed by pulling air through the sorbent tip. 4. Detach the sorbent tip, and leave it in the sample preparation vial, then discard the liquid accumulated in the syringe. Do not dispose of the 1.5ml syringes as they can be washed and reused with other samples. 5. Pipette 200 l eluting medium (prepared earlier) into the same sample preparation vial. 6. Pull back the piston of a 0.6ml syringe halfway up the barrel and attach the sorbent tip used above. 7. Wet the sorbent with the eluting medium by slowly pulling back the syringe piston; watch as the liquid rises through the sorbent particles and stop approximately when the liquid reaches the filter plug in the sorbent tip. Take care to ensure that the liquid does not pass through the sorbent tip and into the syringe as this will contaminate the syringe. 8. Eject the liquid and the sorbent particles out of the tip and into the sample preparation vial. 9. Repeat steps 7 to 9 until all sorbent particles in the tip are expelled into the sample preparation vial. Only the filter disk should remain in the empty tip. Discard the empty tip in a suitable waste container. Again keep the syringe as it can be cleaned and reused with other samples. Steps 3 and 4. Derivatization and Liquid-Liquid Extraction 1. Use the adjustable Drummond Microdispenser to transfer 50l Reagent 4 into the sample preparation vial. NOTES: - Your instructor will demonstrate how to use the Microdispenser correctly. - Avoid cross-contamination by not touching the inner wall of the sample vial with the tip of the Microdispenser. The piston will ensure proper transfer of liquids into the vial without the need of touching the vial wall. - Use the same Microdispenser with both Reagents 4 and 5. It is not necessary to change Microdispenser tips between uses, or to wash the dispenser between uses of Reagent 4 and Reagent 5. 2. Emulsify the liquid in the vial by repeatedly vortexing it for around 5-8 seconds. During vortexing hold the sample vial firm so that no liquid comes out of the vial. Afterwards leave the sample for 1 minute for the reactions to proceed. 3. Re-emulsify the liquids in the vial by vortexing again for about 5 seconds. Again allow the reaction to proceed for another minute after vortexing. 4. Transfer with the Microdispenser 100l Reagent 5(250l for convenience) into the sample vial and mix for about 5 seconds. Again leave the reaction to proceed for one more minute. 5. Transfer part of the (upper) organic layer (about 50l ) into an autosampler vial using a Pasteur pipette. It is critical to avoid transfer of the (bottom) aqueous layer along with the organic layer, even if it means that some of the organic layer is left behind 6. Evaporate the contents of the autosampler vial to (almost) dryness in a GENTLE stream of nitrogen. Do not leave the samples in the nitrogen stream for more than 10 minutes. 7. Add 100l of the provided HPLC mobile phase solution to the vial (10mM ammonium formate in water : 10mM ammonium formate in methanol, 1:2v/v ) 8. Transfer the reconstituted sample to a 100l autosampler glass insert and place into the same autosampler vial. The sample is ready for analysis. Whilst the LC-MS is running, all equipment used for the sample preparation needs to be cleaned up or put in the appropriate container for disposal. You will be given instructions how to do this. In general, the syringes and the Microdispenser should be flushed with isopropanol: acetone (1:1). All reagent solutions should be returned to the refrigerator or the freezer, as directed. Step 5. LC-MS/MS analysis. The Agilent 6430 HPLC-MS/MS system will be used for this analysis. Table 1. in the Appendix lists the instrumental parameters as specified in the EZ:Faast kit. You will be provided with any changes to these conditions. Prior to the laboratory session, the instrument was set up by the instructor to allow the system to reach equilibrium prior to the analyses. 1. Set up the sample vials in the autosampler according to the following order: 2. Your instructor will help you set up the sequence of samples to be analyzed. 3. Run the analysis Due to the time required for all 5 chromatographic runs to be completed, the final processed data will be sent to each group member after the laboratory session. In the remaining sections, you will process 'trial' data. These steps will serve as a guide how to process your data. Section B. Identification of the amino acids present in the sample "AA11" For this experiment, only the SD1 standard and one sample (AA11) were analysed. The sample AA11 was expected to contain up to 5 of those targeted amino acids. The general steps to carry out this process are identified below. Your instructor will go through the steps in more detail using the software. 1. Load the data for the standard "SD1". Identify the appropriate ion for each of the amino acid analytes using Table 2. Process the data to generate the extracted ion chromatograms (EIC) for each ion. The EIC shows the abundance of that ion as a function of time during the run whereas the total ion chromatogram (TIC) displays the sum of all ions collected as a function of time


