Answered step by step
Verified Expert Solution
Question
1 Approved Answer
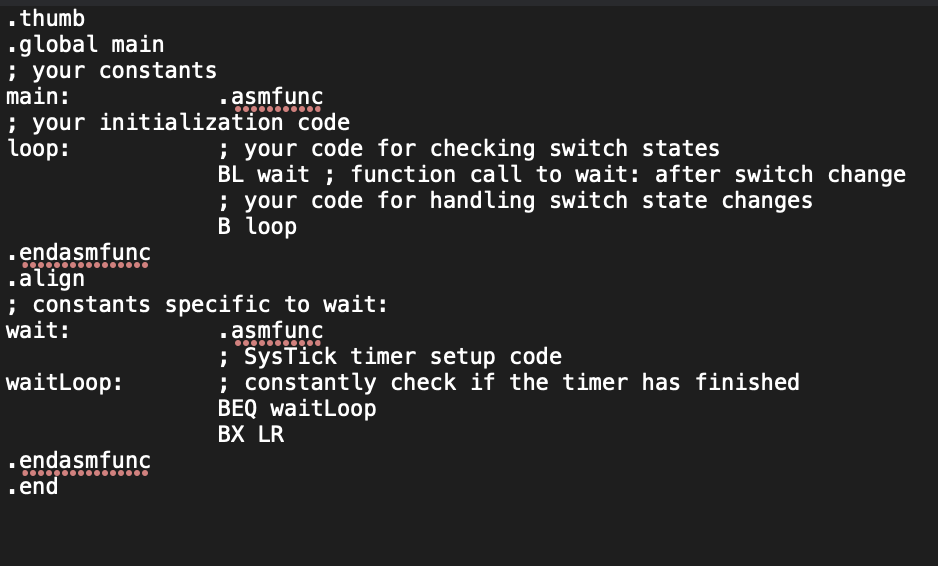
EENG/CSCD HELP THANKS CODE TO BE WRITTEN IN ARM ASSEMBLY LANGUAGE NOT C++ MCU TM4C123GH6PM asks for this lab - Connect the provided LED hardware
EENG/CSCD HELP THANKS
CODE TO BE WRITTEN IN ARM ASSEMBLY LANGUAGE NOT C++
MCU TM4C123GH6PM
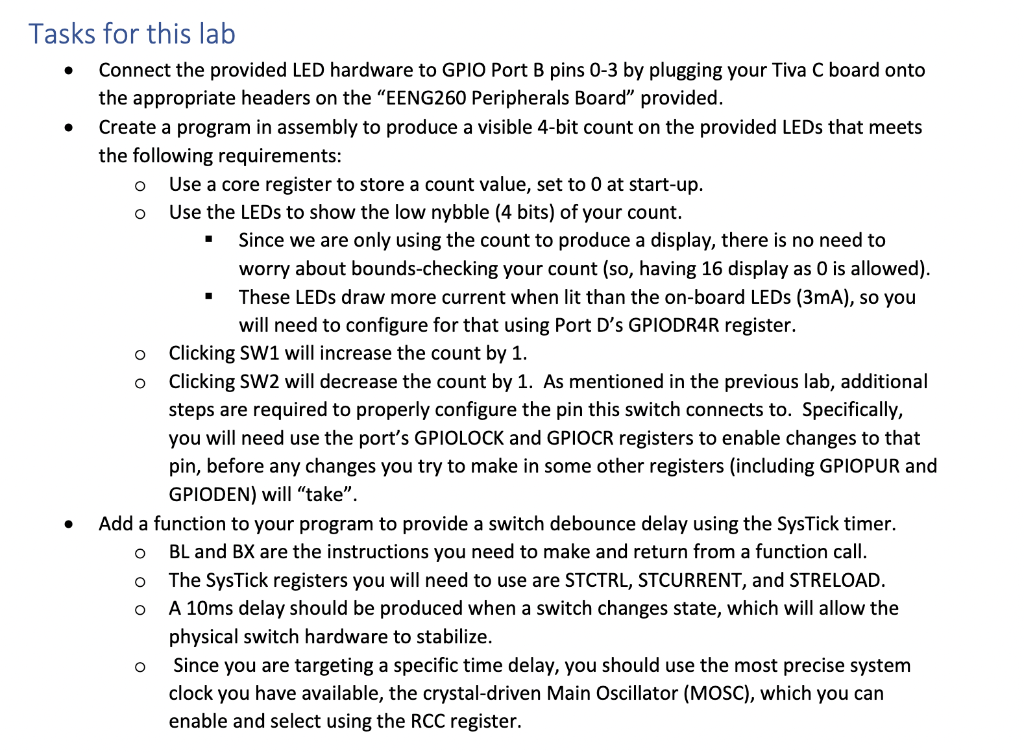
asks for this lab - Connect the provided LED hardware to GPIO Port B pins 0-3 by plugging your Tiva C board onto the appropriate headers on the "EENG260 Peripherals Board" provided. - Create a program in assembly to produce a visible 4-bit count on the provided LEDs that meets the following requirements: - Use a core register to store a count value, set to 0 at start-up. - Use the LEDs to show the low nybble (4 bits) of your count. - Since we are only using the count to produce a display, there is no need to worry about bounds-checking your count (so, having 16 display as 0 is allowed). - These LEDs draw more current when lit than the on-board LEDs (3mA), so you will need to configure for that using Port D's GPIODR4R register. - Clicking SW1 will increase the count by 1 . - Clicking SW2 will decrease the count by 1. As mentioned in the previous lab, additional steps are required to properly configure the pin this switch connects to. Specifically, you will need use the port's GPIOLOCK and GPIOCR registers to enable changes to that pin, before any changes you try to make in some other registers (including GPIOPUR and GPIODEN) will "take". - Add a function to your program to provide a switch debounce delay using the SysTick timer. - BL and BX are the instructions you need to make and return from a function call. - The SysTick registers you will need to use are STCTRL, STCURRENT, and STRELOAD. - A 10ms delay should be produced when a switch changes state, which will allow the physical switch hardware to stabilize. - Since you are targeting a specific time delay, you should use the most precise system clock you have available, the crystal-driven Main Oscillator (MOSC), which you can enable and select using the RCC registerStep by Step Solution
There are 3 Steps involved in it
Step: 1
Get Instant Access to Expert-Tailored Solutions
See step-by-step solutions with expert insights and AI powered tools for academic success
Step: 2
Step: 3
Ace Your Homework with AI
Get the answers you need in no time with our AI-driven, step-by-step assistance
Get Started