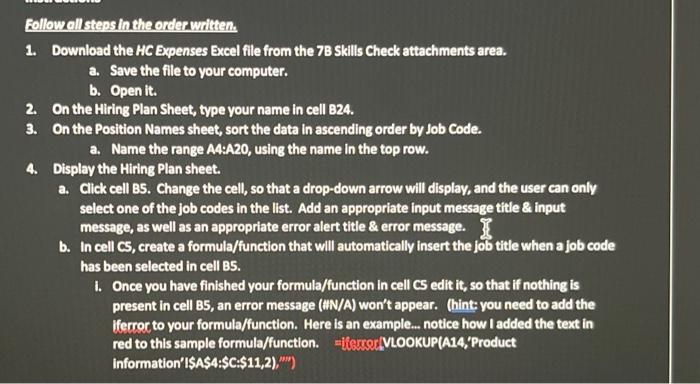
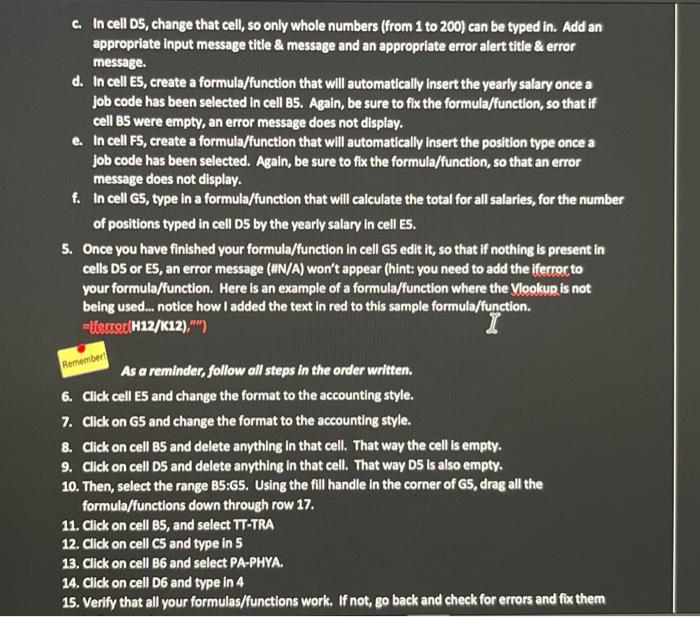
Eollowell steps in the ercterwiltten. 1. Download the HC Expenses Excel file from the 7B Skills Check attachments area. a. Save the file to your computer. b. Open it. 2. On the Hiring Plan Sheet, type your name in cell 824. 3. On the Position Names sheet, sort the data in ascending order by Job Code. a. Name the range A4:A20, using the name in the top row. 4. Display the Hiring Plan sheet. a. Click cell BS. Change the cell, so that a drop-down arrow will display, and the user can only select one of the job codes in the list. Add an appropriate input message title \& input message, as well as an appropriate error alert title & error message. I b. In cell CS, create a formula/function that will automatically insert the job title when a job code has been selected in cell B5. 1. Once you have finished your formula/function in cell CS edit it, so that if nothing is present in cell B5, an error message (UN/A) won't appear. (hint: you need to add the lferror to your formula/function. Here is an example... notice how I added the text in red to this sample formula/function. EilferreriVLOOKUP(A14,'Product Information'ISAS4:\$C:\$11,2),',') c. In cell D5, change that cell, so only whole numbers (from 1 to 200) can be typed in. Add an appropriate input message title \& message and an appropriate error alert title \& error message. d. In cell E5, create a formula/function that will automatically insert the yearly salary once a job code has been selected in cell B5. Again, be sure to fix the formula/function, so that if cell B5 were empty, an error message does not display. e. In cell F5, create a formula/function that will automatically insert the position type once a job code has been selected. Again, be sure to fix the formula/function, so that an error message does not display. f. In cell G5, type in a formula/function that will calculate the total for all salaries, for the number of positions typed in cell D5 by the yearly salary in cell E5. 5. Once you have finished your formula/function in cell G5edit it, so that if nothing is present in cells D5 or ES, an error message (UN/A) won't appear (hint: you need to add the iferror to your formula/function. Here is an example of a formula/function where the Vlookup is not being used... notice how I added the text in red to this sample formula/function. =l(erer(H12/k12),"') As a reminder, follow all steps in the order written. 6. Cilck cell E5 and change the format to the accounting style. 7. Click on GS and change the format to the accounting style. 8. Click on cell B5 and delete anything in that cell. That way the cell is empty. 9. Click on cell D5 and delete anything in that cell. That way D5 is also empty. 10. Then, select the range B5:G5. Using the fill handle in the corner of G5, drag all the formula/functions down through row 17. 11. Click on cell B5, and select T-TRA 12. Click on cell C5 and type in 5 13. Click on cell B6 and select PA-PHYA. 14. Click on cell D6 and type in 4 before continuing on. 16. Insert a formula/function in cell G18 that totals column G. 17. Insert a formula/function in cell G19 that totals column D. 18. Complete G20, by insertins a lookup formula/function that will automatically insert the costs for Extra Parking Spaces Needed assoclated with the number of new positions (hint, use the Information on the Parking Cost Projections sheet in your formula/function). Once you have finished your formula/function in cell edit it, so that if nothing is present in cell G19, an error message (UN/N) won't appear. 2lpace a. Format cell 620 using the accounting style. 19. Refering to the label in cell B21, Insert a formula/function to complete cell 621 . 20. Change the orientation on the Hiring Plan sheet to landscape. 21. Turn on the row and column headlings, so if you were to print, you would see the gridlines. 22. Save your work. 23. Close vour File. 24. Close Excel 25. Verlify that your Excel work is saved on your computer, and that you've closed the file. (Whille savine please do not change the file format. Keep it as Excel)