

Question: Exercise 4-1 Create the Movie List app This exercise guides you through the development of the Movie List app that's presented in this chapter. This
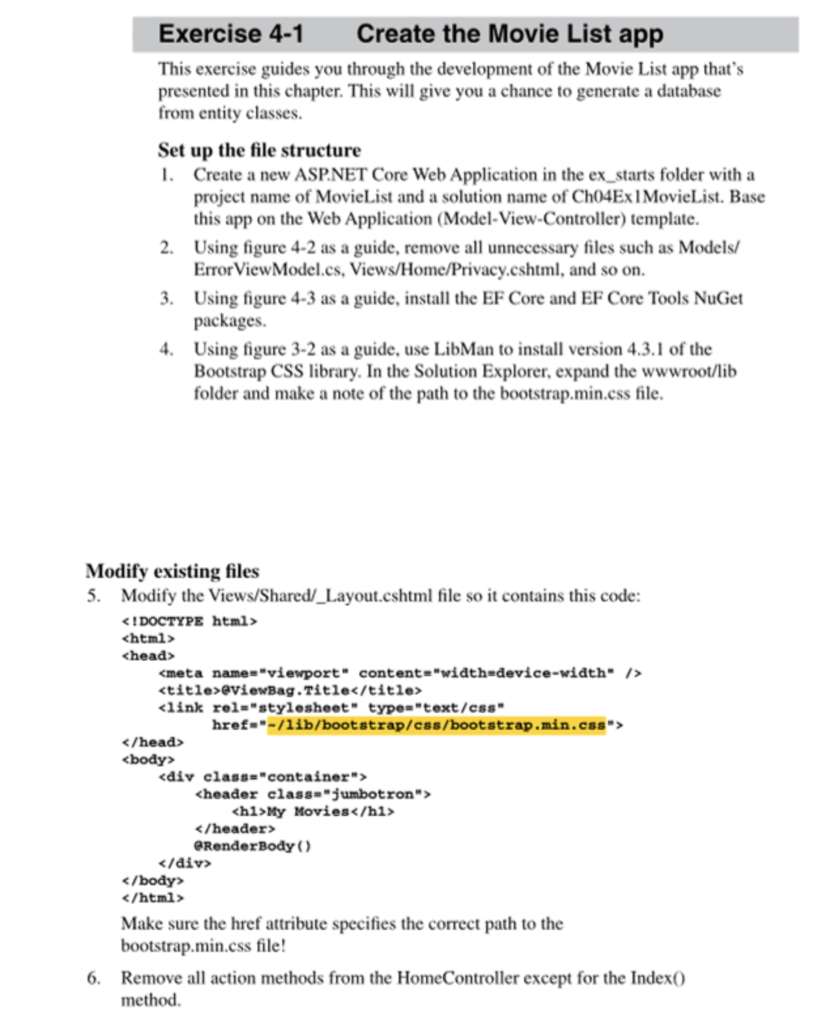
Exercise 4-1 Create the Movie List app This exercise guides you through the development of the Movie List app that's presented in this chapter. This will give you a chance to generate a database from entity classes. Set up the file structure 1. Create a new ASP.NET Core Web Application in the ex_starts folder with a project name of MovieList and a solution name of Ch04Ex MovieList. Base this app on the Web Application (Model-View-Controller) template. 2. Using figure 4-2 as a guide, remove all unnecessary files such as Models/ Error ViewModel.cs, Views/Home/Privacy.cshtml, and so on. 3. Using figure 4-3 as a guide, install the EF Core and EF Core Tools NuGet packages. 4. Using figure 3-2 as a guide, use LibMan to install version 4.3.1 of the Bootstrap CSS library. In the Solution Explorer, expand the wwwroot/lib folder and make a note of the path to the bootstrap.min.css file. Modify existing files 5. Modify the Views/Shared/_Layout.eshtml file so it contains this code:
My Movies
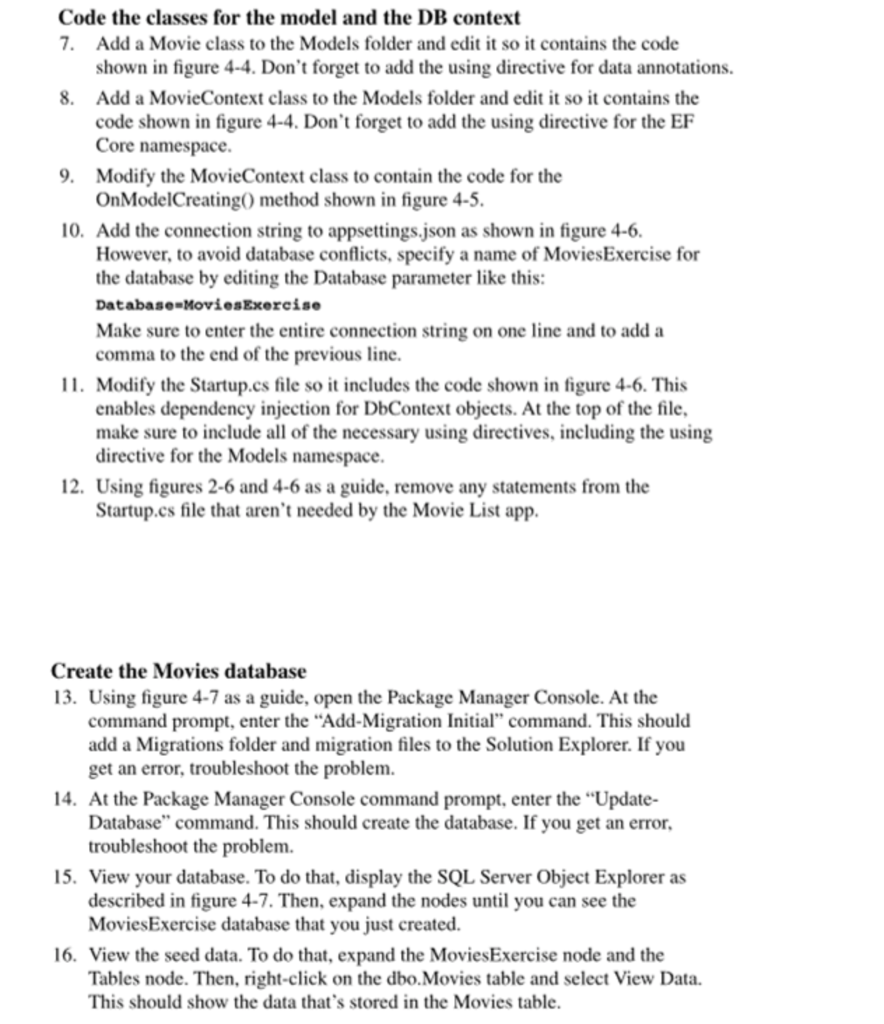
Make sure the href attribute specifies the correct path to the bootstrap.min.css file! 6. Remove all action methods from the HomeController except for the Index() method. Code the classes for the model and the DB context 7. Add a Movie class to the Models folder and edit it so it contains the code shown in figure 4-4. Don't forget to add the using directive for data annotations. 8. Add a MovieContext class to the Models folder and edit it so it contains the code shown in figure 4-4. Don't forget to add the using directive for the EF Core namespace. 9. Modify the MovieContext class to contain the code for the OnModelCreating() method shown in figure 4-5. 10. Add the connection string to appsettings.json as shown in figure 4-6. However, to avoid database conflicts, specify a name of MoviesExercise for the database by editing the Database parameter like this: Database=MoviesExercise Make sure to enter the entire connection string on one line and to add a comma to the end of the previous line. 11. Modify the Startup.cs file so it includes the code shown in figure 4-6. This enables dependency injection for DbContext objects. At the top of the file, make sure to include all of the necessary using directives, including the using directive for the Models namespace. 12. Using figures 2-6 and 4-6 as a guide, remove any statements from the Startup.cs file that aren't needed by the Movie List app. Create the Movies database 13. Using figure 4-7 as a guide, open the Package Manager Console. At the command prompt, enter the "Add-Migration Initial" command. This should add a Migrations folder and migration files to the Solution Explorer. If you get an error, troubleshoot the problem. 14. At the Package Manager Console command prompt, enter the "Update- Database" command. This should create the database. If you get an error, troubleshoot the problem. 15. View your database. To do that, display the SQL Server Object Explorer as described in figure 4-7. Then, expand the nodes until you can see the MoviesExercise database that you just created. 16. View the seed data. To do that, expand the MoviesExercise node and the Tables node. Then, right-click on the dbo. Movies table and select View Data. This should show the data that's stored in the Movies table. Modify the Home controller and its view 17. Modify the Home controller so it contains the code shown in figure 4-10. At the top of the controller, make sure to include using directives for all necessary namespaces including the Models namespace. 18. Modify the Home/Index view so it contains the code shown in figure 4-10. 19. From the Start drop-down list, select the name of the app, not IISExpress. Then, run the app. It should display the list of movies in the default browser. However, clicking the Add, Edit, or Delete links should cause an error. Add the Movie controller and its views 20. Add a new controller named MovieController to the Controllers folder. Then, modify this controller so it contains the code shown in figure 4-11. Again, make sure to include the using directive for the Models namespace. 21. Add a folder named Movie under the Views folder. 22. Add a new view named Edit to the Views/Movie folder. Then, modify this view so it contains the code shown in figure 4-12. 23. Add a new view named Delete to the Views/Movie folder. Then, modify this view so it contains the code shown in in figure 4-13. 24. Run the app. It should display the list of movies. In addition, you should be able to add, edit, and delete movies. Update the database to store genre data 25. Add a Genre class to the Models folder. Then, modify this class so it contains the code shown in figure 4-14. 26. Modify the code for the Movie class so it includes a Genre property and foreign key as shown in figure 4-14. 27. Modify the MovieContext class to add the Genre model and seed it with initial data as shown in figure 4-15. 28. Open the Package Manager Console and enter the Add-Migration Genre" command. This should add a migration file to the Solution Explorer. 29. At the Package Manager Console command prompt, enter the "Update- Database" command. This should add a Genre table and data to the database. Update the controllers and views to work with genre data 30. Modify the Home controller's Index() method so it contains the code shown in figure 4-17. 31. Modify the Home/Index view so it contains the code shown in figure 4-17. 32. Modify the Movie controller's Add() and Edit() action methods so they contain the code shown in figure 4-18. 33. Modify the Movie/Edit view so it contains the code shown in figure 4-18. 34. Run the app. It should work with genre data. Make the URLs more user friendly 35. Edit the Startup.cs file as shown in figure 4-19 to make the URLs for the app lowercase and with a trailing slash. 36. Add a slug to the URLs for editing or deleting a movie as described in figure 4-20. 37. Run the app. Its URLs should now be lowercase and use slugs when editing or deleting a movie. Exercise 4-1 Create the Movie List app This exercise guides you through the development of the Movie List app that's presented in this chapter. This will give you a chance to generate a database from entity classes. Set up the file structure 1. Create a new ASP.NET Core Web Application in the ex_starts folder with a project name of MovieList and a solution name of Ch04Ex MovieList. Base this app on the Web Application (Model-View-Controller) template. 2. Using figure 4-2 as a guide, remove all unnecessary files such as Models/ Error ViewModel.cs, Views/Home/Privacy.cshtml, and so on. 3. Using figure 4-3 as a guide, install the EF Core and EF Core Tools NuGet packages. 4. Using figure 3-2 as a guide, use LibMan to install version 4.3.1 of the Bootstrap CSS library. In the Solution Explorer, expand the wwwroot/lib folder and make a note of the path to the bootstrap.min.css file. Modify existing files 5. Modify the Views/Shared/_Layout.eshtml file so it contains this code:
My Movies
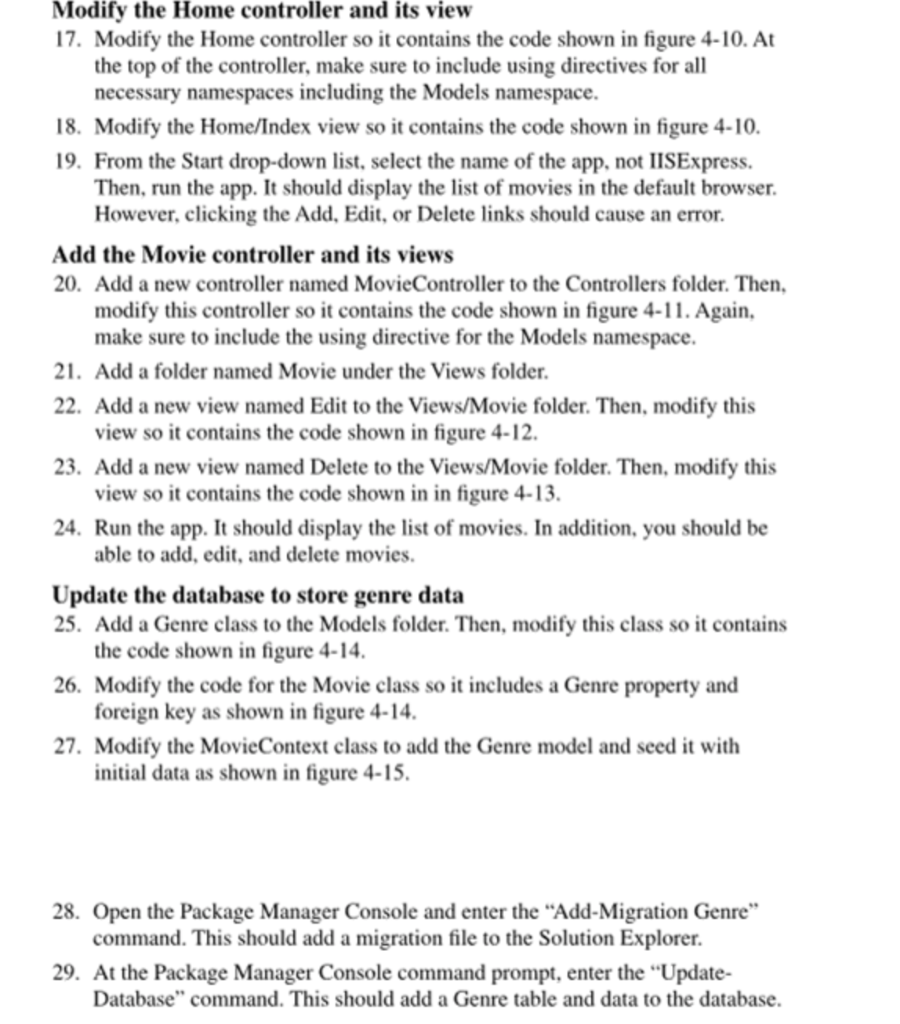
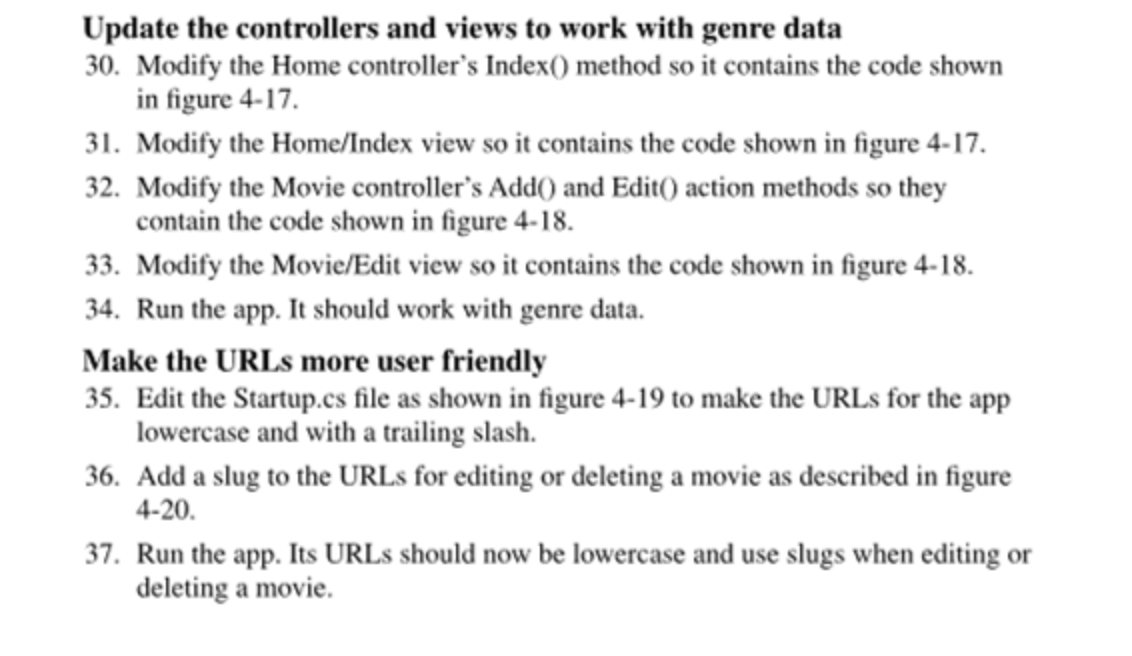
Make sure the href attribute specifies the correct path to the bootstrap.min.css file! 6. Remove all action methods from the HomeController except for the Index() method. Code the classes for the model and the DB context 7. Add a Movie class to the Models folder and edit it so it contains the code shown in figure 4-4. Don't forget to add the using directive for data annotations. 8. Add a MovieContext class to the Models folder and edit it so it contains the code shown in figure 4-4. Don't forget to add the using directive for the EF Core namespace. 9. Modify the MovieContext class to contain the code for the OnModelCreating() method shown in figure 4-5. 10. Add the connection string to appsettings.json as shown in figure 4-6. However, to avoid database conflicts, specify a name of MoviesExercise for the database by editing the Database parameter like this: Database=MoviesExercise Make sure to enter the entire connection string on one line and to add a comma to the end of the previous line. 11. Modify the Startup.cs file so it includes the code shown in figure 4-6. This enables dependency injection for DbContext objects. At the top of the file, make sure to include all of the necessary using directives, including the using directive for the Models namespace. 12. Using figures 2-6 and 4-6 as a guide, remove any statements from the Startup.cs file that aren't needed by the Movie List app. Create the Movies database 13. Using figure 4-7 as a guide, open the Package Manager Console. At the command prompt, enter the "Add-Migration Initial" command. This should add a Migrations folder and migration files to the Solution Explorer. If you get an error, troubleshoot the problem. 14. At the Package Manager Console command prompt, enter the "Update- Database" command. This should create the database. If you get an error, troubleshoot the problem. 15. View your database. To do that, display the SQL Server Object Explorer as described in figure 4-7. Then, expand the nodes until you can see the MoviesExercise database that you just created. 16. View the seed data. To do that, expand the MoviesExercise node and the Tables node. Then, right-click on the dbo. Movies table and select View Data. This should show the data that's stored in the Movies table. Modify the Home controller and its view 17. Modify the Home controller so it contains the code shown in figure 4-10. At the top of the controller, make sure to include using directives for all necessary namespaces including the Models namespace. 18. Modify the Home/Index view so it contains the code shown in figure 4-10. 19. From the Start drop-down list, select the name of the app, not IISExpress. Then, run the app. It should display the list of movies in the default browser. However, clicking the Add, Edit, or Delete links should cause an error. Add the Movie controller and its views 20. Add a new controller named MovieController to the Controllers folder. Then, modify this controller so it contains the code shown in figure 4-11. Again, make sure to include the using directive for the Models namespace. 21. Add a folder named Movie under the Views folder. 22. Add a new view named Edit to the Views/Movie folder. Then, modify this view so it contains the code shown in figure 4-12. 23. Add a new view named Delete to the Views/Movie folder. Then, modify this view so it contains the code shown in in figure 4-13. 24. Run the app. It should display the list of movies. In addition, you should be able to add, edit, and delete movies. Update the database to store genre data 25. Add a Genre class to the Models folder. Then, modify this class so it contains the code shown in figure 4-14. 26. Modify the code for the Movie class so it includes a Genre property and foreign key as shown in figure 4-14. 27. Modify the MovieContext class to add the Genre model and seed it with initial data as shown in figure 4-15. 28. Open the Package Manager Console and enter the Add-Migration Genre" command. This should add a migration file to the Solution Explorer. 29. At the Package Manager Console command prompt, enter the "Update- Database" command. This should add a Genre table and data to the database. Update the controllers and views to work with genre data 30. Modify the Home controller's Index() method so it contains the code shown in figure 4-17. 31. Modify the Home/Index view so it contains the code shown in figure 4-17. 32. Modify the Movie controller's Add() and Edit() action methods so they contain the code shown in figure 4-18. 33. Modify the Movie/Edit view so it contains the code shown in figure 4-18. 34. Run the app. It should work with genre data. Make the URLs more user friendly 35. Edit the Startup.cs file as shown in figure 4-19 to make the URLs for the app lowercase and with a trailing slash. 36. Add a slug to the URLs for editing or deleting a movie as described in figure 4-20. 37. Run the app. Its URLs should now be lowercase and use slugs when editing or deleting a movie
Step by Step Solution
There are 3 Steps involved in it

Get step-by-step solutions from verified subject matter experts