

Question: For this assignment, you will create an Album app that allows you to practice creating and using your own struct. Requirements: 1. Create a new
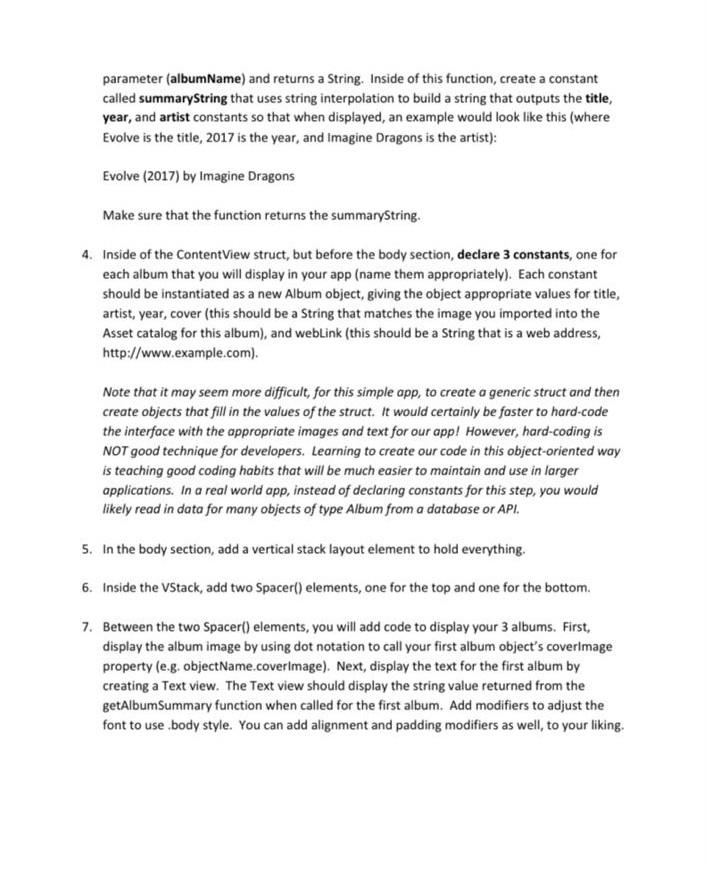
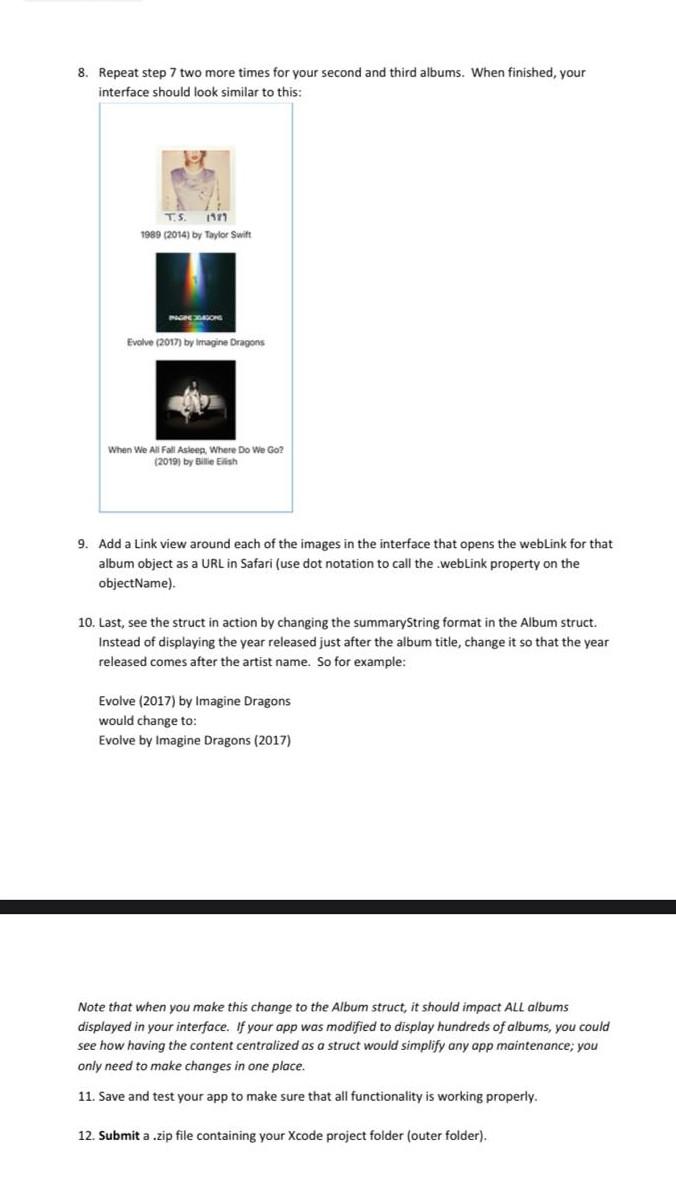
For this assignment, you will create an Album app that allows you to practice creating and using your own struct. Requirements: 1. Create a new iOS app project called Albums using Swift and SwiftUI. This app will use a custom struct called Album that will hold album information. You will then instantiate 3 objects of this Album type and display them onscreen. Each object will be displayed with an image (clickable to a URL) and summary text that shows the album title, year released, and artist name. 2. First, gather your data for the data model. You will need 3 album images that are 150150 pixels in size. (You can resize them in Adobe Photoshop as needed.). In addition to the album images, you will need to know the album title, artist, year released, and a web page link that discusses the album (use Wikipedia if you do not have a better option). Add your 3 album images to the project's Asset catalog. 3. Create a struct called Album. Create the struct inside ContentView.swift (note that you are able to create structs or classes as their own Swift files, but since this struct will be short in length, it is fine to include in the main code). You should place the struct after the import statement but BEFORE the ContentView struct in ContentView.swift. The Album struct should contain the following constants: title (String), artist (String), year (String), cover (String), and webLink (String). The struct should also contain a variable called coverimage of type Image, with a default value that creates an Image using the cover constant created above. The code to do this should be: var coverimage: Image \{ Image(cover) \} Finally, the struct should contain a function called getAlbumSummary that takes one input parameter (albumName) and returns a String. Inside of this function, create a constant called summaryString that uses string interpolation to build a string that outputs the title, year, and artist constants so that when displayed, an example would look like this (where Evolve is the title, 2017 is the year, and Imagine Dragons is the artist): Evolve (2017) by Imagine Dragons Make sure that the function returns the summaryString. 4. Inside of the ContentView struct, but before the body section, declare 3 constants, one for each album that you will display in your app (name them appropriately). Each constant should be instantiated as a new Album object, giving the object appropriate values for title, artist, year, cover (this should be a String that matches the image you imported into the Asset catalog for this album), and weblink (this should be a String that is a web address, http://www.example.com). parameter (albumName) and returns a String. Inside of this function, create a constant called summaryString that uses string interpolation to build a string that outputs the title, year, and artist constants so that when displayed, an example would look like this (where Evolve is the title, 2017 is the year, and Imagine Dragons is the artist): Evolve (2017) by Imagine Dragons Make sure that the function returns the summaryString. 4. Inside of the ContentView struct, but before the body section, declare 3 constants, one for each album that you will display in your app (name them appropriately). Each constant should be instantiated as a new Album object, giving the object appropriate values for title, artist, year, cover (this should be a String that matches the image you imported into the Asset catalog for this album), and webLink (this should be a String that is a web address, http://www.example.com). Note that it may seem more difficult, for this simple app, to create a generic struct and then create objects that fill in the values of the struct. It would certainly be faster to hard-code the interface with the appropriate images and text for our app! However, hard-coding is NOT good technique for developers. Learning to create our code in this object-oriented way is teaching good coding habits that will be much easier to maintain and use in larger applications. In a real world app, instead of declaring constants for this step, you would likely read in data for many objects of type Album from a database or API. 5. In the body section, add a vertical stack layout element to hold everything. 6. Inside the VStack, add two Spacer() elements, one for the top and one for the bottom. 7. Between the two Spacer() elements, you will add code to display your 3 albums. First, display the album image by using dot notation to call your first album object's coverimage property (e.g. objectName.coverimage). Next, display the text for the first album by creating a Text view. The Text view should display the string value returned from the getAlbumSummary function when called for the first album. Add modifiers to adjust the font to use ,body style. You can add alignment and padding modifiers as well, to your liking. 8. Repeat step 7 two more times for your second and third albums. When finished, your interface should look similar to this: 1989(2014) by Taylor Swift Evalve (2017)byirragineOragons When We Ali Fall Asleen, Where Do We Go? (2019) by gillie Eilish 9. Add a Link view around each of the images in the interface that opens the webLink for that album object as a URL in Safari (use dot notation to call the .webLink property on the objectName). 10. Last, see the struct in action by changing the summaryString format in the Album struct. Instead of displaying the year released just after the album title, change it so that the year released comes after the artist name. So for example: Evolve (2017) by Imagine Dragons would change to: Evolve by Imagine Dragons (2017) Note that when you make this change to the Album struct, it should impact AlL albums displayed in your interface. If your app was modified to display hundreds of albums, you could see how having the content centralized as a struct would simplify any app maintenance; you only need to make changes in one place. 11. Save and test your app to make sure that all functionality is working properly. 12. Submit a .zip file containing your Xcode project folder (outer folder)
Step by Step Solution
There are 3 Steps involved in it

Get step-by-step solutions from verified subject matter experts