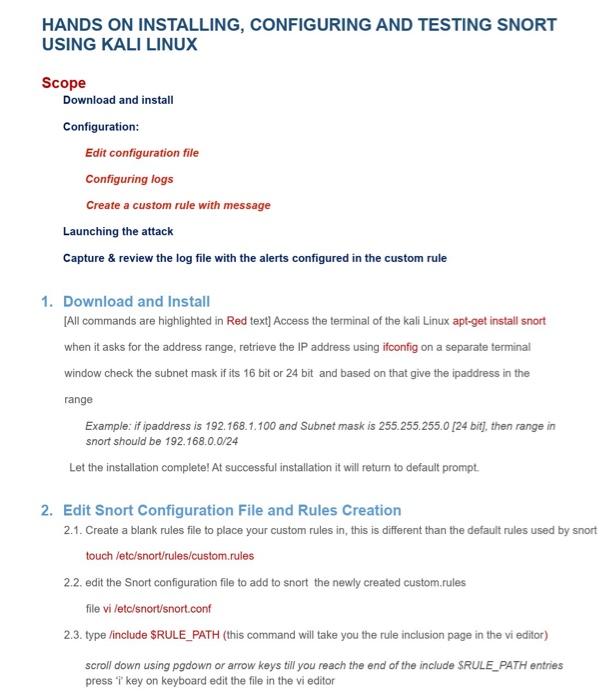
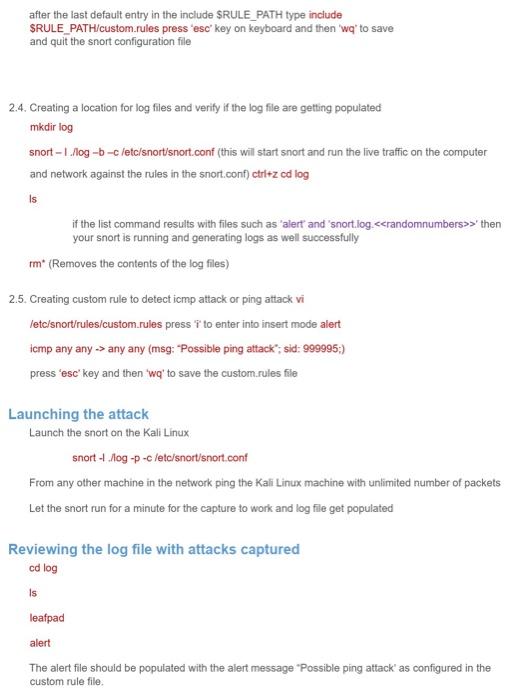
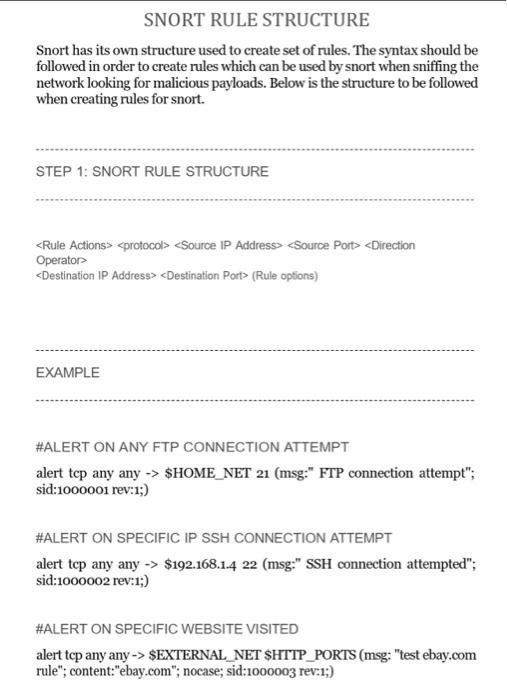
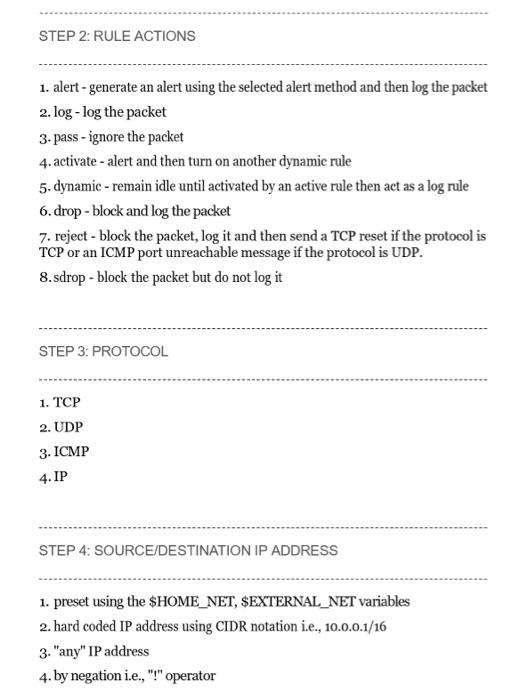
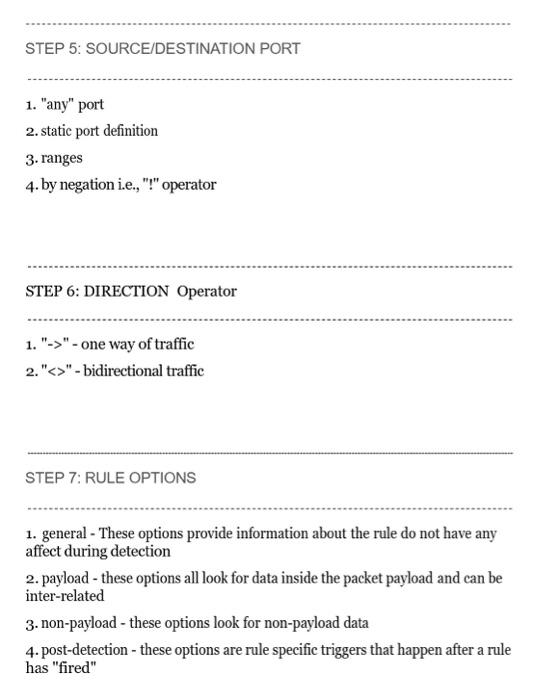
HANDS ON INSTALLING, CONFIGURING AND TESTING SNORT USING KALI LINUX Scope Download and install Configuration: Edit configuration file Configuring logs Create a custom rule with message Launching the attack Capture \& review the log file with the alerts configured in the custom rule 1. Download and Install [All commands are highlighted in Red text] Access the terminal of the kali Linux apt-get install snort when it asks for the address range, retrieve the IP address using ifconfig on a separate terminal window check the subnet mask if its 16 bit or 24 bit and based on that give the ipaddress in the range Example: if ipaddress is 192.168 .1 .100 and Subnet mask is 255.255 .255 .0 [24 bit], then range in snort should be 192.168.0.0/24 Let the installation complete! At successful installation it will return to default prompt. 2. Edit Snort Configuration File and Rules Creation 2.1. Create a blank rules file to place your custom rules in, this is different than the default rules used by snort touch /etc/snort/rules/custom.rules 2.2. edit the Snort configuration file to add to snort the newly created custom.rules file vi /ete/snort/snort.conf 2.3. type linclude \$RULE_PATH (this command will take you the rule inclusion page in the vi editor) scroll down using pgdown or arrow keys till you reach the end of the include SRULE_PATH entries after the last default entry in the include \$RULE_PATH type include SRULE PATH/custom.rules press 'esc' key on keyboard and then 'wq' to save and quit the snort configuration file 2.4. Creating a location for log files and verify if the log file are getting populated mkdir log snort - 1. . log bc/etc/snort/snort.conf (this will start snort and run the live traffic on the computer and network against the rules in the snort.conf) ctrl+z col log is if the list command results with files such as 'alert' and 'snort.log.>' then your snort is running and generating logs as well successfully rm (Removes the contents of the log files) 2.5. Creating custom rule to detect icmp attack or ping attack vi letc/snort/rules/custom.rules press ' i ' to enter into insert mode alert icmp any any any any (msg: "Possible ping attack"; sid: 999995;) press 'esc' key and then 'wq' to save the custom.rules file Launching the attack Launch the snort on the Kali Linux snort -1./log -p -c/etc/snort/snort.conf From any other machine in the network ping the Kali Linux machine with unlimited number of packets Let the snort run for a minute for the capture to work and log file get populated Reviewing the log file with attacks captured cd log is leafpad alert The alert file should be populated with the alert message 'Possible ping attack' as configured in the custom rule file. Snort has its own structure used to create set of rules. The syntax should be followed in order to create rules which can be used by snort when sniffing the network looking for malicious payloads. Below is the structure to be followed when creating rules for snort. STEP 1: SNORT RULE STRUCTURE (Rule oplions) EXAMPLE \#ALERT ON ANY FTP CONNECTION ATTEMPT alert tcp any any \$HOME_NET 21 (msg:" FTP connection attempt"; sid:1000001 rev:1; \#ALERT ON SPECIFIC IP SSH CONNECTION ATTEMPT alert tcp any any > \$192.168.1.4 22 (msg:" SSH connection attempted"; sid:1000002 rev:1;) \#ALERT ON SPECIFIC WEBSITE VISITED alert tcp any any > \$EXTERNAL_NET \$HTTP_PORTS (msg: "test ebay.com rule"; content:"ebay.com"; nocase; sid:1000003 rev:1;) STEP 2: RULE ACTIONS 1. alert - generate an alert using the selected alert method and then log the packet 2. log - log the packet 3 . pass - ignore the packet 4. activate - alert and then turn on another dynamic rule 5. dynamic - remain idle until activated by an active rule then act as a log rule 6. drop - block and log the packet 7. reject - block the packet, log it and then send a TCP reset if the protocol is TCP or an ICMP port unreachable message if the protocol is UDP. 8. sdrop - block the packet but do not log it STEP 3: PROTOCOL 1. TCP 2. UDP 3. ICMP 4. IP 1. general - These options provide information about the rule do not have any affect during detection 2. payload - these options all look for data inside the packet payload and can be inter-related 3. non-payload - these options look for non-payload data 4. post-detection - these options are rule specific triggers that happen after a rule has "fired
