I am in need of some help with this lab, 10.1 Creating Partitions and Filesystems, using CentOS Operating System, any help is appreciated.


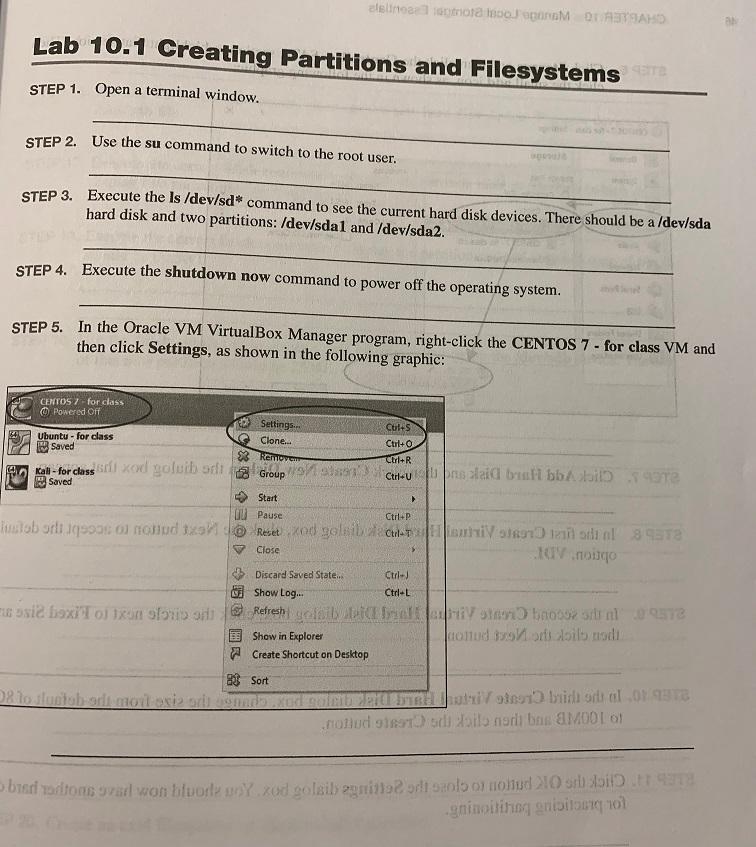
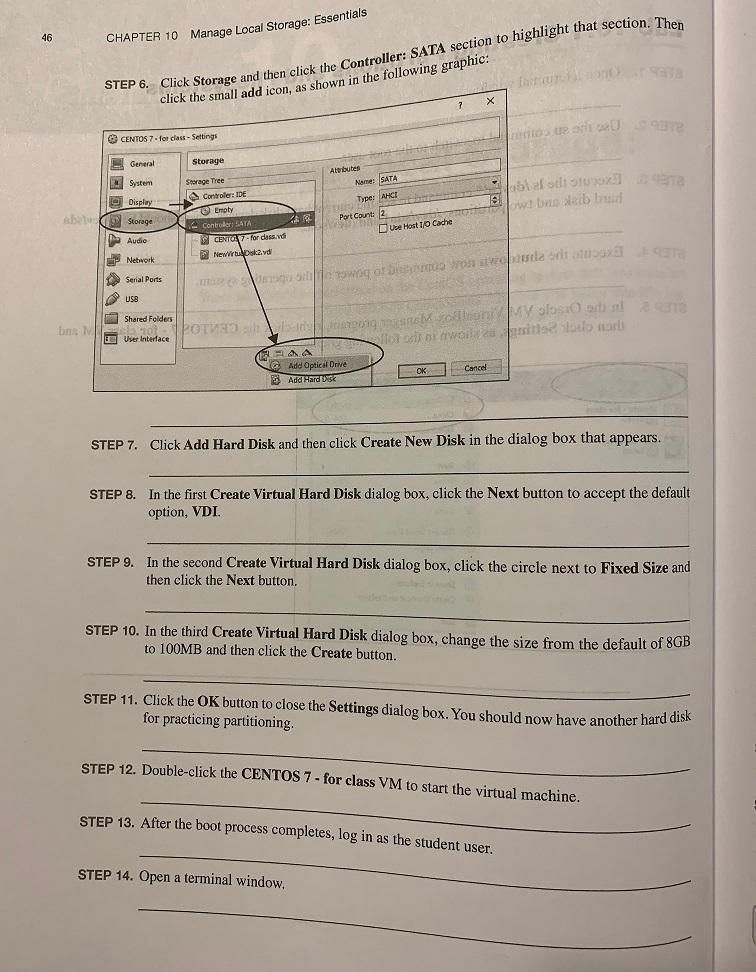
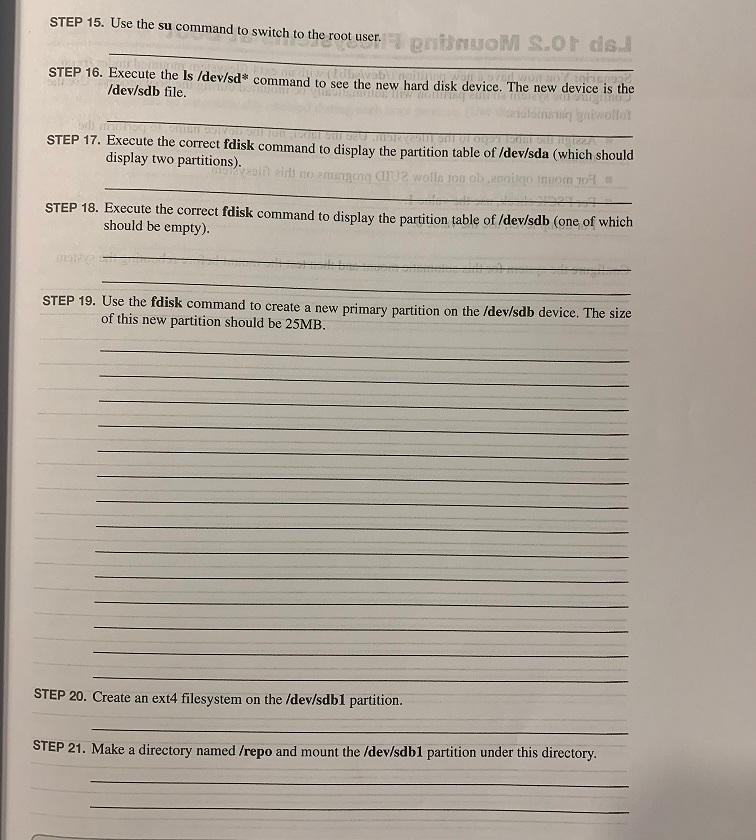
elslinga o te MOTSAD Lab 10.1 Creating Partitions and Filesystems STEP 1. Open a terminal window. STEP 2. Use the su command to switch to the root user. STEP 3. Execute the Is /dev/sd* command to see the current hard disk devices. There should be a /dev/sda hard disk and two partitions: /dev/sdal and /dev/sda2. STEP 4. Execute the shutdown now command to power off the operating system. STEP 5. In the Oracle VM VirtualBox Manager program, right-click the CENTOS 7 - for class VM and then click Settings, as shown in the following graphic: CENTOS / for class Powered off Settings... Cotis Ubuntu - for class Clone... Saved Ctrl+O 82 Remove Ctrl+R dass sie od golubart Kall-for class 08 Group Ctupnozlaid but bbabisote Saved Start U Pause Ctrl+P uslobortiq onud 12 Reset od golibri sol 895 Close 10.no Discard Saved State... Curly Show Log... Ctrl-L u osia faxil olan sa Refreshic His bon 09518 Show in Explorer montud sortilbod Create Shortcut on Desktop 83 Sort lo studiobor motoristoran GEETSTY otro sodal 09 ollud in Tadilo nariban SMOOTH biri odtoms sal won bloos zod goleil zgnil od saolo or none 10 Aito gninoitihani !!!! Io STEP 6. Click Storage and then click the Controller: SATA section to highlight that section. Then 46 CHAPTER 10 Manage Local Storage: Essentials click the small add icon, as shown in the following graphic: x CENTOS 7 - for class - Settings Jours 209372 Storage General System Atributes Name: SATA vol altre Type: AHC wibratibu Display be Storage Audie Storage Tree Controller: IDE Empty Controller: SAYA CENIC - for class vd Newrpska vd V Port Count: 2 Us Host 1/0 Cache Network Serial Ports toga bio on aivote a boxe USB be Shared Folders User Interface Paperig ooroosoo dlo a nawait tous 1-AA @ Add Optical Drive Cancel Add Hard Disk OK STEP 7. Click Add Hard Disk and then click Create New Disk in the dialog box that appears. STEP 8. In the first Create Virtual Hard Disk dialog box, click the Next button to accept the default option, VDI. STEP 9. In the second Create Virtual Hard Disk dialog box, click the circle next to Fixed Size and then click the Next button. STEP 10. In the third Create Virtual Hard Disk dialog box, change the size from the default of 8GB to 100MB and then click the Create button. STEP 11. Click the OK button to close the Settings dialog box. You should now have another hard disk for practicing partitioning. STEP 12. Double-click the CENTOS 7 - for class VM to start the virtual machine. STEP 13. After the boot process completes, log in as the student user. STEP 14. Open a terminal window. STEP 15. Use the su command to switch to the root user.pnmon s.or ds. STEP 16. Execute the ls /dev/sd* command to see the new hard disk device. The new device is the /dev/sdb file. STEP 17. Execute the correct fdisk command to display the partition table of /dev/sda (which should display two partitions) ali ir ergen 2 wolls ou obranco mo yo STEP 18. Execute the correct fdisk command to display the partition table of /dev/sdb (one of which should be empty). STEP 19. Use the fdisk command to create a new primary partition on the /dev/sdb device. The size of this new partition should be 25MB. STEP 20. Create an ext4 filesystem on the /dev/sdb1 partition. STEP 21. Make a directory named /repo and mount the /dev/sdb1 partition under this directory


