Answered step by step
Verified Expert Solution
Question
1 Approved Answer
I am so confused on how to do this. I have windows, my professor has Linux. While he says it's okay to use either Mac,
I am so confused on how to do this. I have windows, my professor has Linux. While he says it's okay to use either Mac, Windows, or Linux, he only does examples in Linux. I already did the background section. I'm just confused at the instructions and how to get the final result because all his tutorials are using Linux.
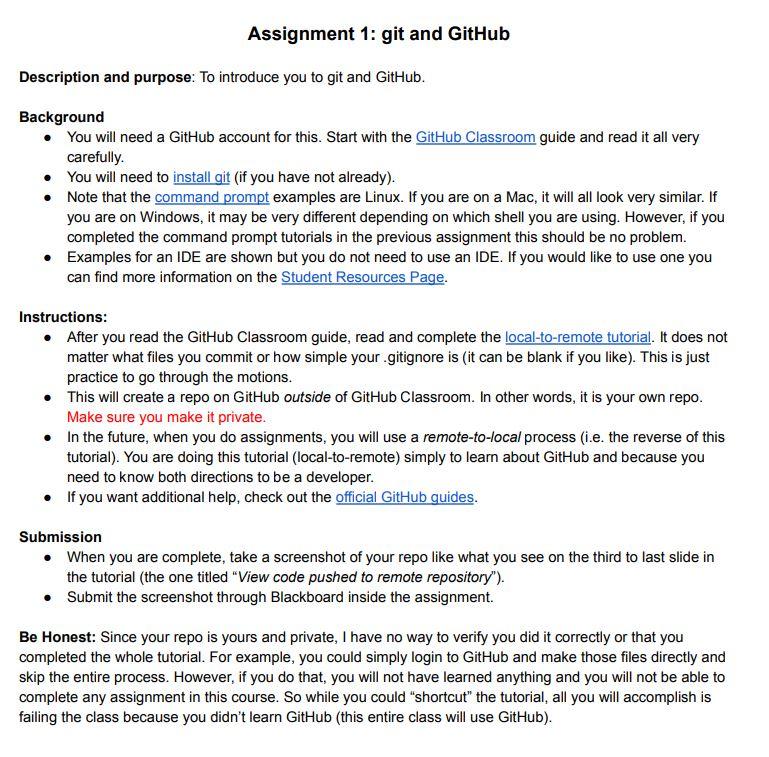
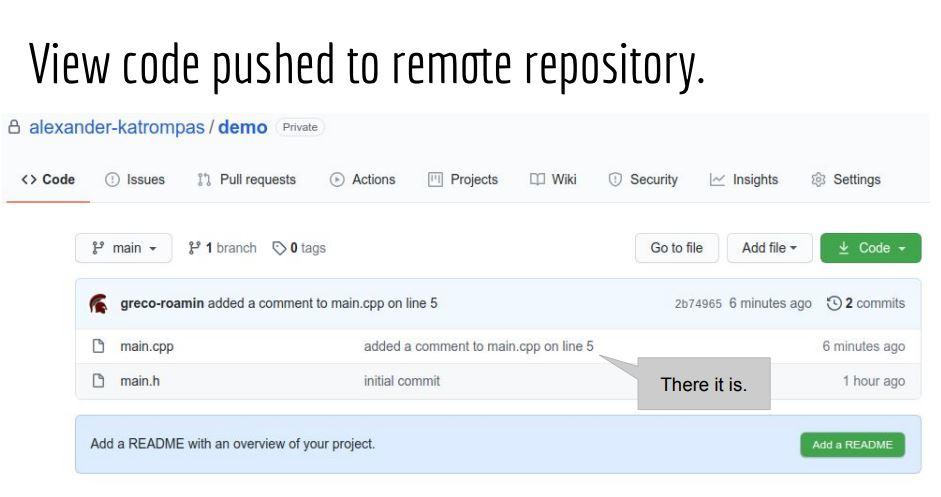
Description and purpose: To introduce you to git and GitHub. Background - You will need a GitHub account for this. Start with the GitHub Classroom guide and read it all very carefully. - You will need to install git (if you have not already). - Note that the command prompt examples are Linux. If you are on a Mac, it will all look very similar. If you are on Windows, it may be very different depending on which shell you are using. However, if you completed the command prompt tutorials in the previous assignment this should be no problem. - Examples for an IDE are shown but you do not need to use an IDE. If you would like to use one you can find more information on the Student Resources Page. Instructions: - After you read the GitHub Classroom guide, read and complete the local-to-remote tutorial. It does not matter what files you commit or how simple your .gitignore is (it can be blank if you like). This is just practice to go through the motions. - This will create a repo on GitHub outside of GitHub Classroom. In other words, it is your own repo. Make sure you make it private. - In the future, when you do assignments, you will use a remote-to-local process (i.e. the reverse of this tutorial). You are doing this tutorial (local-to-remote) simply to learn about GitHub and because you need to know both directions to be a developer. - If you want additional help, check out the official GitHub quides. Submission - When you are complete, take a screenshot of your repo like what you see on the third to last slide in the tutorial (the one titled "View code pushed to remote repository"). - Submit the screenshot through Blackboard inside the assignment. Be Honest: Since your repo is yours and private, I have no way to verify you did it correctly or that you completed the whole tutorial. For example, you could simply login to GitHub and make those files directly and skip the entire process. However, if you do that, you will not have learned anything and you will not be able to complete any assignment in this course. So while you could "shortcut" the tutorial, all you will accomplish is failing the class because you didn't learn GitHub (this entire class will use GitHub). View code pushed to remote repository. alexander-katrompas / demo 0 tagsStep by Step Solution
There are 3 Steps involved in it
Step: 1
Get Instant Access to Expert-Tailored Solutions
See step-by-step solutions with expert insights and AI powered tools for academic success
Step: 2
Step: 3
Ace Your Homework with AI
Get the answers you need in no time with our AI-driven, step-by-step assistance
Get Started