 I need the flowchart for logic 3 please. Thanks
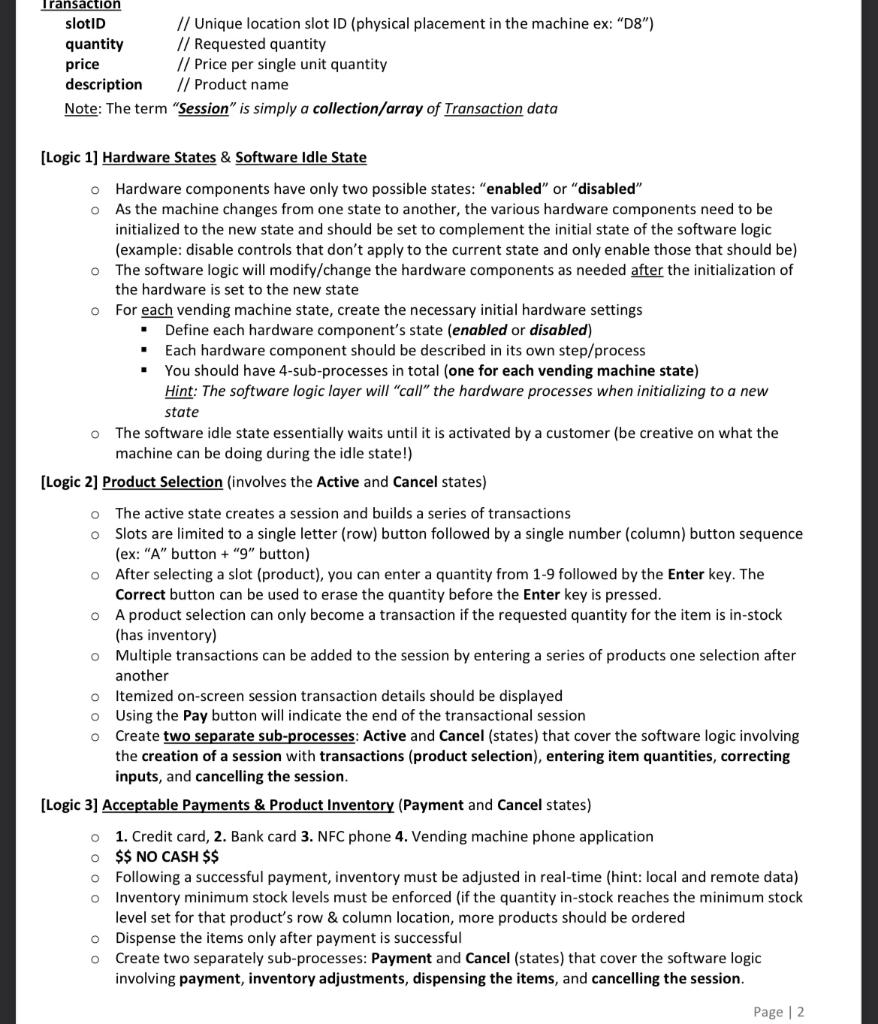
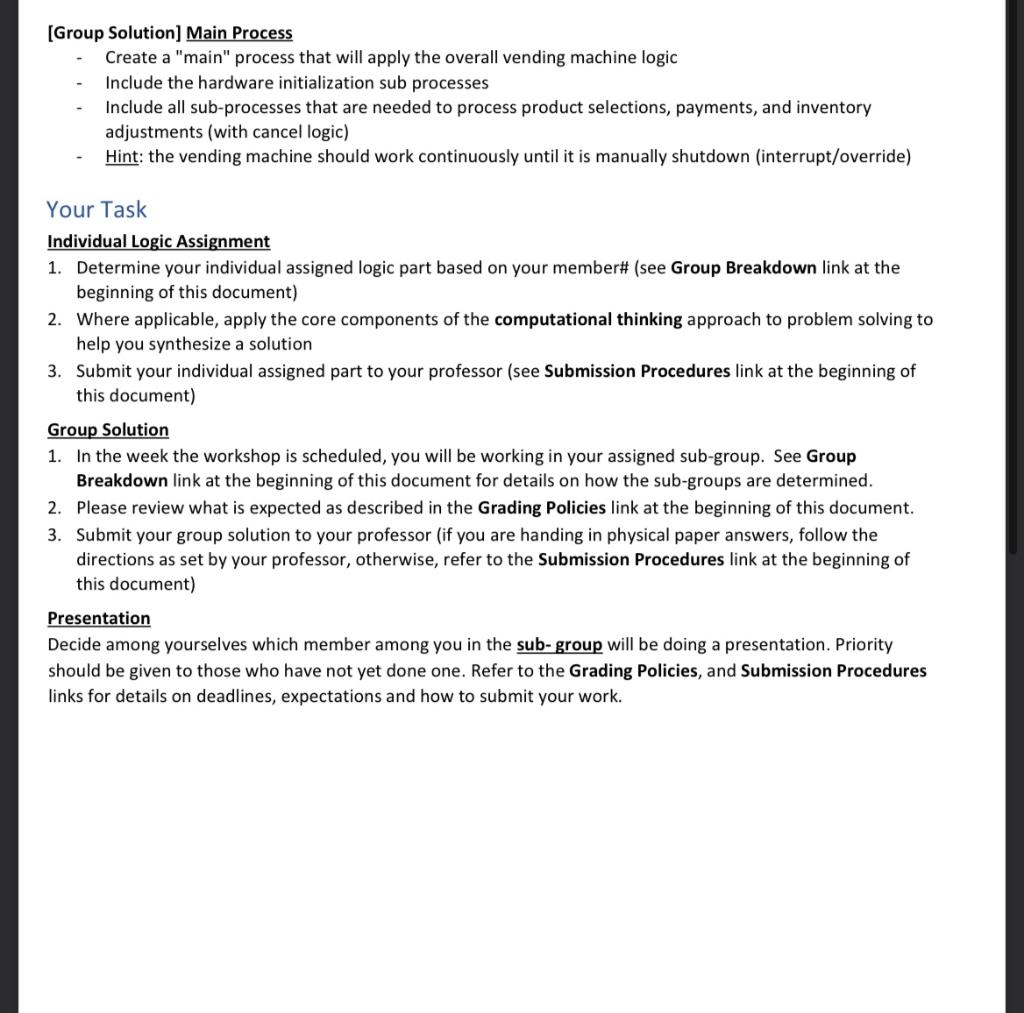
slotID // Unique location slot ID (physical placement in the machine ex: "D8") quantity // Requested quantity price // Price per single unit quantity description // Product name Note: The term "Session" is simply a collection/array of Transaction data [Logic 1] Hardware States \& Software Idle State Hardware components have only two possible states: "enabled" or "disabled" - As the machine changes from one state to another, the various hardware components need to be initialized to the new state and should be set to complement the initial state of the software logic (example: disable controls that don't apply to the current state and only enable those that should be) - The software logic will modify/change the hardware components as needed after the initialization of the hardware is set to the new state - For each vending machine state, create the necessary initial hardware settings - Define each hardware component's state (enabled or disabled) - Each hardware component should be described in its own step/process - You should have 4-sub-processes in total (one for each vending machine state) Hint: The software logic layer will "call" the hardware processes when initializing to a new state - The software idle state essentially waits until it is activated by a customer (be creative on what the machine can be doing during the idle state!) [Logic 2] Product Selection (involves the Active and Cancel states) The active state creates a session and builds a series of transactions - Slots are limited to a single letter (row) button followed by a single number (column) button sequence (ex: "A" button + " 9 " button) - After selecting a slot (product), you can enter a quantity from 1-9 followed by the Enter key. The Correct button can be used to erase the quantity before the Enter key is pressed. - A product selection can only become a transaction if the requested quantity for the item is in-stock (has inventory) - Multiple transactions can be added to the session by entering a series of products one selection after another Itemized on-screen session transaction details should be displayed Using the Pay button will indicate the end of the transactional session Create two separate sub-processes: Active and Cancel (states) that cover the software logic involving the creation of a session with transactions (product selection), entering item quantities, correcting inputs, and cancelling the session. [Logic 3] Acceptable Payments \& Product Inventory (Payment and Cancel states) 1. Credit card, 2. Bank card 3. NFC phone 4. Vending machine phone application $ NO CASH $ Following a successful payment, inventory must be adjusted in real-time (hint: local and remote data) Inventory minimum stock levels must be enforced (if the quantity in-stock reaches the minimum stock level set for that product's row \& column location, more products should be ordered - Dispense the items only after payment is successful Create two separately sub-processes: Payment and Cancel (states) that cover the software logic involving payment, inventory adjustments, dispensing the items, and cancelling the session. Page 2 [Group Solution] Main Process - Create a "main" process that will apply the overall vending machine logic - Include the hardware initialization sub processes - Include all sub-processes that are needed to process product selections, payments, and inventory adjustments (with cancel logic) - Hint: the vending machine should work continuously until it is manually shutdown (interrupt/override) Your Task Individual Logic Assignment 1. Determine your individual assigned logic part based on your member\# (see Group Breakdown link at the beginning of this document) 2. Where applicable, apply the core components of the computational thinking approach to problem solving to help you synthesize a solution 3. Submit your individual assigned part to your professor (see Submission Procedures link at the beginning of this document) Group Solution 1. In the week the workshop is scheduled, you will be working in your assigned sub-group. See Group Breakdown link at the beginning of this document for details on how the sub-groups are determined. 2. Please review what is expected as described in the Grading Policies link at the beginning of this document. 3. Submit your group solution to your professor (if you are handing in physical paper answers, follow the directions as set by your professor, otherwise, refer to the Submission Procedures link at the beginning of this document) Presentation Decide among yourselves which member among you in the sub-group will be doing a presentation. Priority should be given to those who have not yet done one. Refer to the Grading Policies, and Submission Procedures links for details on deadlines, expectations and how to submit your work

 I need the flowchart for logic 3 please. Thanks


