I only need Table 18-1. Please and Thank you.

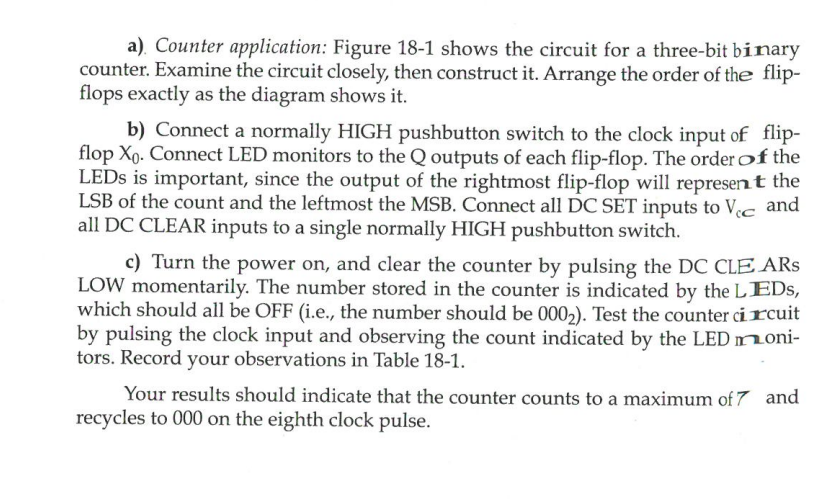
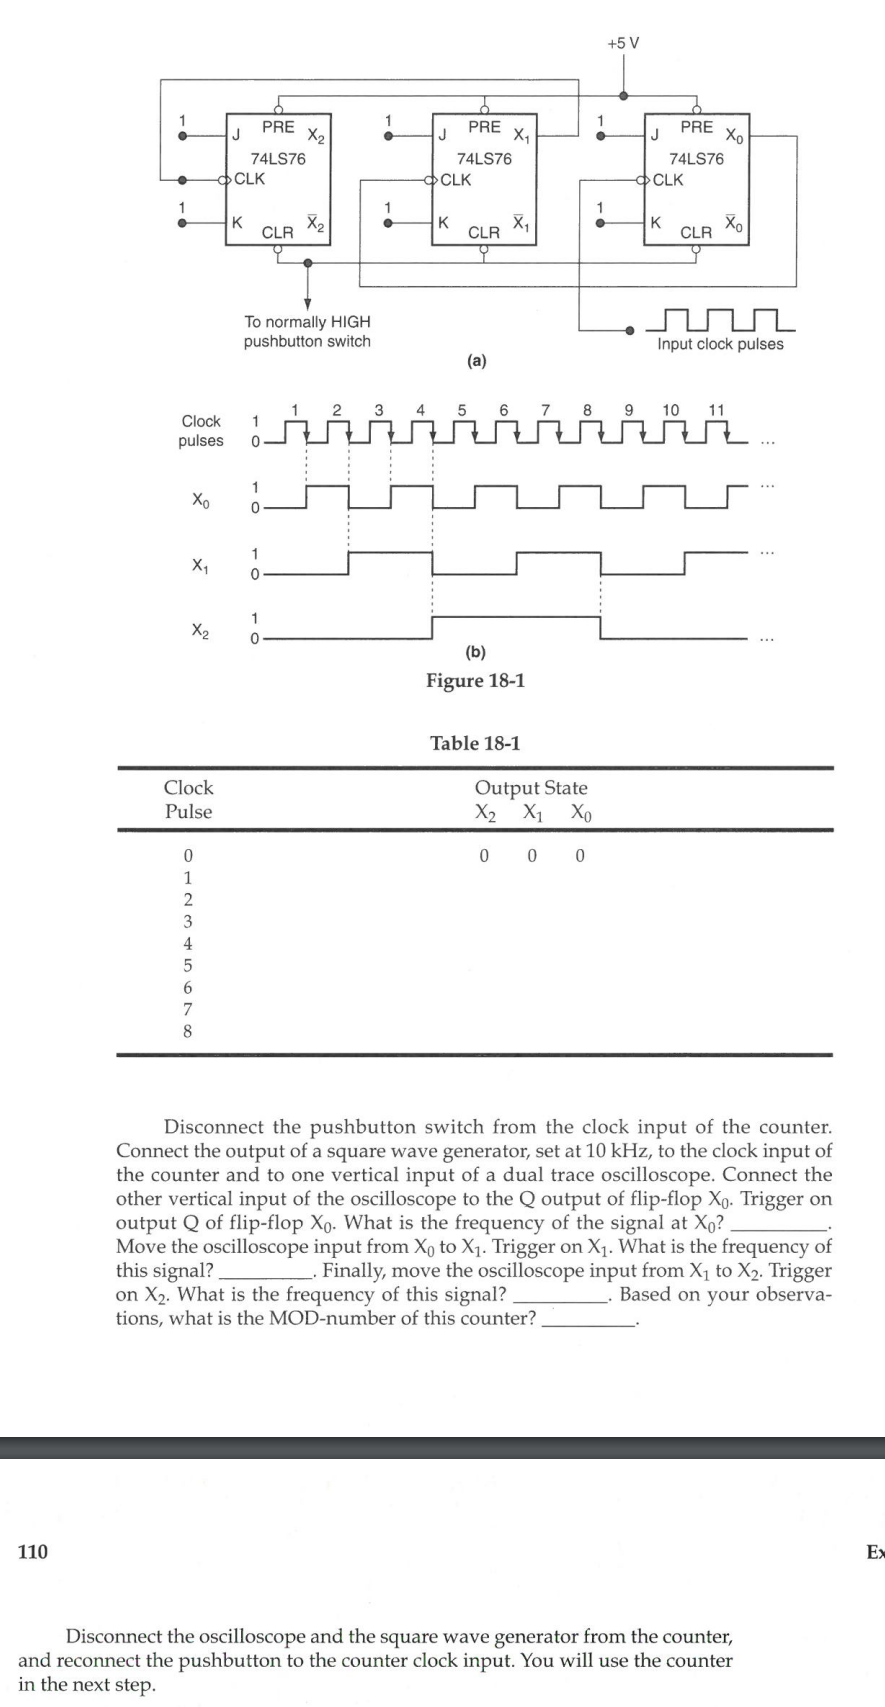
a). Counter application: Figure 18-1 shows the circuit for a three-bit binary counter. Examine the circuit closely, then construct it. Arrange the order of the flipflops exactly as the diagram shows it. b) Connect a normally HIGH pushbutton switch to the clock input of flipflop X0. Connect LED monitors to the Q outputs of each flip-flop. The order f the LEDs is important, since the output of the rightmost flip-flop will represent the LSB of the count and the leftmost the MSB. Connect all DC SET inputs to VCC and all DC CLEAR inputs to a single normally HIGH pushbutton switch. c) Turn the power on, and clear the counter by pulsing the DC CLE ARs LOW momentarily. The number stored in the counter is indicated by the LEDs, which should all be OFF (i.e., the number should be 0002 ). Test the counter cixcuit by pulsing the clock input and observing the count indicated by the LED mnonitors. Record your observations in Table 18-1. Your results should indicate that the counter counts to a maximum of 7 and recycles to 000 on the eighth clock pulse. Table 18-1 Disconnect the pushbutton switch from the clock input of the counter. Connect the output of a square wave generator, set at 10kHz, to the clock input of the counter and to one vertical input of a dual trace oscilloscope. Connect the other vertical input of the oscilloscope to the Q output of flip-flop X0. Trigger on output Q of flip-flop X0. What is the frequency of the signal at X0 ? Move the oscilloscope input from X0 to X1. Trigger on X1. What is the frequency of this signal? . Finally, move the oscilloscope input from X1 to X2. Trigger on X2. What is the frequency of this signal? Based on your observations, what is the MOD-number of this counter? 110 Disconnect the oscilloscope and the square wave generator from the counter, and reconnect the pushbutton to the counter clock input. You will use the counter in the next step. a). Counter application: Figure 18-1 shows the circuit for a three-bit binary counter. Examine the circuit closely, then construct it. Arrange the order of the flipflops exactly as the diagram shows it. b) Connect a normally HIGH pushbutton switch to the clock input of flipflop X0. Connect LED monitors to the Q outputs of each flip-flop. The order f the LEDs is important, since the output of the rightmost flip-flop will represent the LSB of the count and the leftmost the MSB. Connect all DC SET inputs to VCC and all DC CLEAR inputs to a single normally HIGH pushbutton switch. c) Turn the power on, and clear the counter by pulsing the DC CLE ARs LOW momentarily. The number stored in the counter is indicated by the LEDs, which should all be OFF (i.e., the number should be 0002 ). Test the counter cixcuit by pulsing the clock input and observing the count indicated by the LED mnonitors. Record your observations in Table 18-1. Your results should indicate that the counter counts to a maximum of 7 and recycles to 000 on the eighth clock pulse. Table 18-1 Disconnect the pushbutton switch from the clock input of the counter. Connect the output of a square wave generator, set at 10kHz, to the clock input of the counter and to one vertical input of a dual trace oscilloscope. Connect the other vertical input of the oscilloscope to the Q output of flip-flop X0. Trigger on output Q of flip-flop X0. What is the frequency of the signal at X0 ? Move the oscilloscope input from X0 to X1. Trigger on X1. What is the frequency of this signal? . Finally, move the oscilloscope input from X1 to X2. Trigger on X2. What is the frequency of this signal? Based on your observations, what is the MOD-number of this counter? 110 Disconnect the oscilloscope and the square wave generator from the counter, and reconnect the pushbutton to the counter clock input. You will use the counter in the next step


