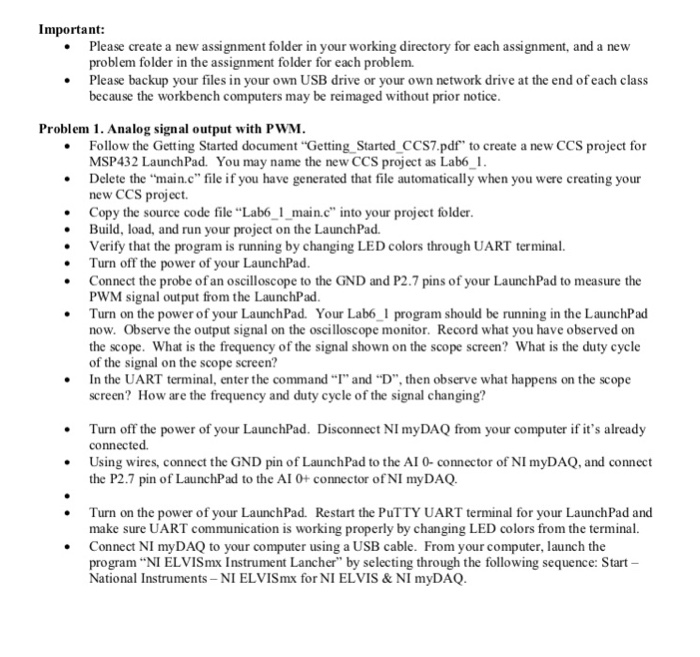
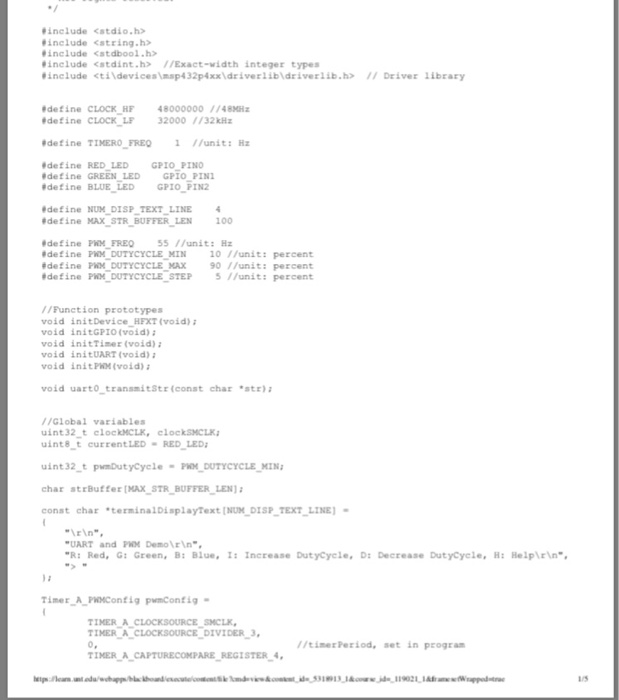
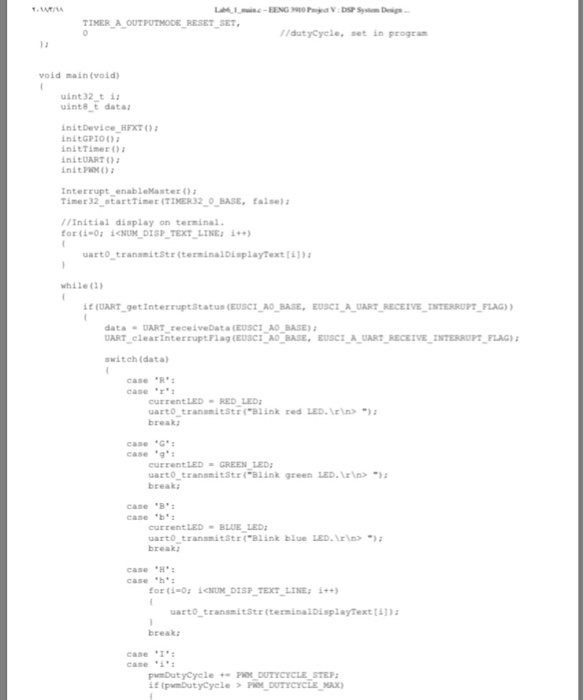
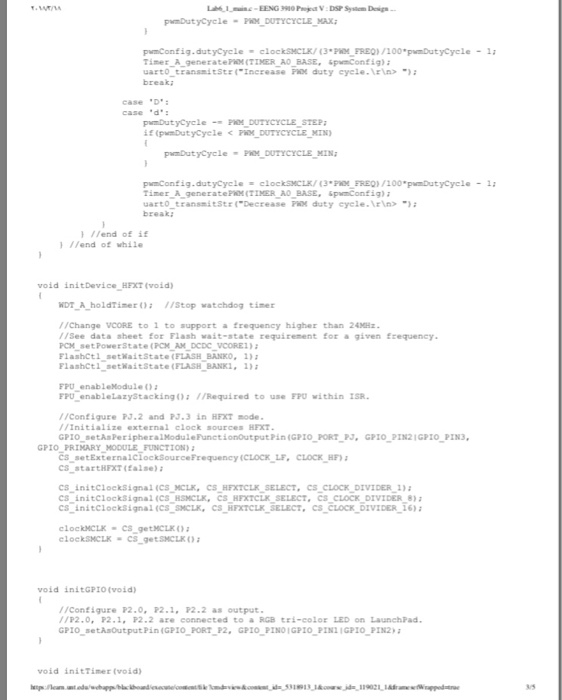
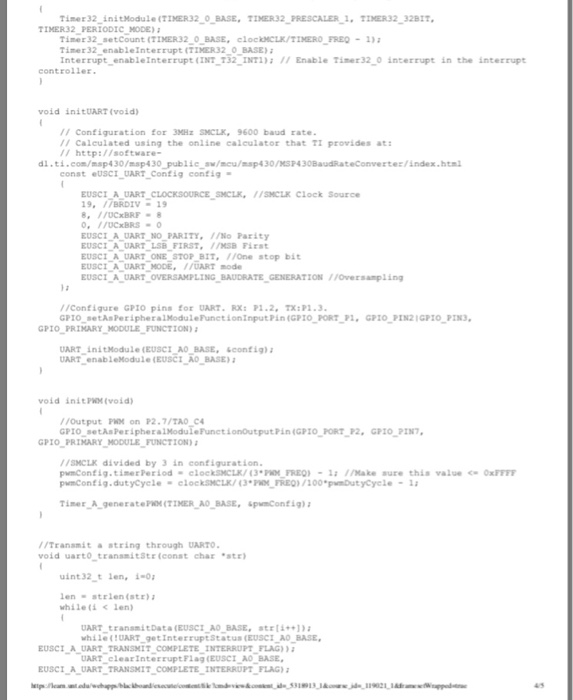
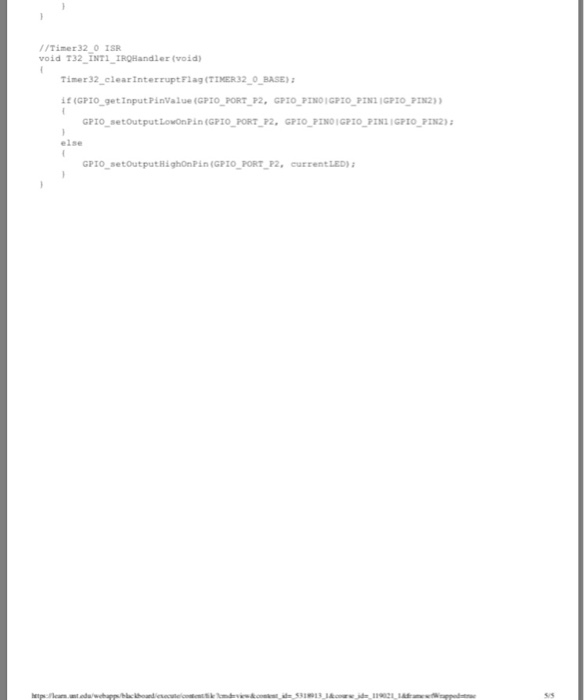
Important Please create a new assignment folder in your working directory for each assignment, and a new problem folder in the assignment folder for each problem. . .Please backup your files in your own USB drive or your own network drive at the end of each class because the workbench computers may be reimaged without prior notice Problem 1. Analog signal output with PwM .Follow the Getting Started document "Getting Started CCS7.pdf" to create a new CCS project for MSP432 LaunchPad. You may name the new CCS project as Lab6 Delete the "main.c" file if you have generated that file automatically when you were creating your new CCS project. . Copy the source code file ..Lab61-main.c" into your project fider .Build, load, and run your project on the LaunchPad. Verify that the program is running by changing LED colors through UART terminal .Turn off the power of your LaunchPad Connect the probe of an oscilloscope to the GND and P2.7 pins of your LaunchPad to measure the PWM signal output from the LaunchPad Turn on the power of your LaunchPad. Your Lab6 1 program should be running in the LaunchPad now. Observe the output signal on the oscilloscope monitor. Record what you have observed on the scope. What is the frequency of the signal shown on the scope screen? What is the duty cycle of the signal on the scope screen? In the UART terminal, enter the command "I" and "D", then observe what happens on the scope screen? How are the frequency and duty cycle of the signal changing? Turn off the power of your LaunchPad. Disconnect NI myDAQ from your computer if it's already connected. Using wires, connect the GND pin of LaunchPad to the AI 0- connector of NI myDAQ, and connect the P2.7 pin of LaunchPad to the AI 0+ connector ofNI myDAQ .Turn on the power of your LaunchPad. Restart the PuTTY UART terminal for your LaunchPad and make sure UART communication is working properly by changing LED colors from the terminal. .Connect NI myDAQ to your computer using a USB cable. From your computer, launch the program "NI ELVISmx Instrument Lancher" by selecting through the following sequence: Start National Instruments-NI ELVISmx for NI ELVIS& NI myDAQ Important Please create a new assignment folder in your working directory for each assignment, and a new problem folder in the assignment folder for each problem. . .Please backup your files in your own USB drive or your own network drive at the end of each class because the workbench computers may be reimaged without prior notice Problem 1. Analog signal output with PwM .Follow the Getting Started document "Getting Started CCS7.pdf" to create a new CCS project for MSP432 LaunchPad. You may name the new CCS project as Lab6 Delete the "main.c" file if you have generated that file automatically when you were creating your new CCS project. . Copy the source code file ..Lab61-main.c" into your project fider .Build, load, and run your project on the LaunchPad. Verify that the program is running by changing LED colors through UART terminal .Turn off the power of your LaunchPad Connect the probe of an oscilloscope to the GND and P2.7 pins of your LaunchPad to measure the PWM signal output from the LaunchPad Turn on the power of your LaunchPad. Your Lab6 1 program should be running in the LaunchPad now. Observe the output signal on the oscilloscope monitor. Record what you have observed on the scope. What is the frequency of the signal shown on the scope screen? What is the duty cycle of the signal on the scope screen? In the UART terminal, enter the command "I" and "D", then observe what happens on the scope screen? How are the frequency and duty cycle of the signal changing? Turn off the power of your LaunchPad. Disconnect NI myDAQ from your computer if it's already connected. Using wires, connect the GND pin of LaunchPad to the AI 0- connector of NI myDAQ, and connect the P2.7 pin of LaunchPad to the AI 0+ connector ofNI myDAQ .Turn on the power of your LaunchPad. Restart the PuTTY UART terminal for your LaunchPad and make sure UART communication is working properly by changing LED colors from the terminal. .Connect NI myDAQ to your computer using a USB cable. From your computer, launch the program "NI ELVISmx Instrument Lancher" by selecting through the following sequence: Start National Instruments-NI ELVISmx for NI ELVIS& NI myDA
