

Answered step by step
Verified Expert Solution
Question
1 Approved Answer
Lab - Build a Simple Network Topology Wireless Router Power Ethernet 2 3 Internet 1 4 PC-A PC-B Addressing Table Device Interface IP Address Subnet
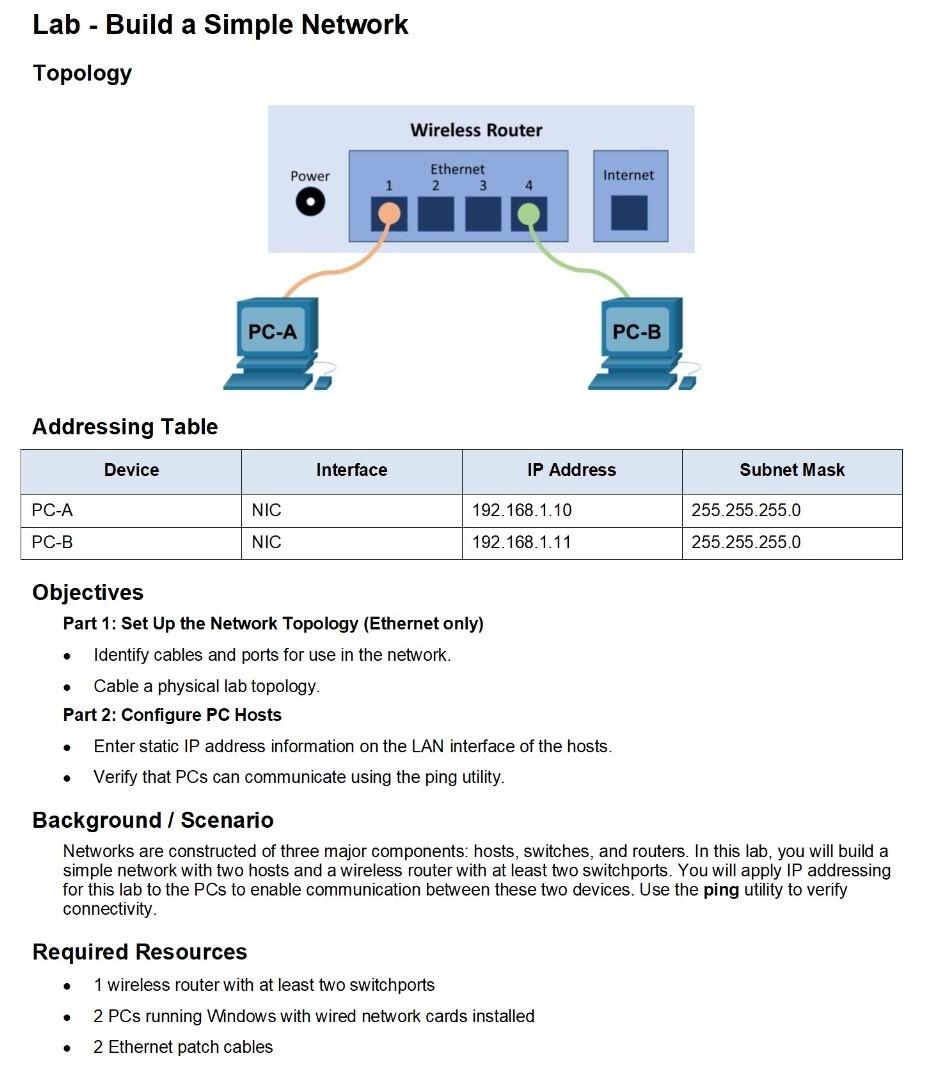
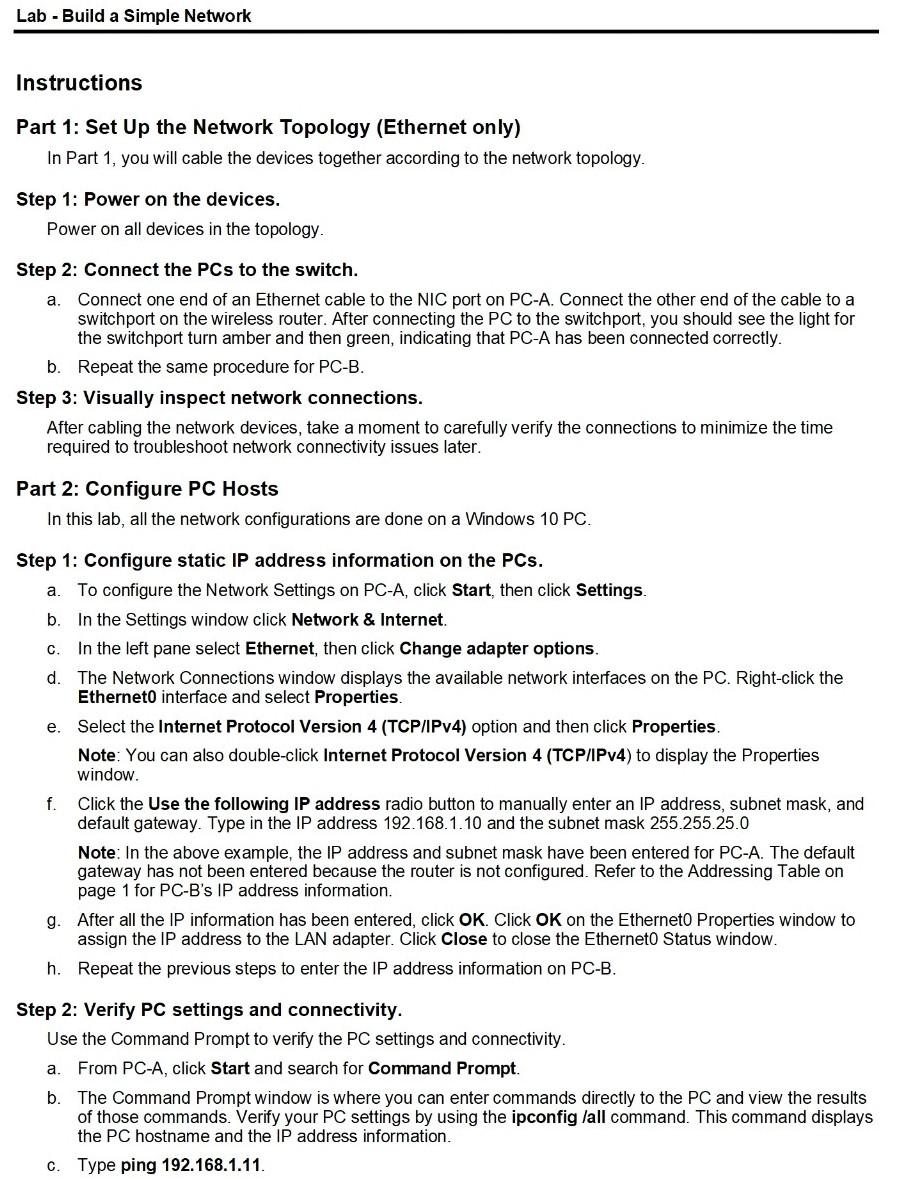
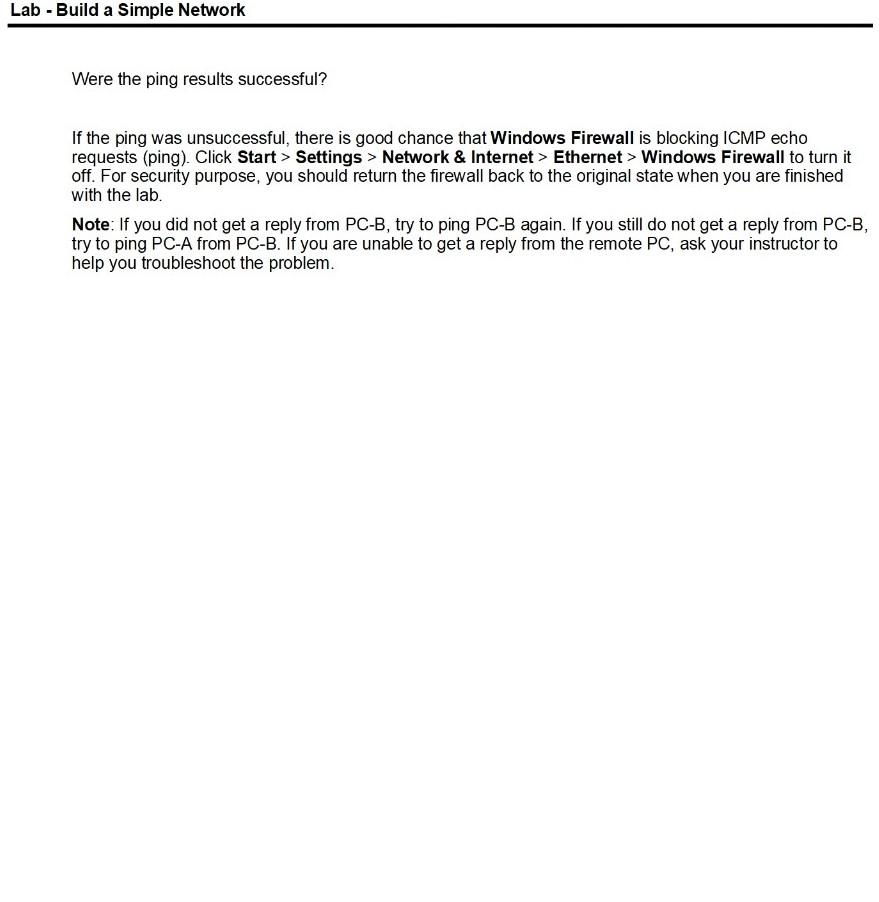
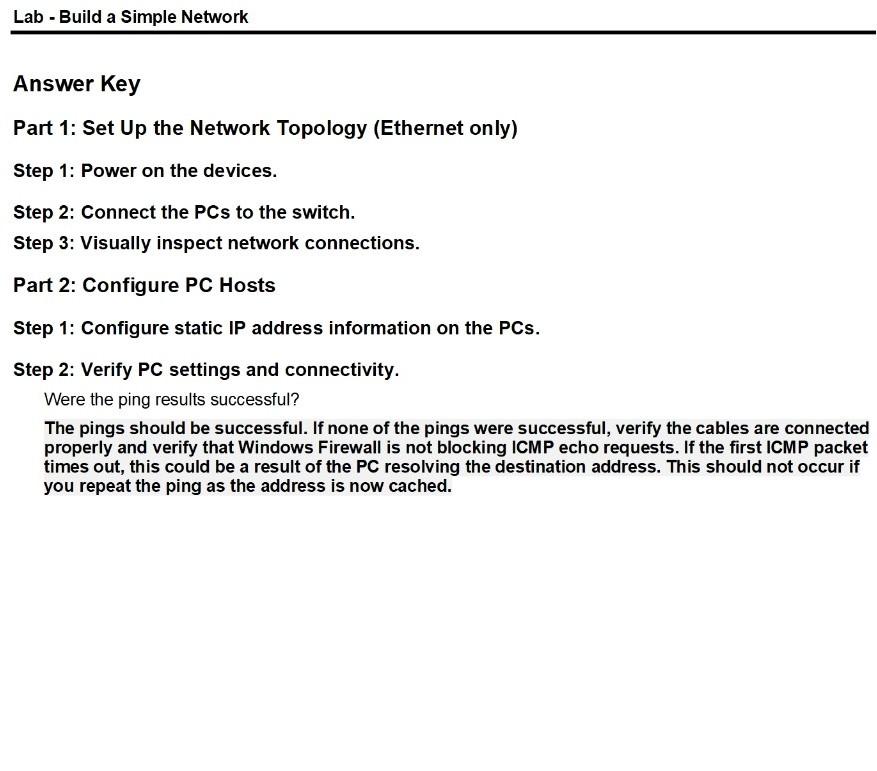
Lab - Build a Simple Network Topology Wireless Router Power Ethernet 2 3 Internet 1 4 PC-A PC-B Addressing Table Device Interface IP Address Subnet Mask PC-A NIC 192.168.1.10 255.255.255.0 PC-B NIC 192.168.1.11 255.255.255.0 . Objectives Part 1: Set Up the Network Topology (Ethernet only) Identify cables and ports for use in the network. Cable a physical lab topology. Part 2: Configure PC Hosts Enter static IP address information on the LAN interface of the hosts. Verify that PCs can communicate using the ping utility. . . Background / Scenario Networks are constructed of three major components: hosts, switches, and routers. In this lab, you will build a simple network with two hosts and a wireless router with at least two switchports. You will apply IP addressing for this lab to the PCs to enable communication between these two devices. Use the ping utility to verify connectivity. Required Resources 1 wireless router with at least two switchports 2 PCs running Windows with wired network cards installed 2 Ethernet patch cables . Lab - Build a Simple Network Instructions Part 1: Set Up the Network Topology (Ethernet only) In Part 1, you will cable the devices together according to the network topology. Step 1: Power on the devices. Power on all devices in the topology. a. Step 2: Connect the PCs to the switch. Connect one end of an Ethernet cable to the NIC port on PC-A. Connect the other end of the cable to a switchport on the wireless router. After connecting the PC to the switchport, you should see the light for the switchport turn amber and then green, indicating that PC-A has been connected correctly. b. Repeat the same procedure for PC-B. Step 3: Visually inspect network connections. After cabling the network devices, take a moment to carefully verify the connections to minimize the time required to troubleshoot network connectivity issues later. Part 2: Configure PC Hosts In this lab, all the network configurations are done on a Windows 10 PC. a. C. e Step 1: Configure static IP address information on the PCs. To configure the Network Settings on PC-A, click Start, then click Settings. b. In the Settings window click Network & Internet. In the left pane select Ethernet, then click Change adapter options. d. The Network Connections window displays the available network interfaces on the PC. Right-click the Etherneto interface and select Properties Select the Internet Protocol Version 4 (TCP/IPv4) option and then click Properties. Note: You can also double-click Internet Protocol Version 4 (TCP/IPv4) to display the Properties window. f. Click the Use the following IP address radio button to manually enter an IP address, subnet mask, and default gateway. Type in the IP address 192.168.1.10 and the subnet mask 255.255.25.0 Note: In the above example, the IP address and subnet mask have been entered for PC-A. The default gateway has not been entered because the router is not configured. Refer to the Addressing Table on page 1 for PC-B's IP address information. g. After all the IP information has been entered, click OK. Click OK on the Etherneto Properties window to assign the IP address to the LAN adapter. Click Close to close the Etherneto Status window. h. Repeat the previous steps to enter the IP address information on PC-B. a. Step 2: Verify PC settings and connectivity. Use the Command Prompt to verify the PC settings and connectivity. From PC-A, click Start and search for Command Prompt. b. The Command Prompt window is where you can enter commands directly to the PC and view the results of those commands. Verify your PC settings by using the ipconfig /all command. This command displays the PC hostname and the IP address information. c. Type ping 192.168.1.11 Lab - Build a Simple Network Were the ping results successful? If the ping was unsuccessful, there is good chance that Windows Firewall is blocking ICMP echo requests (ping). Click Start > Settings > Network & Internet > Ethernet > Windows Firewall to turn it off. For security purpose, you should return the firewall back to the original state when you are finished with the lab. Note: If you did not get a reply from PC-B, try to ping PC-B again. If you still do not get a reply from PC-B, try to ping PC-A from PC-B. If you are unable to get a reply from the remote PC, ask your instructor to help you troubleshoot the problem. Lab - Build a Simple Network Answer Key Part 1: Set Up the Network Topology (Ethernet only) Step 1: Power on the devices. Step 2: Connect the PCs to the switch. Step 3: Visually inspect network connections. Part 2: Configure PC Hosts Step 1: Configure static IP address information on the PCs. Step 2: Verify PC settings and connectivity. Were the ping results successful? The pings should be successful. If none of the pings were successful, verify the cables are connected properly and verify that Windows Firewall is not blocking ICMP echo requests. If the first ICMP packet times out, this could be a result of the PC resolving the destination address. This should not occur if you repeat the ping as the address is now cached
Step by Step Solution
There are 3 Steps involved in it
Step: 1

Get Instant Access to Expert-Tailored Solutions
See step-by-step solutions with expert insights and AI powered tools for academic success
Step: 2

Step: 3
Ace Your Homework with AI
Get the answers you need in no time with our AI-driven, step-by-step assistance
Get Started
Modern Database Management
Authors: Jeff Hoffer, Ramesh Venkataraman, Heikki Topi
13th Edition Global Edition
1292263350, 978-1292263359