need help with linux!
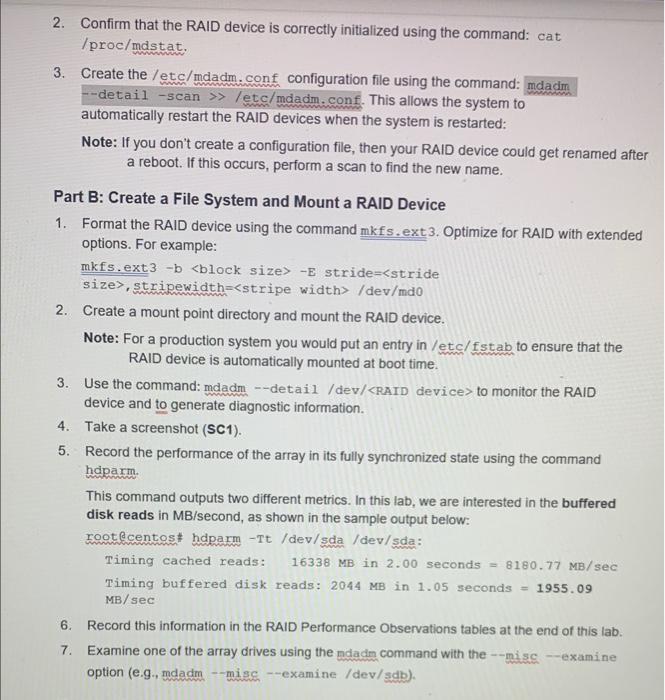
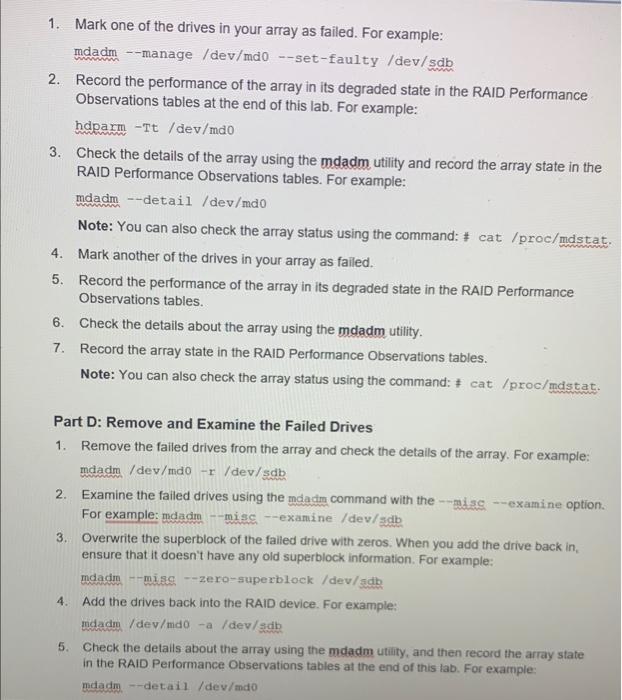
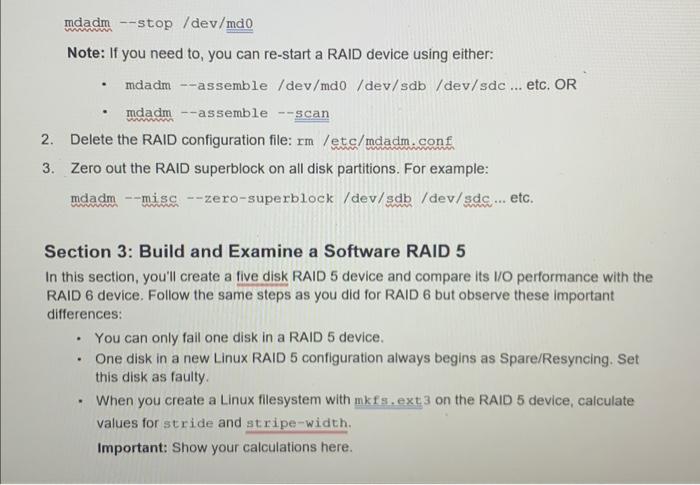
Software RAID and Logical Volume Management Introduction Disk drives are prone to failure, due to mechanical wear and tear and environmental variables which can lead to data loss. To help protect data from drive failures, RAID relies on many driv working together to share data and improve storage system performance. LVM can be used to add disc space to a logical volume and its filesystem, as well as to combine numerous physicc hard drives and partitions into a single volume group that can then be separated into logical volumes. In this lab, you'll build a software-based RAID without a dedicated hardware controller to manage the RAID array. You'll also use LVM to aggregate the capacity of available drives and provide flexibility in allocating storage to applications and users. You'll track your completion of each part of the procedure using screenshots that you'll submit for marking. Equipment and Materials - Windows computer with a minimum of 16 GB RAM and 250 GB free disk space, capable of nested virtualization - VMware Workstation 15.x or higher - CentOS 8 Linux distribution Procedure Section 1: Install CentOS Linux on VMware Workstation 1. Download Centos 8 Linux (http://isoredirect.centos.org/centos/8/lsos/ 886 64/). 2. Open VMware Workstation and create a new virtual machine with the following settings: - 24 vCPUs - 4 GB RAM - One 20 GB HDD for OS - Five 1 GB HDD for RAID 3. Start the VM and follow the installation prompts to install the CentOS 8 operating system on the 20 GB drive. Note: Use the default configuration and deviate from it only as you deem necessary. Section 2: Build and Examine a Software RAID 6 Before you start, look up the syntax for mdadm from the man page or online resources to perform the following steps, and then write down the exact syntax of each command for your system. For example: mdadm -create - verbose /dev/md\# #-level=5 raiddevices =3/dev/sdb/dev/sdc/dev/sdd This command will help you get started, but you need to change some options to match the lab requirements. Note that a spare disk is not required for this lab because we want to measure degraded performance. Part A: Build a Software RAID 6 1. Create a five-disk RAID 6 device using the command: mdadm -create. Note: Optionally, you can assemble a previously created RAID device (in case you rebooted without a configuration file) using the command: mdadm -assemble. 2. Confirm that the RAID device is correctly initialized using the command: cat /proc/mastat. 3. Create the /etc/mdadm. conf configuration file using the command: --detail -scan letc/mdadm. conf. This allows the system to automatically restart the RAID devices when the system is restarted: Note: If you don't create a configuration file, then your RAID device could get renamed after a reboot. If this occurs, perform a scan to find the new name. Part B: Create a File System and Mount a RAID Device 1. Format the RAID device using the command mkfs, ext 3 . Optimize for RAID with extended options. For example: mkfs.ext 3 -b > E stride = stride size>, stripewidth=/dev/mdo 2. Create a mount point directory and mount the RAID device. Note: For a production system you would put an entry in /etc/fstab to ensure that the RAID device is automatically mounted at boot time. 3. Use the command: mdadm - -detail/dev/ RAID device > to monitor the RAID device and to generate diagnostic information. 4. Take a screenshot (SC1). 5. Record the performance of the array in its fully synchronized state using the command hdparm. This command outputs two different metrics. In this lab, we are interested in the buffered disk reads in MB/second, as shown in the sample output below: rootecentos: hdparm -Tt/dev/sda /dev/sda: Timing cached reads: 16338MB in 2.00 seconds =8180.77MB/sec Timing buffered disk reads: 2044MB in 1.05 seconds =1955.09 MB/sec 6. Record this information in the RAID Performance Observations tables at the end of this lab. 7. Examine one of the array drives using the ndadn command with the - misc- - examine option (e.g., mdadm -misc-mamine /dev/sdb). 1. Mark one of the drives in your array as failed. For example: mdadm - -manage /dev/mdo --set-faulty /dev/sdb 2. Record the performance of the array in its degraded state in the RAID Performance Observations tables at the end of this lab. For example: hdparm Tt/dev/mdo 3. Check the details of the array using the mdadm utility and record the array state in the RAID Performance Observations tables. For example: mdadm - -detail / dev/mdo Note: You can also check the array status using the command: = cat /proc/mdstat. 4. Mark another of the drives in your array as failed. 5. Record the performance of the array in its degraded state in the RAID Performance Observations tables. 6. Check the details about the array using the mdadm utility. 7. Record the array state in the RAID Performance Observations tables. Note: You can also check the array status using the command: = cat /proc/mdstat. Part D: Remove and Examine the Failed Drives 1. Remove the failed drives from the array and check the details of the array. For example: maadm /dev/mdo x/ dev/sdb 2. Examine the failed drives using the mdadm command with the -misc--examine option. For example: mdadm _-misc - examine /dev/ $ db 3. Overwrite the superblock of the failed drive with zeros. When you add the drive back in, ensure that it doesn't have any old superblock information. For example: mdadm -misc - zero-superblock/dev/sdb 4. Add the drives back into the RAID device. For example: midadm /dev/mio - a /dev/sab 5. Check the detalls about the array using the mdadm utility, and then record the array state in the RAID Performance Observations tables at the end of this lab. For example: mdadm. -detail /dev/mdo mdadm -stop /dev/md0 Note: If you need to, you can re-start a RAID device using either: - mdadm--assemble /dev/md0 /dev/sdb /dev/sdc ... etc. OR - madm--assemble --scan 2. Delete the RAID configuration file: rm/etc/mdadm. conf 3. Zero out the RAID superblock on all disk partitions. For example: mdadm -misc --zero-superblock/dev/sdb/dev/sdc... etc. Section 3: Build and Examine a Software RAID 5 In this section, you'll create a five disk RAID 5 device and compare its I/O performance with the RAID 6 device. Follow the same steps as you did for RAID 6 but observe these important differences: - You can only fail one disk in a RAID 5 device. - One disk in a new Linux RAID 5 configuration always begins as Spare/Resyncing. Set this disk as faulty. - When you create a Linux filesystem with mkfs. ext 3 on the RAID 5 device, calculate values for stride and stripe-width. Important: Show your calculations here