please answer all the questions based on linux and vm
please answer them all together as they are related.
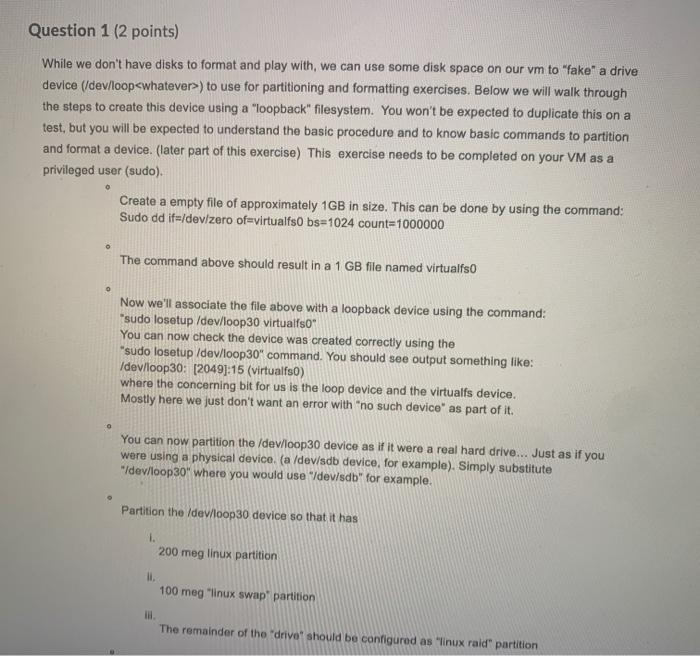
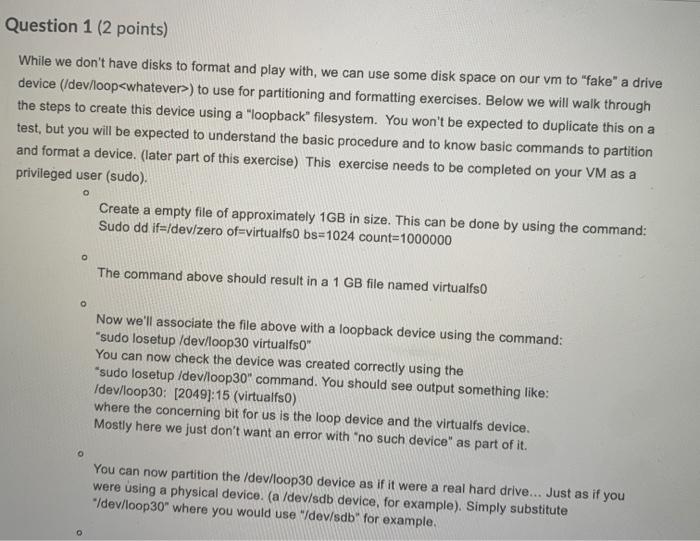
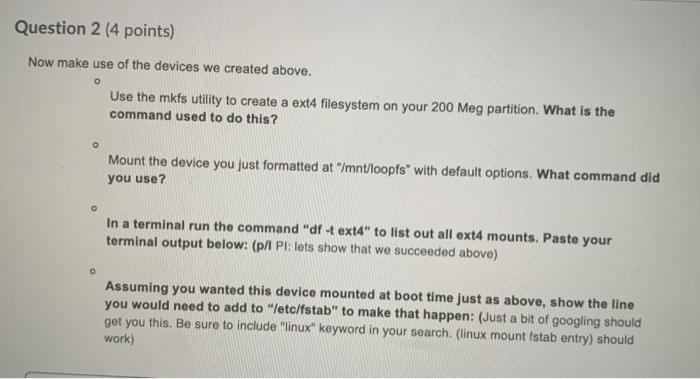
Question 1 (2 points) While we don't have disks to format and play with, we can use some disk space on our vm to "fake" a drive device (/dev/loop
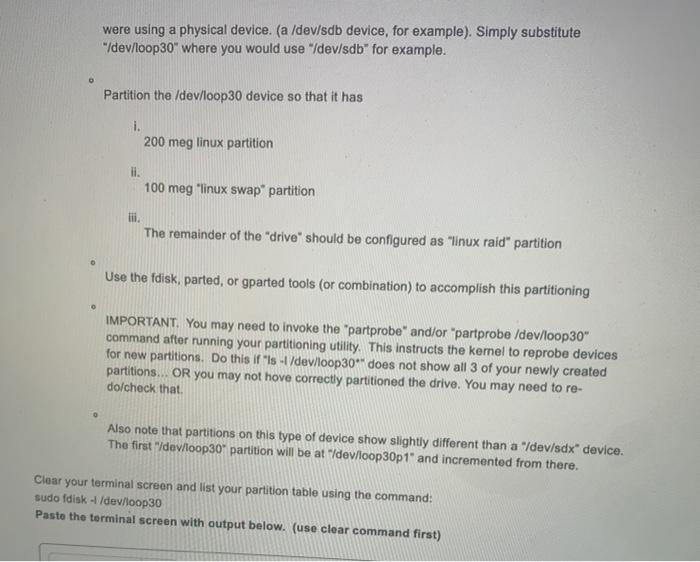
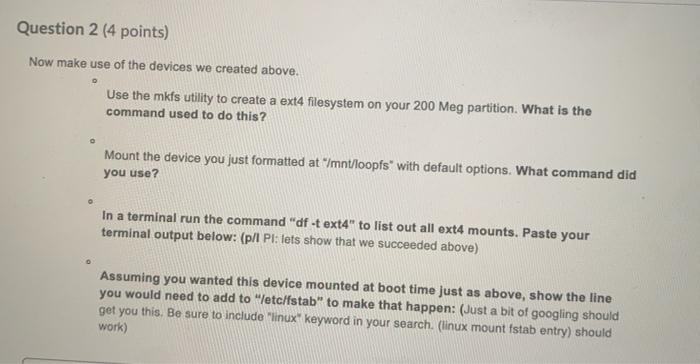
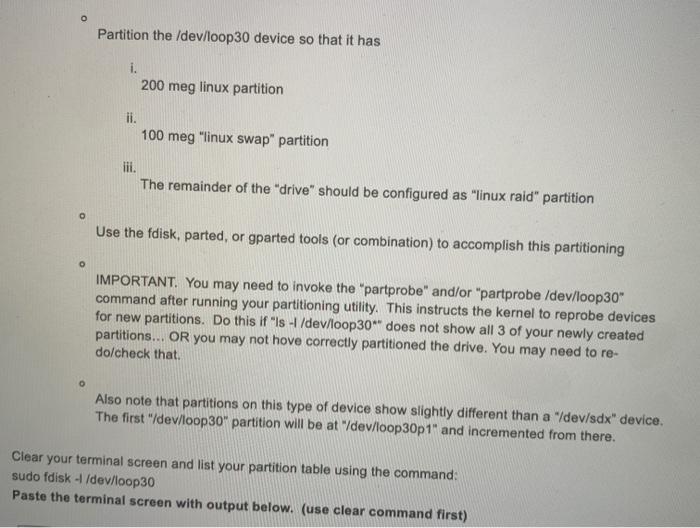
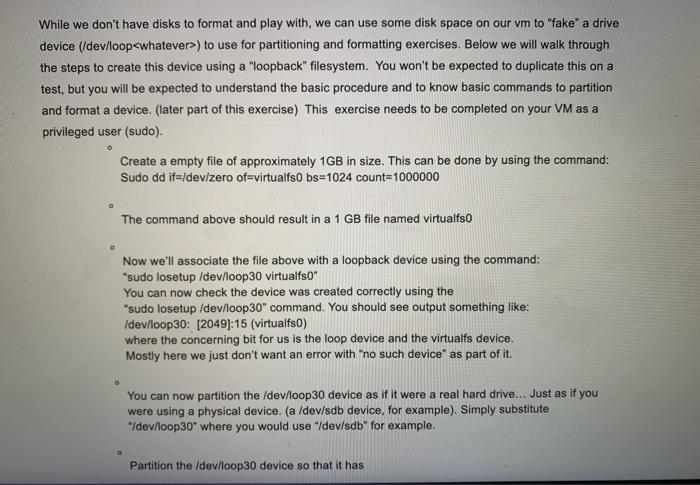
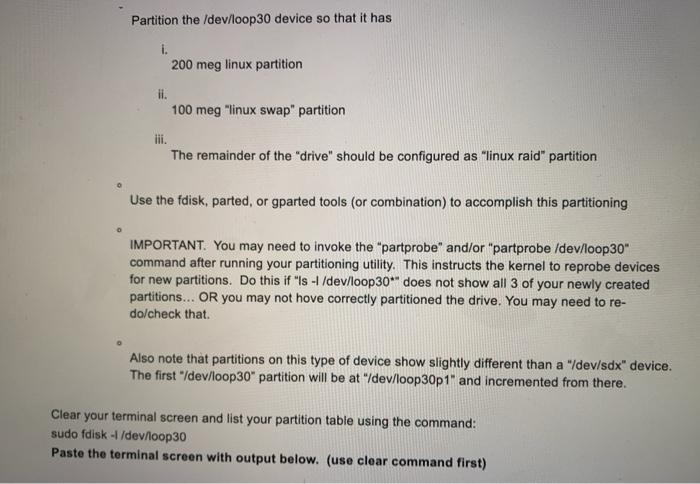
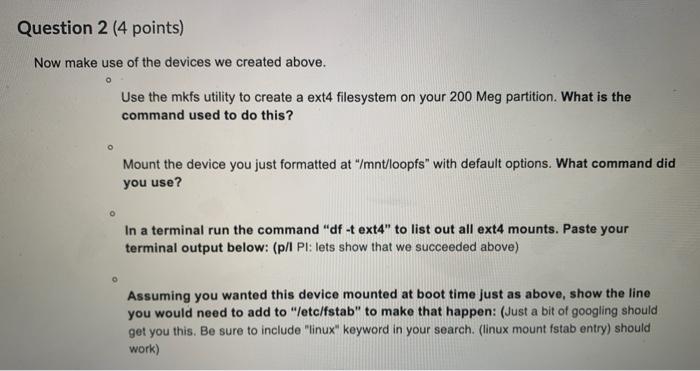
) to use for partitioning and formatting exercises. Below we will walk through the steps to create this device using a "loopback" filesystem. You won't be expected to duplicate this on a test, but you will be expected to understand the basic procedure and to know basic commands to partition and format a device. (later part of this exercise) This exercise needs to be completed on your VM as a privileged user (sudo). o Create a empty file of approximately 1GB in size. This can be done by using the command: Sudo dd if=/dev/zero of=virtualfs bs=1024 count=1000000 The command above should result in a 1 GB file named virtualfs o Now we'll associate the file above with a loopback device using the command: sudo losetup /dev/loop30 virtualfs You can now check the device was created correctly using the "sudo losetup /dev/loop30" command. You should see output something like: /dev/loop30: (2049]:15 (virtualfso) where the concerning bit for us is the loop device and the virtualfs device. Mostly here we just don't want an error with "no such device" as part of it. You can now partition the /dev/loop30 device as if it were a real hard drive... Just as if you were using a physical device. (a /dev/sdb device, for example). Simply substitute "dev/loop30" where you would use /dev/sdb" for example, Partition the /dev/loop30 device so that it has 1. 200 meg linux partition 100 meg linux swap' partition IH The remainder of the driver should be configured as "linux raid partition were using a physical device. (a /dev/sdb device, for example). Simply substitute "/dev/loop 30" where you would use "/dev/sdb" for example. Partition the /dev/loop30 device so that it has i. 200 meg linux partition ii. 100 meg "linux swap partition lii. The remainder of the "drive" should be configured as "linux raid" partition Use the fdisk, parted, or gparted tools (or combination) to accomplish this partitioning 0 IMPORTANT. You may need to invoke the "partprobe" and/or "partprobe /dev/loop30" command after running your partitioning utility. This instructs the kernel to reprobe devices for new partitions. Do this if ls -1 /dev/loop30** does not show all 3 of your newly created partitions.. OR you may not hove correctly partitioned the drive. You may need to re- do/check that 0 Also note that partitions on this type of device show slightly different than a /dev/sdx" device. The first "dev/loop30 partition will be at /dev/loop30p1" and incremented from there. Clear your terminal screen and list your partition table using the command: sudo fdisk - /dev/loop30 Paste the terminal screen with output below. (use clear command first) Question 2 (4 points) Now make use of the devices we created above. Use the mkfs utility to create a ext4 filesystem on your 200 Meg partition. What is the command used to do this? Mount the device you just formatted at /mnt/loopfs" with default options. What command did you use? In a terminal run the command "df -t ext4" to list out all ext4 mounts. Paste your terminal output below: (p/l Pl: lets show that we succeeded above) Assuming you wanted this device mounted at boot time just as above, show the line you would need to add to "letc/fstab" to make that happen: (Just a bit of googling should get you this. Be sure to include "linux" keyword in your search. (linux mount fstab entry) should work) Question 3 (2 points) Now let's make use of the swap device created earlier. In order to make use of a swap partition you need to run "mkswap on the device and add the swap to /etc/fstab. You also need to cause the new swap to be mounted". Please take the actions required to get your swap working on your VM. Once done, you can see the swap is mounted by running "cat /proc/swaps" Clear your terminal, run "cat/proc/swaps" and paste output from terminal below: Question 1 (2 points) While we don't have disks to format and play with, we can use some disk space on our vm to "fake" a drive device (/dev/loop) to use for partitioning and formatting exercises. Below we will walk through the steps to create this device using a "loopback" filesystem. You won't be expected to duplicate this on a test, but you will be expected to understand the basic procedure and to know basic commands to partition and format a device. (later part of this exercise) This exercise needs to be completed on your VM as a privileged user (sudo). o Create a empty file of approximately 1GB in size. This can be done by using the command: Sudo dd if=/dev/zero of=virtualfs bs=1024 count=1000000 The command above should result in a 1 GB file named virtualfs o Now we'll associate the file above with a loopback device using the command: sudo losetup /dev/loop30 virtualfs You can now check the device was created correctly using the "sudo losetup /dev/loop30" command. You should see output something like: /dev/loop30: (2049]:15 (virtualfso) where the concerning bit for us is the loop device and the virtualfs device. Mostly here we just don't want an error with "no such device" as part of it. You can now partition the /dev/loop30 device as if it were a real hard drive... Just as if you were using a physical device. (a /dev/sdb device, for example). Simply substitute "dev/loop30" where you would use /dev/sdb" for example, Partition the /dev/loop30 device so that it has 1. 200 meg linux partition 100 meg linux swap' partition IH The remainder of the driver should be configured as "linux raid partition were using a physical device. (a /dev/sdb device, for example). Simply substitute "/dev/loop 30" where you would use "/dev/sdb" for example. Partition the /dev/loop30 device so that it has i. 200 meg linux partition ii. 100 meg "linux swap partition lii. The remainder of the "drive" should be configured as "linux raid" partition Use the fdisk, parted, or gparted tools (or combination) to accomplish this partitioning 0 IMPORTANT. You may need to invoke the "partprobe" and/or "partprobe /dev/loop30" command after running your partitioning utility. This instructs the kernel to reprobe devices for new partitions. Do this if ls -1 /dev/loop30** does not show all 3 of your newly created partitions.. OR you may not hove correctly partitioned the drive. You may need to re- do/check that 0 Also note that partitions on this type of device show slightly different than a /dev/sdx" device. The first "dev/loop30 partition will be at /dev/loop30p1" and incremented from there. Clear your terminal screen and list your partition table using the command: sudo fdisk - /dev/loop30 Paste the terminal screen with output below. (use clear command first) Question 2 (4 points) Now make use of the devices we created above. Use the mkfs utility to create a ext4 filesystem on your 200 Meg partition. What is the command used to do this? Mount the device you just formatted at /mnt/loopfs" with default options. What command did you use? In a terminal run the command "df -t ext4" to list out all ext4 mounts. Paste your terminal output below: (p/l Pl: lets show that we succeeded above) Assuming you wanted this device mounted at boot time just as above, show the line you would need to add to "letc/fstab" to make that happen: (Just a bit of googling should get you this. Be sure to include "linux" keyword in your search. (linux mount fstab entry) should work) Question 3 (2 points) Now let's make use of the swap device created earlier. In order to make use of a swap partition you need to run "mkswap on the device and add the swap to /etc/fstab. You also need to cause the new swap to be mounted". Please take the actions required to get your swap working on your VM. Once done, you can see the swap is mounted by running "cat /proc/swaps" Clear your terminal, run "cat/proc/swaps" and paste output from terminal below: Question 1 (2 points) While we don't have disks to format and play with, we can use some disk space on our vm to "fake" a drive device (/dev/loop


