

Answered step by step
Verified Expert Solution
Question
1 Approved Answer
Please answer the following questions Congratulations! You've now completed the first lab! Now answer the questions below 4 . If you're unable to run Wireshark
Please answer the following questions
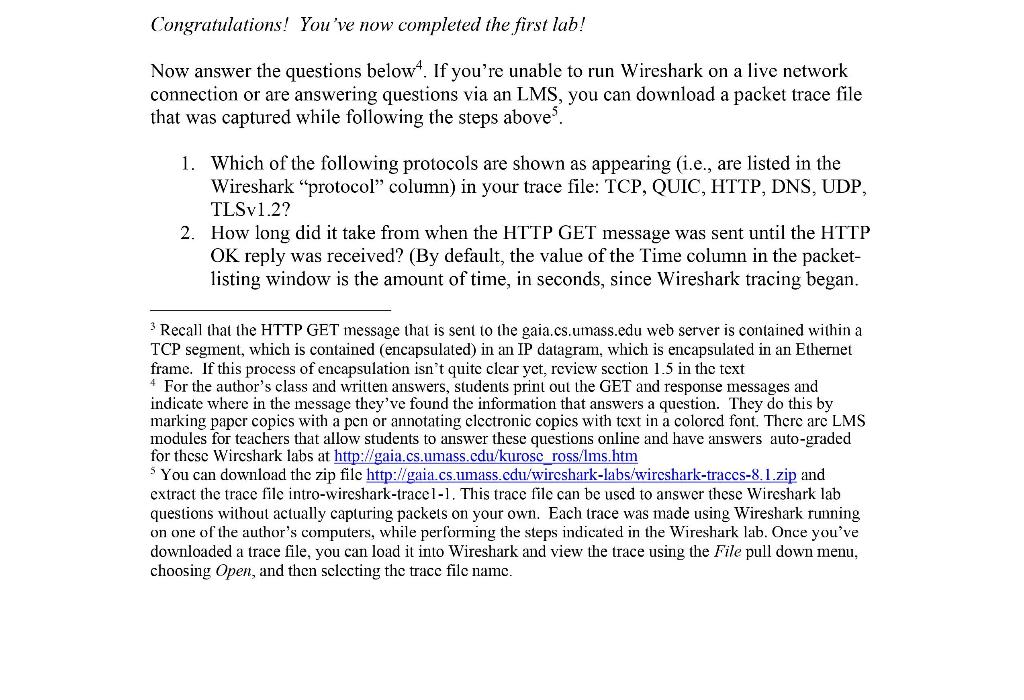
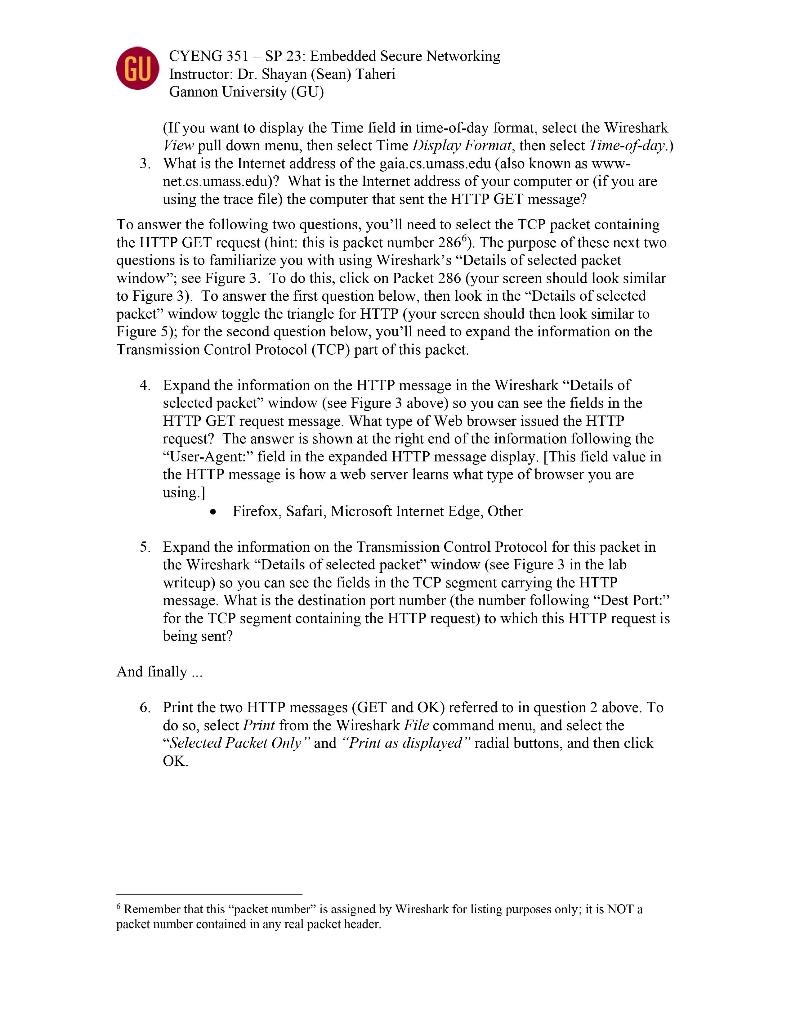
Congratulations! You've now completed the first lab! Now answer the questions below 4 . If you're unable to run Wireshark on a live network connection or are answering questions via an LMS, you can download a packet trace file that was captured while following the steps above 5. 1. Which of the following protocols are shown as appearing (i.e., are listed in the Wireshark "protocol" column) in your trace file: TCP, QUIC, HTTP, DNS, UDP, TLSv1.2? 2. How long did it take from when the HTTP GET message was sent until the HTTP OK reply was received? (By default, the value of the Time column in the packetlisting window is the amount of time, in seconds, since Wireshark tracing began. 3 Recall that the HTTP GET message that is sent to the gaia.cs.umass.edu web server is contained within a TCP segment, which is contained (encapsulated) in an IP datagram, which is encapsulated in an Ethernet frame. If this process of encapsulation isn't quite clear yet, revicw section 1.5 in the text 4 For the author's class and written answers, students print out the GET and response messages and indicate where in the message they've found the information that answers a question. They do this by marking paper copics with a pen or annotating electronic copies with text in a colored font. There are LMS modules for teachers that allow students to answer these questions online and have answers auto-graded for these Wircshark labs at http://gaia.cs.umass.edu/kurose_ross/lms.htm 5 You can download the zip file http://gaia.cs.umass.cdu/wircshark-labs/wireshark-traces-8.1.zip and extract the trace file intro-wireshark-tracel-1. This trace file can be used to answer these Wireshark lab questions without actually capturing packets on your own. Each trace was made using Wireshark running on one of the author's computers, while performing the steps indicated in the Wireshark lab. Once you've downloaded a trace file, you can load it into Wireshark and view the trace using the File pull down menu, choosing Open, and then selecting the trace file name. using the trace file) the computer that sent the HT"P GEI message? To answer the following two questions, you'll need to select the TCP packet containing the IITTP GIT request (hint: this is packet number 2866 ). The purpose of these next two questions is to familiarize you with using Wireshark's "Details of selected packet window", see Figure 3. To do this, click on Packet 286 (your screen should look similar to Figure 3). To answer the first question below, then look in the "Details of selected packet" window toggle the triangle for HTTP (your sereen should then look similar to Figure 5); for the second question below, you'll need to expand the information on the Transmission Control Protocol (TCP) part of this packet. 4. Expand the information on the HTTP message in the Wireshark "Details of selected packet" window (see Figure 3 above) so you can see the fields in the HTTP GET request message. What type of Web browser issued the HTTP request? The answer is shown at the right end of the information following the "User-Agent:" field in the expanded HTTP message display. [This field value in the HTTP message is how a web server learns what type of browser you are using.] - Firefox, Safari, Microsoft Internet Edge, Other 5. Expand the information on the Transmission Control Protocol for this packet in the Wireshark "Details of selected packet" window (see Figure 3 in the lab writeup) so you can see the fields in the TCP segment carrying the HTTP message. What is the destination port number (the number following "Dest Port:" for the TCP segment containing the HTTP request) to which this HTTP request is being sent? And linally ... 6. Print the two HTTP messages (GET and OK) referred to in question 2 above. To do so, select Print from the Wireshark File command menu, and select the "Selected Packet Only" and "Prin as displayed" radial buttons, and then click OK. " Remember that this "packet number" is assigned by Wireshark for listing purposes only; it is NOT a packet number contained in any real packet headerStep by Step Solution
There are 3 Steps involved in it
Step: 1

Get Instant Access to Expert-Tailored Solutions
See step-by-step solutions with expert insights and AI powered tools for academic success
Step: 2

Step: 3
Ace Your Homework with AI
Get the answers you need in no time with our AI-driven, step-by-step assistance
Get Started
Essential SQLAlchemy Mapping Python To Databases
Authors: Myers, Jason Myers
2nd Edition
1491916567, 9781491916568