program is visual studio in C++


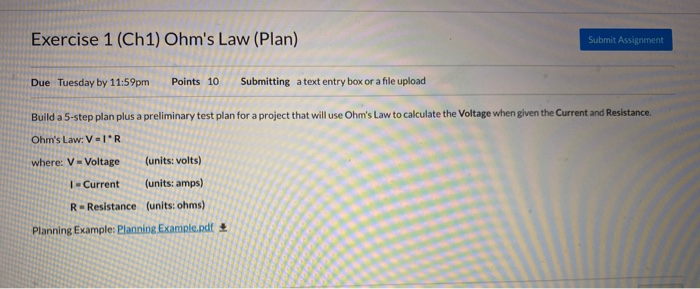
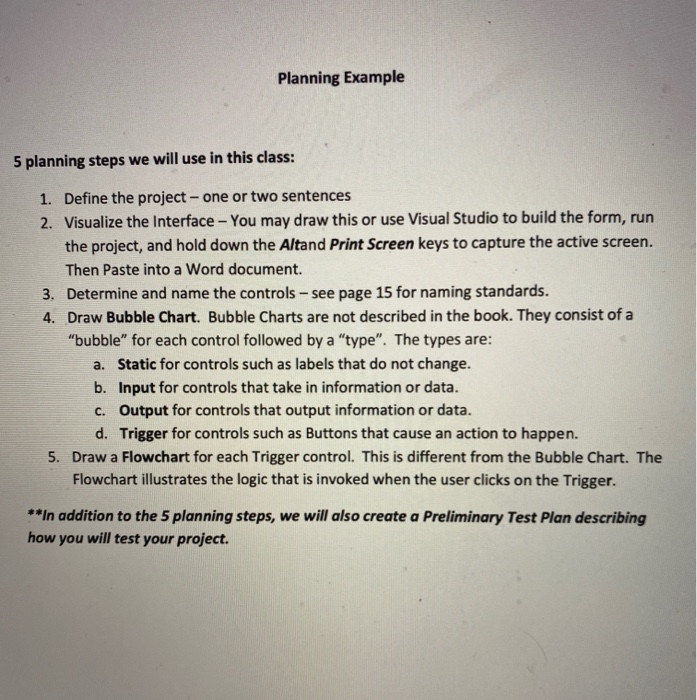
Exercise 1 (Ch1) Ohm's Law (Plan) Submit Assignment Due Tuesday by 11:59pm Points 10 Submitting a text entry box or a file upload Build a 5-step plan plus a preliminary test plan for a project that will use Ohm's Law to calculate the Voltage when given the Current and Resistance Ohms Law: VIR where: V-Voltage (units: volts) 1- Current (units: amps) R-Resistance (units: ohms) Planning Example: Planning Example.pdf Planning Example 5 planning steps we will use in this class: 1. Define the project - one or two sentences 2. Visualize the Interface - You may draw this or use Visual Studio to build the form, run the project, and hold down the Altand Print Screen keys to capture the active screen. Then Paste into a Word document. 3. Determine and name the controls - see page 15 for naming standards. 4. Draw Bubble Chart. Bubble Charts are not described in the book. They consist of a "bubble" for each control followed by a "type". The types are: a. Static for controls such as labels that do not change. b. Input for controls that take in information or data. C. Output for controls that output information or data. d. Trigger for controls such as Buttons that cause an action to happen. 5. Draw a Flowchart for each Trigger control. This is different from the Bubble Chart. The Flowchart illustrates the logic that is invoked when the user clicks on the Trigger. **In addition to the 5 planning steps, we will also create a Preliminary Test Plan describing how you will test your project. Exercise 1 (Ch1) Ohm's Law (Plan) Submit Assignment Due Tuesday by 11:59pm Points 10 Submitting a text entry box or a file upload Build a 5-step plan plus a preliminary test plan for a project that will use Ohm's Law to calculate the Voltage when given the Current and Resistance Ohms Law: VIR where: V-Voltage (units: volts) 1- Current (units: amps) R-Resistance (units: ohms) Planning Example: Planning Example.pdf Planning Example 5 planning steps we will use in this class: 1. Define the project - one or two sentences 2. Visualize the Interface - You may draw this or use Visual Studio to build the form, run the project, and hold down the Altand Print Screen keys to capture the active screen. Then Paste into a Word document. 3. Determine and name the controls - see page 15 for naming standards. 4. Draw Bubble Chart. Bubble Charts are not described in the book. They consist of a "bubble" for each control followed by a "type". The types are: a. Static for controls such as labels that do not change. b. Input for controls that take in information or data. C. Output for controls that output information or data. d. Trigger for controls such as Buttons that cause an action to happen. 5. Draw a Flowchart for each Trigger control. This is different from the Bubble Chart. The Flowchart illustrates the logic that is invoked when the user clicks on the Trigger. **In addition to the 5 planning steps, we will also create a Preliminary Test Plan describing how you will test your project


