Question: Summary Build a semi-standard system using the Thymeleaf template engine! MASSIVE firepower here, and you NEED to make this run! If you've fallen behind


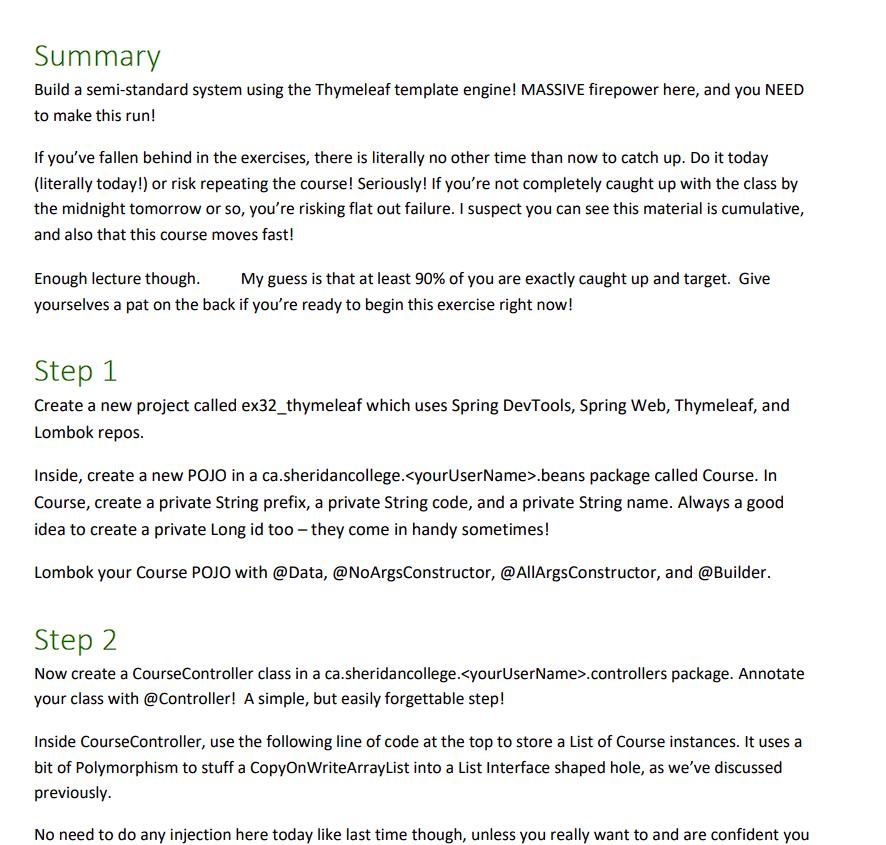
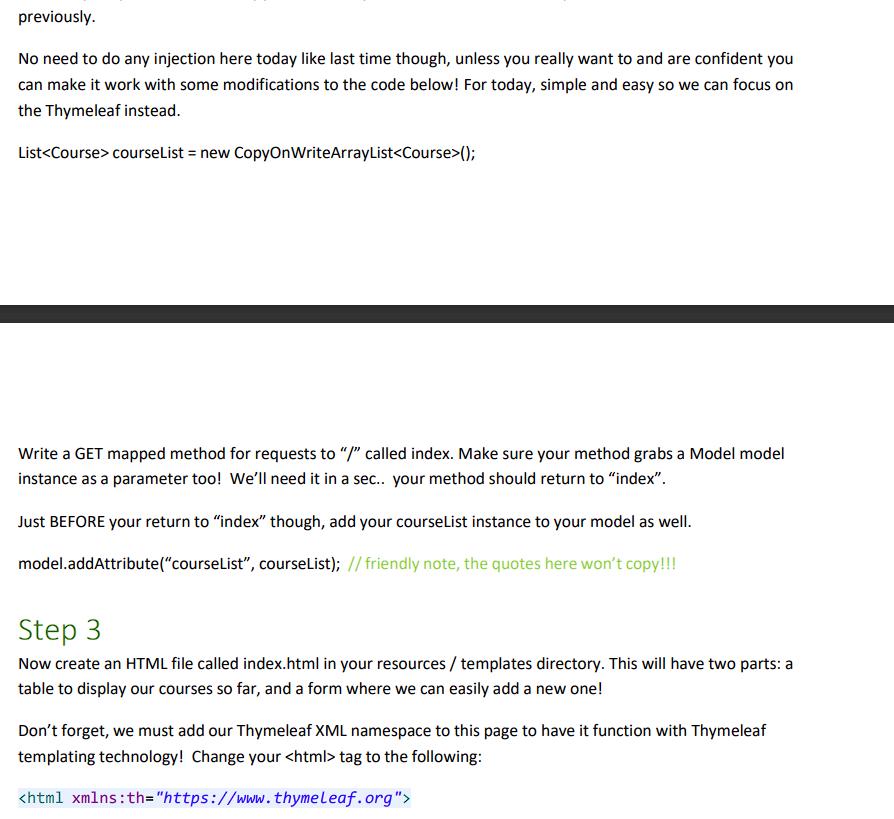
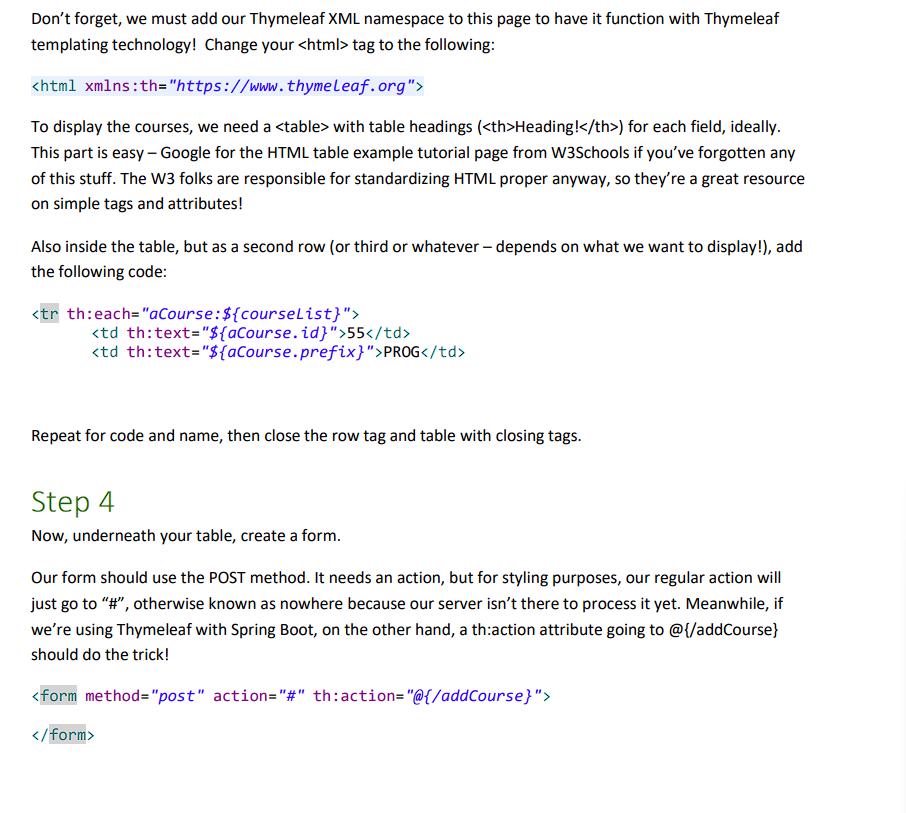
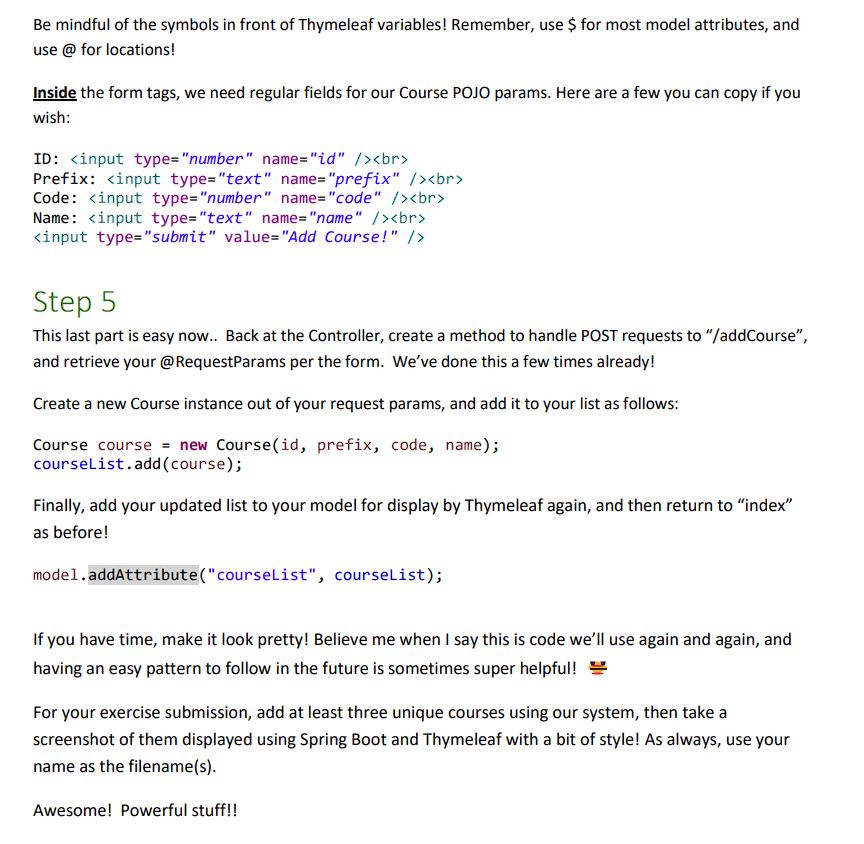
Summary Build a semi-standard system using the Thymeleaf template engine! MASSIVE firepower here, and you NEED to make this run! If you've fallen behind in the exercises, there is literally no other time than now to catch up. Do it today (literally today!) or risk repeating the course! Seriously! If you're not completely caught up with the class by the midnight tomorrow or so, you're risking flat out failure. I suspect you can see this material is cumulative, and also that this course moves fast! Enough lecture though. My guess is that at least 90% of you are exactly caught up and target. Give yourselves a pat on the back if you're ready to begin this exercise right now! Step 1 Create a new project called ex32_thymeleaf which uses Spring DevTools, Spring Web, Thymeleaf, and Lombok repos. Inside, create a new POJO in a ca.sheridancollege. .beans package called Course. In Course, create a private String prefix, a private String code, and a private String name. Always a good idea to create a private Long id too - they come in handy sometimes! Lombok your Course POJO with @Data, @NoArgsConstructor, @AllArgsConstructor, and @Builder. Step 2 Now create a Course Controller class in a ca.sheridancollege. .controllers package. Annotate your class with @Controller! A simple, but easily forgettable step! Inside Course Controller, use the following line of code at the top to store a List of Course instances. It uses a bit of Polymorphism to stuff a CopyOnWriteArrayList into a List Interface shaped hole, as we've discussed previously. No need to do any injection here today like last time though, unless you really want to and are confident you previously. No need to do any injection here today like last time though, unless you really want to and are confident you can make it work with some modifications to the code below! For today, simple and easy so we can focus on the Thymeleaf instead. List courseList = new CopyOnWriteArrayList (); Write a GET mapped method for requests to "/" called index. Make sure your method grabs a Model model instance as a parameter too! We'll need it in a sec.. your method should return to "index". Just BEFORE your return to "index" though, add your course List instance to your model as well. model.addAttribute("courseList", courseList); // friendly note, the quotes here won't copy!!! Step 3 Now create an HTML file called index.html in your resources / templates directory. This will have two parts: a table to display our courses so far, and a form where we can easily add a new one! Don't forget, we must add our Thymeleaf XML namespace to this page to have it function with Thymeleaf templating technology! Change your tag to the following: Don't forget, we must add our Thymeleaf XML namespace to this page to have it function with Thymeleaf templating technology! Change your tag to the following: To display the courses, we need a with table headings ( Heading! ) for each field, ideally. This part is easy - Google for the HTML table example tutorial page from W3Schools if you've forgotten any of this stuff. The W3 folks are responsible for standardizing HTML proper anyway, so they're a great resource on simple tags and attributes! Also inside the table, but as a second row (or third or whatever - depends on what we want to display!), add the following code: 55 PROG Repeat for code and name, then close the row tag and table with closing tags. Step 4 Now, underneath your table, create a form. Our form should use the POST method. It needs an action, but for styling purposes, our regular action will just go to "#", otherwise known as nowhere because our server isn't there to process it yet. Meanwhile, if we're using Thymeleaf with Spring Boot, on the other hand, a th:action attribute going to @{/addCourse} should do the trick! Be mindful of the symbols in front of Thymeleaf variables! Remember, use $ for most model attributes, and use @ for locations! Inside the form tags, we need regular fields for our Course POJO params. Here are a few you can copy if you wish: ID: Prefix: Code: Name: Step 5 This last part is easy now.. Back at the Controller, create a method to handle POST requests to "/addCourse", and retrieve your @Request Params per the form. We've done this a few times already! Create a new Course instance out of your request params, and add it to your list as follows: Course course = new Course (id, prefix, code, name); courseList.add (course); Finally, add your updated list to your model for display by Thymeleaf again, and then return to "index" as before! model.addAttribute("courseList", courseList); If you have time, make it look pretty! Believe me when I say this is code we'll use again and again, and having an easy pattern to follow in the future is sometimes super helpful! For your exercise submission, add at least three unique courses using our system, then take a screenshot of them displayed using Spring Boot and Thymeleaf with a bit of style! As always, use your name as the filename(s). Awesome! Powerful stuff!!
Step by Step Solution
3.48 Rating (151 Votes )
There are 3 Steps involved in it
The code you provided is for a Java Swing application that creates a simple calculator The user can ... View full answer

Get step-by-step solutions from verified subject matter experts


