

Question: The Application Francois has implemented a PhotoShop-like Java application, called SnapShop. The application knows how to load image files, and provides all the user interface
The Application
Francois has implemented a PhotoShop-like Java application, called SnapShop. The application knows how to load image files, and provides all the user interface objects you'll need to apply your filters to the image. You will need not implement anything in the SnapShop class, but create a few new classes. The file loader of the SnapShop class expects filenames to be fully specified, that is, you must say something like c:\directory\image.jpg. Normal (forward) slashes also work: c:/directory/image.jpg. To save you some work, we've provided a shortcut so you don't need to always retype the file name; details below.
SnapShop has a main method. Once you have the files imported into the project and compiled, selecting run in eclipse will run the SnapShop application.
He has also provided an interface class Filter. An interface simply specifies the methods another class must implement, and cannot be used to make objects itself. You will be writing classes that implement this Filter interface, one for each transformation you write. Each class implementing the Filter interface must have a method called filter(), which takes a PixelImage as an argument. The method then applies a transformation to the data in the image. As an example, we have included the FlipHorizontalFilter class, which flips an image horizontally.
You will need some way to tell our SnapShop class which filters you have implemented. So we've provided a class called SnapShopConfiguration, with a single method, configure(). In this method, you can call methods for the SnapShop object. The two methods you'll be interested in are addFilter(), which creates a button in the application to apply your filter, and setDefaultFilename(), which lets you specify a default path or filename for the file loader, to aid you in testing. For each filter that you create, there should be a call to addFilter() in the configure() method.
(A note on setDefaultFilename(). Windows path names have backslashes (\) in them. To specify this in a string in a Java source program, you need to put two backslashes. For example, the Java string for c:\directory\image.jpg would be "c:\\directory\\image.jpg".) Here are the files you need to download to get started: SnapShop.java, SnapShopConfiguration.java, Pixel.java, PixelImage.java, Filter.java, FlipHorizontalFilter.java.
Simple Transformations
There are two kinds of transformations that you are required to implement. The simple transformations can be implemented by replacing each Pixel in the existing image with the updated one. The more complex 3x3 transformations require creating a new array of Pixels with the transformed image, then updating the image instance variable to refer to the new array once it is completely initialized.
The first three transformations you should implement flip the image horizontally and vertically, and transform the image into a photographic negative of itself (that is, you should create a flipHorizontalFilter, flipVerticalFilter, and NegativeFilter class). We have implemented flipHorizontalFilter for you.
The first two require a simple rearrangement of the pixels that reverses the order of rows or columns in the image. The negate transformation is done by replacing each Pixel in the image with a new Pixel whose rgb values are calculated by subtracting the original rgb values from 255. These subtractions are done individually for each of the red, green, and blue colors.
These transformations can be performed by modifying the image array of Pixels directly. You should do these first to get a better idea of how the image is represented and what happens when you modify the Pixels. You should make every effort to get this far before the end of week 9. That will ensure that youve made good progress on this assignment, or at least know what you need to clear up in discussions during lecture.
Notes:
You can assume that the image array is rectangular, i.e., all rows have the same length.
All of these simple transformations are their own inverse. If you repeat any of these transformations twice in a row, you should get the original image back.
You should use relatively small image files for testing. The program will work fine with large images, but there can be a significant delay while the transformed image is created if the image is large.
3x3 Transformations
Once youve got the simple transformations working, you should implement this next set, which includes Gaussian blur, Laplacian, Unsharp Masking, and Edgy. All of these transformations are based on the following idea: each pixel in the transformed image is calculated from the values of the original pixel and its immediate neighbors, i.e., the 3x3 array of pixels centered on the old pixel whose new value we are trying to calculate. The new rgb values can be obtained by calculating a weighted average; the median, minimum, or maximum; or something else. As with the negate transformation, the calculations are carried out independently for each color, i.e., the new red value for a pixel is obtained from the old red values, and similarly for red and blue.
The four transformations you should implement all compute the new pixel values as a weighted average of the old ones. The only difference between them is the actual weights that are used. You should be able to add a single method inside class PixelImage to compute a new image using weighted averages, and call it from the methods for the specific transformations with appropriate weights as parameters. You should not need to repeat the code for calculating weighted averages four times, once in each transformation. The method you add to PixelImage to do the actual calculations can, of course, call additional new methods if it makes sense to break the calculation into smaller pieces.
Here are the weights for the 3x3 transformations you should implement.
Gaussian
1 2 1 2 4 2 1 2 1
After computing the weighted sum, the result must be divided by 16 to scale the numbers back down to the range 0 to 255. The effect is to blur the image.
Laplacian
-1 -1 -1 -1 8 -1 -1 -1 -1
The neighboring pixel values are subtracted from 8 times the center one, so no scaling is needed. However, you do need to check that the weighted average is between 0 and 255. If it is less than 0, replace the calculated value with 0 (i.e., the new value is the maximum of 0 and the calculated value). If it is greater than 255, then replace the calculated value with 255. This transformation detects and highlights edges.
Unsharp masking
-1 -2 -1 -2 28 -2 -1 -2 -1
This transformation is created by multiplying the center pixel and subtracting the Gaussian weighted average. The result must be divided by 16 to scale it back down to the range 0 to 255. As with the Laplacian transformation, check for negative weighted averages or weighted averages greater than 255 (and do the same thing as in the Laplacian case to fix it).
Edgy
-1 -1 -1 -1 9 -1 -1 -1 -1
This adds the Laplacian weighted average to the original pixel, which sharpens the edges in the image. It does not need scaling, but you need to watch for weighted averages less than 0 or greater than 255.
Notes:
The complication with these transformations is that the new value of each pixel depends on the neighboring ones, as well as itself. That means we cannot replace the original pixels with new values before the old values have been used to compute the new values of their neighbors. The simplest way to handle this is to create a new 2D Pixel array the same size as the old image, compute Pixels for the new image and store them in the new array, then change the image instance variable to refer to the new array once it is completed.
You should assume the image has at least three rows and columns and you do not need to worry about updating the first and last rows and columns. In other words, only update the interior pixels that have neighbors on all four sides. However, every position in the array of Pixels must have refer to a Pixel object; you can't just leave a position in the array uninitialized.
Debugging hint: From past experience, weve noticed that bugs in the implementation of these transformations tend to produce more spectacular visible effects with the Laplacian weights. You might start with this set of weights when testing your code for the 3x3 transformations.
Be sure that your monitor is set to thousands or millions of colors, which is normally the case on most modern PCs. If you set the monitor to such a high resolution that the color display is set to 256, the colors will be rendered only approximately and it will be hard to see the effects of most of these transformations.
SnapShot.java
import java.awt.BorderLayout; import java.awt.Dimension; import java.awt.FlowLayout; import java.awt.Frame; import java.awt.Graphics; import java.awt.Graphics2D; import java.awt.GridLayout; import java.awt.Image; import java.awt.Label; import java.awt.MediaTracker; import java.awt.Point; import java.awt.Toolkit; import java.awt.event.ActionEvent; import java.awt.event.ActionListener; import java.awt.image.BufferedImage; import javax.swing.JButton; import javax.swing.JFrame; import javax.swing.JLabel; import javax.swing.JOptionPane; import javax.swing.JPanel; import javax.swing.JTextArea; import javax.swing.SwingUtilities; import javax.swing.UIManager; /** * A PhotoShop like application for filtering images This class is COMPLETE. * Don't change it. */ public class SnapShop extends JFrame { FileLoader fl; FilterButtons fb; ImagePanel ip; RenderingDialog rd; /** * Constructor for objects of class SnapShop */ public SnapShop() { super("CSC 142 - SnapShop"); // Take the default look of the computer (windows on a windows machine, // etc...) try { UIManager.setLookAndFeel(UIManager.getSystemLookAndFeelClassName()); SwingUtilities.updateComponentTreeUI(this); } catch (Exception e) { // crash if it didn't work throw new RuntimeException( "Could not set the default look and feel"); } this.setDefaultCloseOperation(JFrame.EXIT_ON_CLOSE); ip = new ImagePanel(this); this.getContentPane().add(ip, BorderLayout.CENTER); fl = new FileLoader(this); this.getContentPane().add(fl, BorderLayout.NORTH); fb = new FilterButtons(this); this.getContentPane().add(fb, BorderLayout.WEST); rd = new RenderingDialog(this); SnapShopConfiguration.configure(this); this.pack(); this.setVisible(true); } private class FileLoader extends JPanel implements ActionListener { private JTextArea filenameBox; private ImagePanel ip; private SnapShop s; public FileLoader(SnapShop s) { super(new FlowLayout()); this.s = s; this.ip = s.getImagePanel(); add(new JLabel("Enter file name: ")); filenameBox = new JTextArea(1, 50); add(filenameBox); JButton loadButton = new JButton("Load"); loadButton.addActionListener(this); add(loadButton); } public void actionPerformed(ActionEvent e) { String filename = filenameBox.getText().trim(); try { ip.loadImage(filename); } catch (Exception ex) { JOptionPane.showMessageDialog(s, "Could not open file", "Error", JOptionPane.ERROR_MESSAGE); } } public void setDefaultFilename(String filename) { filenameBox.setText(filename); } } private class FilterButtons extends JPanel { private SnapShop s; private ImagePanel ip; public FilterButtons(SnapShop s) { // 0 rows since we don't know how many buttons there are setLayout(new GridLayout(0, 1, 3, 3)); this.s = s; this.ip = s.getImagePanel(); ; } public void addFilter(Filter f, String description) { JButton filterButton = new JButton(description); filterButton.addActionListener(new FilterButtonListener(this, f)); add(filterButton); s.pack(); } public void applyFilter(Filter f) { try { ip.applyFilter(f); } catch (Exception e) { e.printStackTrace(System.out); } } private class FilterButtonListener implements ActionListener { private FilterButtons fb; private Filter f; public FilterButtonListener(FilterButtons fb, Filter f) { this.fb = fb; this.f = f; } public void actionPerformed(ActionEvent e) { fb.applyFilter(f); } } } private class ImagePanel extends JPanel { private BufferedImage bi; private SnapShop s; public ImagePanel(SnapShop s) { bi = null; this.s = s; } public void loadImage(String filename) { Image img = Toolkit.getDefaultToolkit().getImage(filename); try { MediaTracker tracker = new MediaTracker(this); tracker.addImage(img, 0); tracker.waitForID(0); } catch (Exception e) { } int width = img.getWidth(this); int height = img.getHeight(this); bi = new BufferedImage(width, height, BufferedImage.TYPE_INT_RGB); Graphics2D biContext = bi.createGraphics(); biContext.drawImage(img, 0, 0, null); setPreferredSize(new Dimension(bi.getWidth(), bi.getHeight())); revalidate(); s.pack(); s.repaint(); } protected void paintComponent(Graphics g) { super.paintComponent(g); if (bi != null) g.drawImage(bi, 0, 0, this); } public void applyFilter(Filter f) { if (bi == null) return; PixelImage newImage = new PixelImage(bi); s.showWaitDialog(); f.filter(newImage); s.hideWaitDialog(); bi = newImage.getImage(); repaint(); } } private class RenderingDialog extends Frame { public RenderingDialog(JFrame parent) { super("Message"); Point p = parent.getLocation(); setLocation((int) p.getX() + 100, (int) p.getY() + 100); Label label = new Label("Applying filter, please wait...", JLabel.CENTER); this.setLayout(new BorderLayout()); this.add(label, BorderLayout.CENTER); } } /** * Add a filter to the SnapShop interface. Creates a button and links it to * the filter. * * @param f * The filter to apply * @param description * English description of the filter */ public void addFilter(Filter f, String description) { fb.addFilter(f, description); } /** * Display a message box telling the user that the image is being processed */ protected void showWaitDialog() { rd.pack(); rd.setVisible(true); } /** * The image has been processed. Hide the message box. */ protected void hideWaitDialog() { rd.setVisible(false); } /** * Return the image panel of this SnapShop */ protected ImagePanel getImagePanel() { return ip; } /** * Set the default filename to appear in the box * * @param filename * The filename */ public void setDefaultFilename(String filename) { fl.setDefaultFilename(filename); } /** * Open a SnapShop */ public static void main(String[] args) { SnapShop s = new SnapShop(); } } SnapShotConfiguration.java
// Write your short report here (-2 if there is no report) /** * A class to configure the SnapShop application * * @author (your name) * @version (a version number or a date) */ public class SnapShopConfiguration { /** * Method to configure the SnapShop. Call methods like addFilter * and setDefaultFilename here. * @param theShop A pointer to the application */ public static void configure(SnapShop theShop) { theShop.setDefaultFilename("c:/hw5/billg.jpg"); theShop.addFilter(new FlipHorizontalFilter(), "Flip Horizontal"); // add your other filters below } } Pixel.java
/** * Represents a pixel, which is a red, green, and blue value * This class is COMPLETE. Don't change it. */ public class Pixel { // RGB color values for this pixel (0-255) public int red; public int green; public int blue; /** * Constructor for objects of class Pixel * Initializes the pixel values; */ public Pixel(int red, int green, int blue) { this.red = red; this.green = green; this.blue = blue; } } PixelImage.java
import java.awt.image.*; /** * Provides an interface to a picture as an array of Pixels */ public class PixelImage { private BufferedImage myImage; private int width; private int height; /** * Map this PixelImage to a real image * @param bi The image */ public PixelImage(BufferedImage bi) { // initialise instance variables this.myImage = bi; this.width = bi.getWidth(); this.height = bi.getHeight(); } /** * Return the width of the image */ public int getWidth() { return this.width; } /** * Return the height of the image */ public int getHeight() { return this.height; } /** * Return the BufferedImage of this PixelImage */ public BufferedImage getImage() { return this.myImage; } /** * Return the image's pixel data as an array of Pixels. The * first coordinate is the x-coordinate, so the size of the * array is [width][height], where width and height are the * dimensions of the array * @return The array of pixels */ public Pixel[][] getData() { Raster r = this.myImage.getRaster(); Pixel[][] data = new Pixel[r.getHeight()][r.getWidth()]; int[] samples = new int[3]; for (int row = 0; row Filter.java
/** * Defines a filter method to modify images * This simple interface is COMPLETE. Don't change it. */ public interface Filter { /** * Modify the image according to your algorithm * @param theImage The image to modify */ void filter(PixelImage theImage); } FlipHorizontalFilter.java
/** * Filter that flips the image horizontally. * This class is COMPLETE. Don't change it. But model your other classes (such * as FlipVerticalFilter) after it. */ public class FlipHorizontalFilter implements Filter { public void filter(PixelImage pi) { Pixel[][] data = pi.getData(); for (int row = 0; row
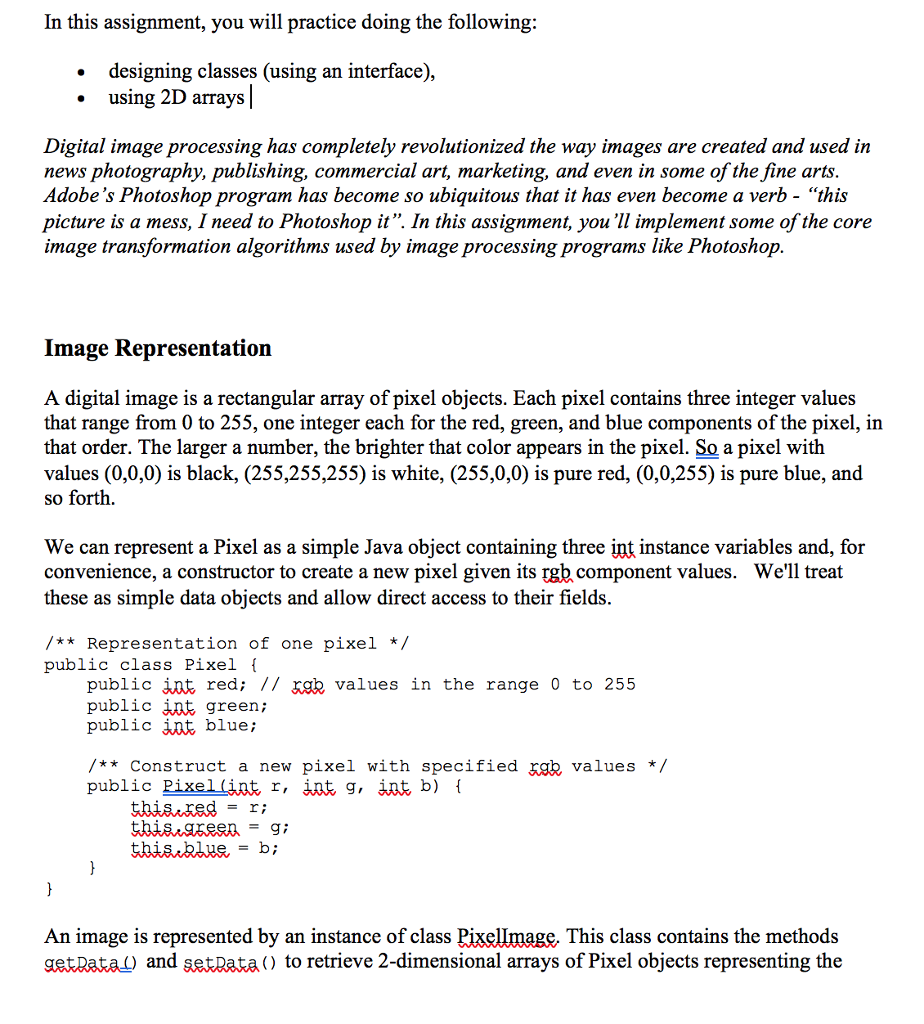
In this assignment, you will practice doing the following: designing classes (using an interface), using 2D arrays . Digital image processing has completely revolutionized the way images are created and used in news photography, publishing, commercial art, marketing, and even in some of the fine arts Adobe's Photoshop program has become so ubiquitous that it has even become a verb - "this picture is a mess, I need to Photoshop it". In this assignment, you 'll implement some of the core image transformation algorithms used by image processing programs like Photoshop Image Representation A digital image is a rectangular array of pixel objects. Each pixel contains three integer values that range from 0 to 255, one integer each for the red, green, and blue components of the pixel, in that order. The larger a number, the brighter that color appears in the pixel. So a pixel with values (0,0,0) is black, (255,255,255) is white, (255,0,0) is pure red, (0,0,255) is pure blue, and so forth. We can represent a Pixel as a simple Java object containing three int instance variables and, for convenience, a constructor to create a new pixel given its rgb component values. We'll treat these as simple data objects and allow direct access to their fields /**Representation of one pixel */ public class Pixel f public int red; // xab values in the range 0 to 25.5 public jnt green; public int blue; /**Construct a new pixel with specified xab values / public Pixel (iat r, iat g, iat b) t thisared-r; An image is represented by an instance of class Pixellmage, This class contains the methods getpata) and setData) to retrieve 2-dimensional arrays of Pixel objects representing the Step by Step Solution
There are 3 Steps involved in it

Get step-by-step solutions from verified subject matter experts