Write a parallel program to convert our rgb image into grey scale image and display it. Following are the details:
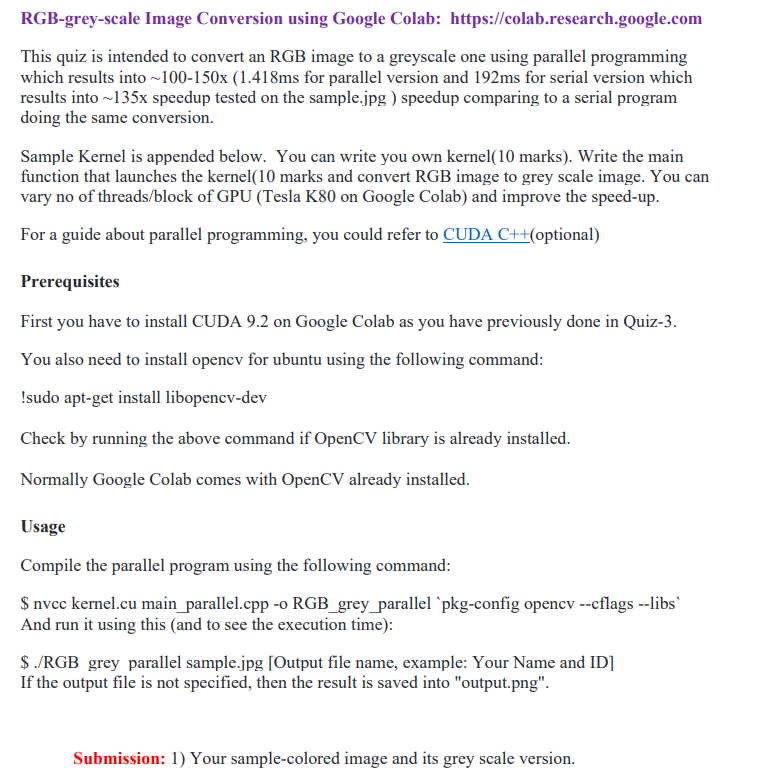
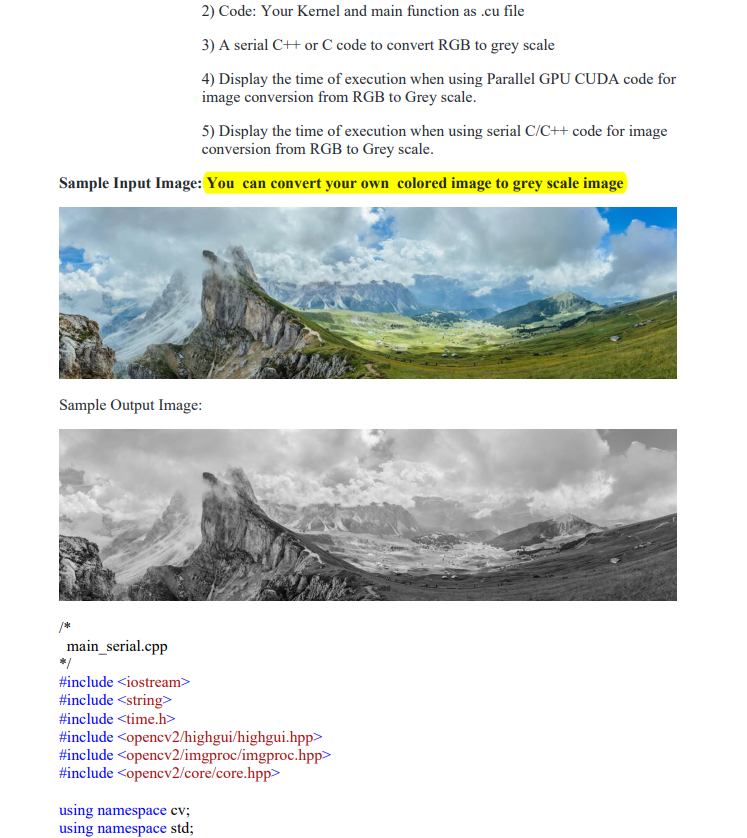
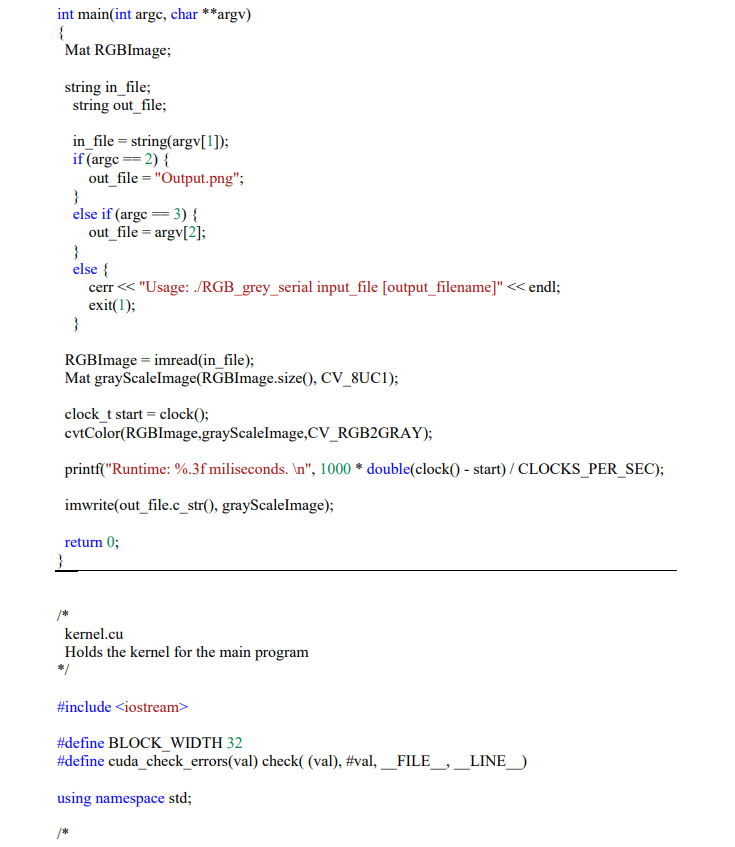
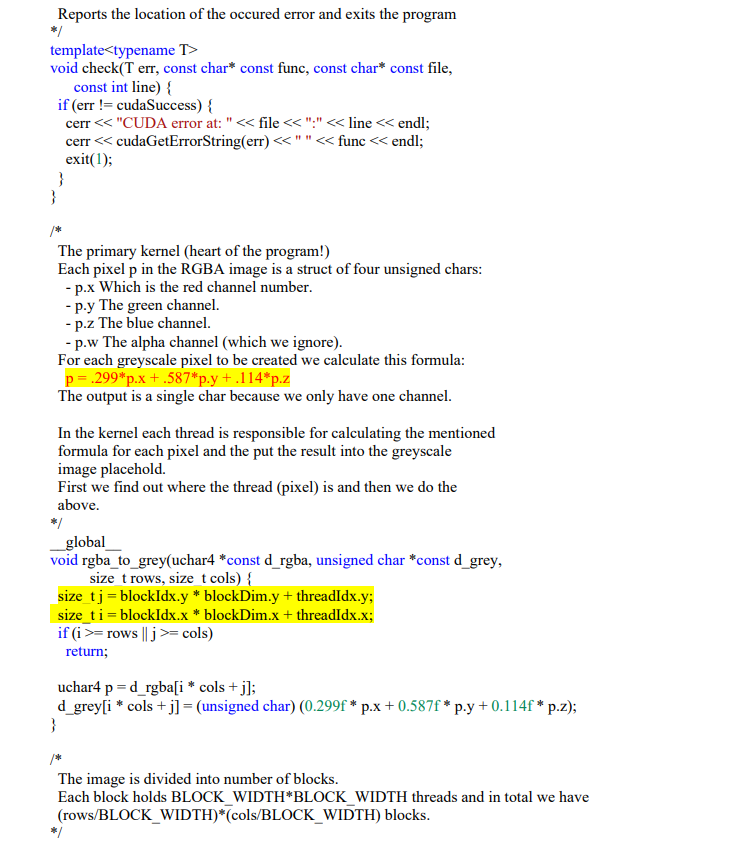
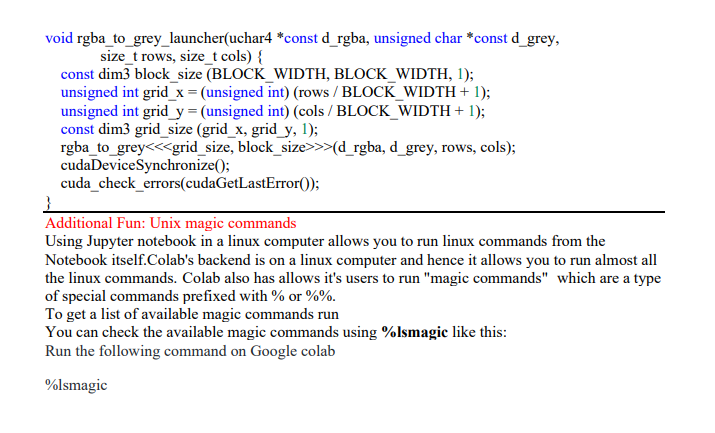
RGB-grey-scale Image Conversion using Google Colab: https://colab.research.google.com This quiz is intended to convert an RGB image to a greyscale one using parallel programming which results into 100-150x (1.418ms for parallel version and 192ms for serial version which results into 135x speedup tested on the sample.jpg ) speedup comparing to a serial program doing the same conversion. Sample Kernel is appended below. You can write you own kernel(10 marks). Write the main function that launches the kernel(10 marks and convert RGB image to grey scale image. You can vary no of threads/block of GPU (Tesla K80 on Google Colab) and improve the speed-up. For a guide about parallel programming, you could refer to CUDA C++(optional) Prerequisites First you have to install CUDA 9.2 on Google Colab as you have previously done in Quiz-3. You also need to install opencv for ubuntu using the following command: !sudo apt-get install libopencv-dev Check by running the above command if OpenCV library is already installed. Normally Google Colab comes with OpenCV already installed. Usage Compile the parallel program using the following command: \$ nvcc kernel.cu main_parallel.cpp -o RGB_grey_parallel 'pkg-config opencv -cflags -libs' And run it using this (and to see the execution time): \$./RGB grey parallel sample.jpg [Output file name, example: Your Name and ID] If the output file is not specified, then the result is saved into "output.png". Submission: 1) Your sample-colored image and its grey scale version. 2) Code: Your Kernel and main function as .cu file 3) A serial C++ or C code to convert RGB to grey scale 4) Display the time of execution when using Parallel GPU CUDA code for image conversion from RGB to Grey scale. 5) Display the time of execution when using serial C/C++ code for image conversion from RGB to Grey scale. Sample Input Image: You can convert your own colored image to grey scale image Sample Output Image: /* main_serial.cpp / \#include \#include \#include \#include \#include \#include using namespace cv; using namespace std; / kernel.cu Holds the kernel for the main program */ \#include > \#define BLOCK_WIDTH 32 \#define cuda_check_errors(val) check( (val), \#val,__FILE__,_LINE_) using namespace std; Reports the location of the occured error and exits the program */ template void check( T err, const char* const func, const char* const file, const int line) \{ if (err != cudaSuccess) \{ cerr = rows j>= cols) return; uchar4 p = d_rgba [i cols +j] d_grey [i cols +j]=( unsigned char )(0.299fpx+0.587fpy+0.114fpz); \} /* The image is divided into number of blocks. Each block holds BLOCK_WIDTH*BLOCK_WIDTH threads and in total we hav (rows/BLOCK_WIDTH)*(cols/BLOCK_WIDTH) blocks. */ void rgba_to_grey_launcher(uchar4 *const d_rgba, unsigned char *const d_grey, size_t rows, size_t cols) const dim3 3 block_size (BLOCK_WIDTH, BLOCK_WIDTH, 1); unsigned int grid_x = (unsigned int) (rows / BLOCK_WIDTH +1); unsigned int grid_y = (unsigned int) (cols / BLOCK_WIDTH +1); const dim3 grid_size (grid_x, grid_y, 1); rgba_to_grey> (d_rgba, d_grey, rows, cols); cudaDeviceSynchronize(); cuda_check_errors(cudaGetLastError()); Additional Fun: Unix magic commands Using Jupyter notebook in a linux computer allows you to run linux commands from the Notebook itself.Colab's backend is on a linux computer and hence it allows you to run almost all the linux commands. Colab also has allows it's users to run "magic commands" which are a type of special commands prefixed with % or %%. To get a list of available magic commands run You can check the available magic commands using \%lsmagic like this: Run the following command on Google colab