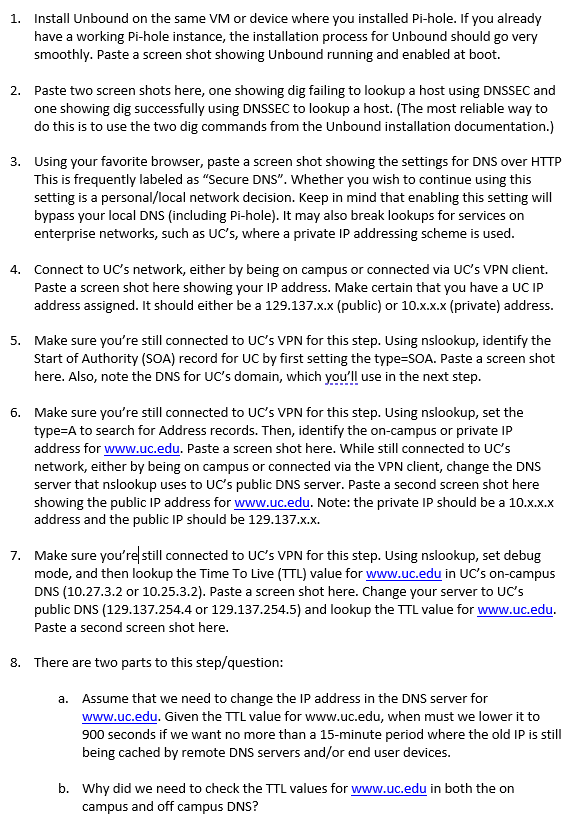
A step-by-step explanation of how to complete this process on the Fedora VM with screenshots if possible

1. Install Unbound on the same VM or device where you installed Pi-hole. If you already have a working Pi-hole instance, the installation process for Unbound should go very smoothly. Paste a screen shot showing Unbound running and enabled at boot. 2. Paste two screen shots here, one showing dig failing to lookup a host using DNSSEC and one showing dig successfully using DNSSEC to lookup a host. (The most reliable way to do this is to use the two dig commands from the Unbound installation documentation.) 3. Using your favorite browser, paste a screen shot showing the settings for DNS over HTTP This is frequently labeled as "Secure DNS". Whether you wish to continue using this setting is a personal/local network decision. Keep in mind that enabling this setting will bypass your local DNS (including Pi-hole). It may also break lookups for services on enterprise networks, such as UC's, where a private IP addressing scheme is used. 4. Connect to UC's network, either by being on campus or connected via UC's VPN client. Paste a screen shot here showing your IP address. Make certain that you have a UC IP address assigned. It should either be a 129.137.x.x (public) or 10.x.x.x (private) address. 5. Make sure you're still connected to UC's VPN for this step. Using nslookup, identify the Start of Authority (SOA) record for UC by first setting the type=SOA. Paste a screen shot here. Also, note the DNS for UC's domain, which you'll use in the next step. 6. Make sure you're still connected to UC's VPN for this step. Using nslookup, set the type=A to search for Address records. Then, identify the on-campus or private IP address for Paste a screen shot here. While still connected to UC's network, either by being on campus or connected via the VPN client, change the DNS server that nslookup uses to UC's public DNS server. Paste a second screen shot here showing the public IP address for www.uc.edu. Note: the private IP should be a 10.x.x.x address and the public IP should be 129.137.x.x. 7. Make sure you're|still connected to UC's VPN for this step. Using nslookup, set debug mode, and then lookup the Time To Live (TTL) value for in UC's on-campus DNS (10.27.3.2 or 10.25.3.2). Paste a screen shot here. Change your server to UC's public DNS (129.137.254.4 or 129.137.254.5) and lookup the TTL value for www.uc.edu. Paste a second screen shot here. 8. There are two parts to this step/question: a. Assume that we need to change the IP address in the DNS server for www.uc.edu. Given the TLL value for www.uc.edu, when must we lower it to 900 seconds if we want no more than a 15 -minute period where the old IP is still being cached by remote DNS servers and/or end user devices. b. Why did we need to check the TTL values for in both the on campus and off campus DNS


