Answered step by step
Verified Expert Solution
Question
1 Approved Answer
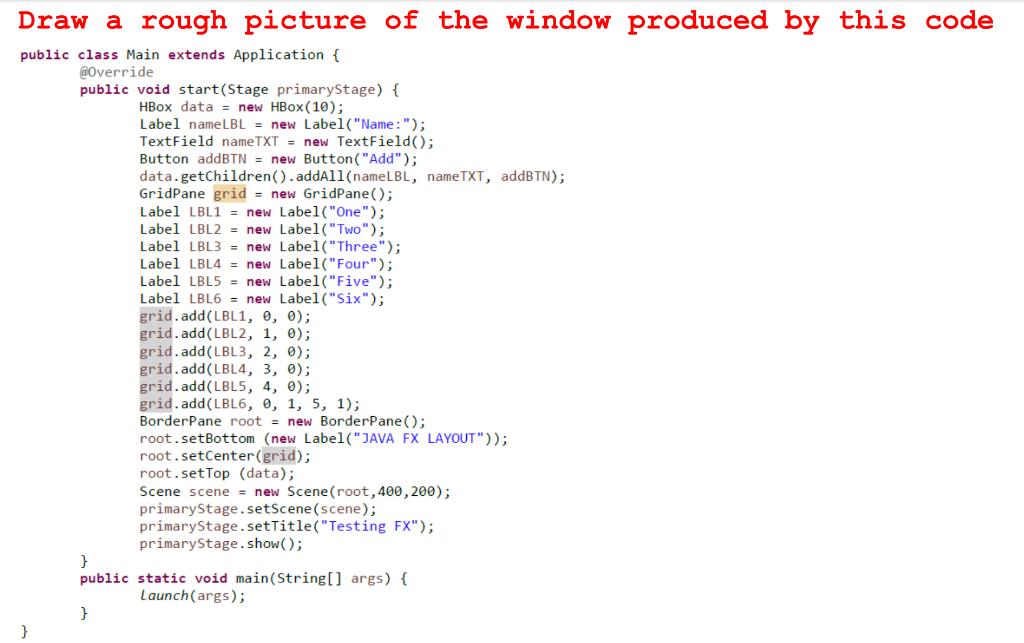
Draw a rough picture of the window produced by this code public class Main extends Application { @Override public void start (Stage primaryStage) {

Draw a rough picture of the window produced by this code public class Main extends Application { @Override public void start (Stage primaryStage) { HBox data= new HBox(10); Label name LBL = new Label("Name: "); TextField nameTXT = new TextField(); Button addBTN = new Button("Add"); data.getChildren().addAll(name LBL, nameTXT, addBTN); GridPane grid = new GridPane(); Label LBL1= new Label("One"); Label LBL2= new Label("Two"); Label LBL3= new Label("Three"); Label LBL4= new Label("Four"); Label LBL5= new Label("Five"); Label LBL6 = new Label("Six"); grid.add(LBL1, 0, 0); grid.add(LBL2, 1, 0); grid.add (LBL3, 2, 0); grid.add(LBL4, 3, 0); grid.add(LBL5, 4, 0); grid.add(LBL6, 0, 1, 5, 1); BorderPane root = new BorderPane(); root.setBottom (new Label("JAVA FX LAYOUT")); root.setCenter (grid); root.setTop (data); Scene scene = new Scene (root, 400, 200); primaryStage.setScene (scene); primaryStage.setTitle("Testing FX"); primaryStage.show(); } public static void main(String[] args) { Launch (args); }
Step by Step Solution
There are 3 Steps involved in it
Step: 1
JAVA FX LAYOUT Name TextField Add Button One Two Three Fou...
Get Instant Access to Expert-Tailored Solutions
See step-by-step solutions with expert insights and AI powered tools for academic success
Step: 2

Step: 3

Ace Your Homework with AI
Get the answers you need in no time with our AI-driven, step-by-step assistance
Get Started


