Answered step by step
Verified Expert Solution
Question
1 Approved Answer
What is the first step normally taken when you look through the ocular lenses? What does it mean that the image is inverted when you
What is the first step normally taken when you look through the ocular lenses?
- What does it mean that the image is inverted when you look through the ocular lenses?
- What is the difference between the coarse adjustment knob and the fine adjustment knob? When is it appropriate to use them?
- What new details are you able to see on the slide when the magnification is increased to 10x that you could not see at 4x? What about 40x?
Reflection (Discuss what you have learned by doing this experiment. How have your ideas changed? Do you have any new questions? What connections did you make between the lab and lecture?):
Hands-On Microscope
- What observations do you make observing the letter “e” at low power?
- At what objective magnification can you no longer see the entire letter when looking through the ocular lens?
- List the objective lens magnifications you used to observe the letter “e” below, along with your observations at each magnification.
- What did you use to create your second microscope slide?
- Write down your observations in viewing you second slide, and write down what magnifications you used to make those observations.
Reflection (Discuss what you have learned by doing this experiment. How have your ideas changed? Do you have any new questions? What connections did you make between the lab and lecture?):


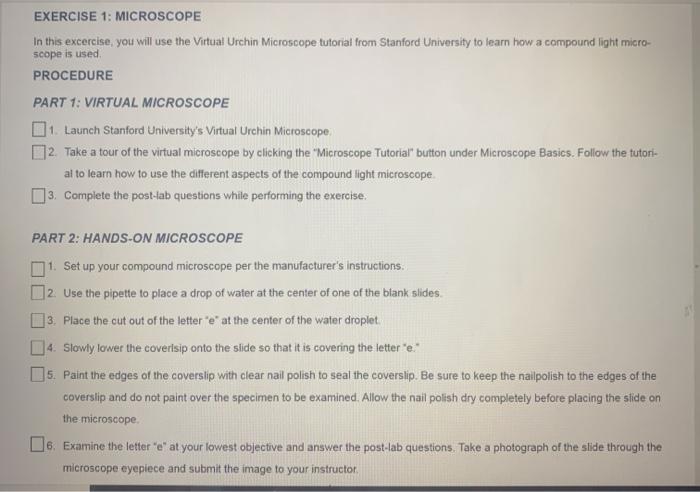
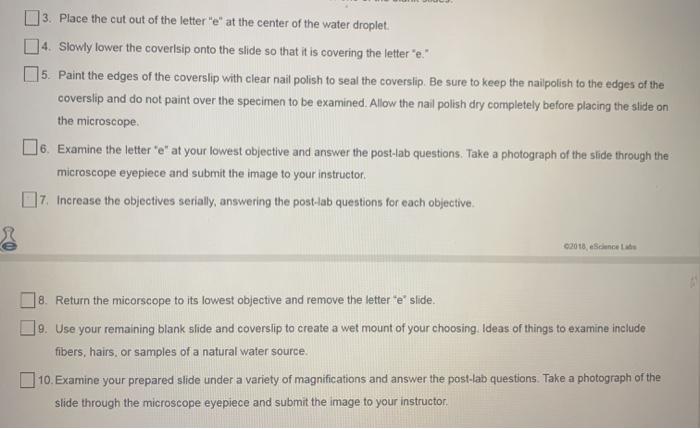
EXERCISE 1: MICROSCOPE In this excercise, you will use the Virtual Urchin Microscope tutorial from Stanford University to learn how a compound light micro- scope is used. PROCEDURE PART 1: VIRTUAL MICROSCOPE O1. Launch Stanford University's Virtual Urchin Microscope. ]2. Take a tour of the virtual microscope by clicking the "Microscope Tutorial" button under Microscope Basics. Follow the tutori- al to learn how to use the different aspects of the compound light microscope. 03. Complete the post-lab questions while performing the exercise. PART 2: HANDS-ON MICROSCOPE 1. Set up your compound microscope per the manufacturer's instructions. O2. Use the pipette to place a drop of water at the center of one of the blank slides. O3. Place the cut out of the letter "e" at the center of the water droplet. 04. Slowly lower the coverisip onto the slide so that it is covering the letter "e" Os. 15. Paint the edges of the coversilip with clear nail polish to seal the coverslip. Be sure to keep the nailpolish to the edges of the coverslip and do not paint over the specimen to be examined. Allow the nail polish dry completely before placing the side on the microscope. O6. 6. Examine the letter "e" at your lowest objective and answer the post-lab questions. Take a photograph of the slide through the microscope eyepiece and submit the image to your instructor.
Step by Step Solution
★★★★★
3.48 Rating (178 Votes )
There are 3 Steps involved in it
Step: 1
First we move focus knob to adjust focus when we see through ocular lenses The ocular lenses make a ...
Get Instant Access to Expert-Tailored Solutions
See step-by-step solutions with expert insights and AI powered tools for academic success
Step: 2

Step: 3

Ace Your Homework with AI
Get the answers you need in no time with our AI-driven, step-by-step assistance
Get Started


