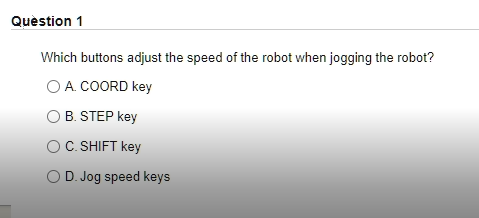
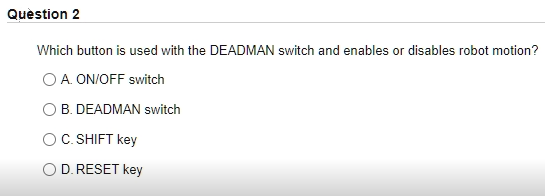

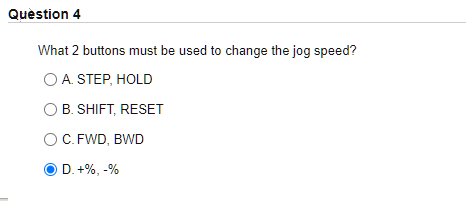
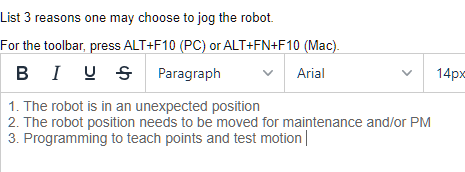
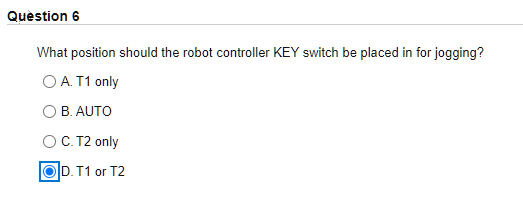


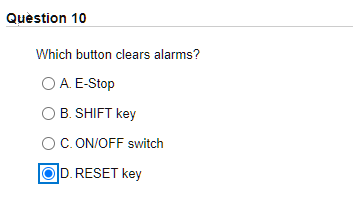


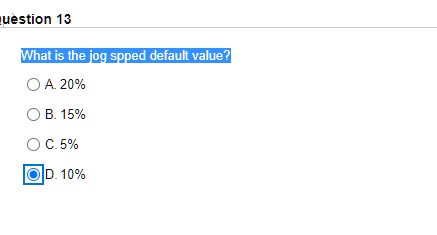


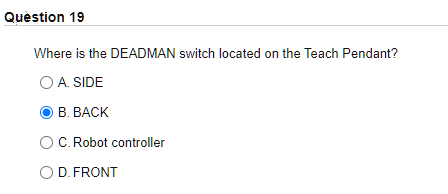
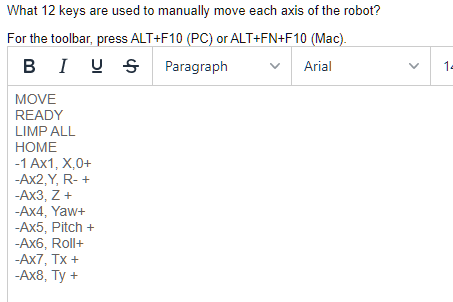
Question 1 Which buttons adjust the speed of the robot when jogging the robot? O A COORD key OB. STEP key O C. SHIFT key D. Jog speed keys Question 2 Which button is used with the DEADMAN switch and enables or disables robot motion? O A. ON/OFF switch B. DEADMAN switch O C. SHIFT key OD. RESET key Question 3 The options for the COORD key are JOINT, S/Tool, and Question 4 What 2 buttons must be used to change the jog speed? O A STEP, HOLD OB. SHIFT, RESET O C.FWD, BWD D.+%, -% List 3 reasons one may choose to jog the robot. For the toolbar, press ALT+F10 (PC) or ALT+FN+F10 (Mac). B I g Paragraph . Arial 14pxc 1. The robot is in an unexpected position 2. The robot position needs to be moved for maintenance and/or PM 3. Programming to teach points and test motion Question 6 What position should the robot controller KEY switch be placed in for jogging? O A T1 only O B. AUTO O C. T2 only OD. T1 or T2 Question 7 Describe where the actual jog speed is displayed on the Teach Pendant screen. For the toolbar, press ALT+F10 (PC) or ALT+FN+F10 (Mac). B I U Paragraph Arial 14px IX Status indicator lights indicate the current statuts of the robot to an operator. These light are to the left of the LCD on the teach pendant screen. Question 8 Which button stops a running program, turns off drive power to a robot servo, and applies brakes to all joints? O A. ON/OFF Switch B. DEADMAN Switch C. RESET key D. Emergency STOP button (E-Stop) Question 9 The Teach Pendant and the robot control are the same devices. True False Question 10 Which button clears alarms? O A E-Stop OB. SHIFT key C. ON/OFF switch D. RESET key List the steps to resetting fault codes when using the Teach Pendant. For the toolbar, press ALT+F10 (PC) or ALT+FN+F10 (Mac). B I U Paragraph Arial 12pt A TX 46 G = = X2 X2 > Ts 1. The robot needs to be in T1 for a DCS reset procedure and the Teach Pendant needs to be ON 2. Select MENU and arrow down to ALARM The alarm screen shows a SRVO-402. This is a DCS alarm saying that the Cartesian Position is out of limits. 3. Now select MENU and arrow up to NEXT and press ENTER - This brings up MENU2 - arrow down to SYSTEM and ENTER 4. The System Clock screen is visible. Now go down to the Menu bar and select | TYPE and Arrow to DCS 5. The DCS screen shows a list of DCS parameters and the Cartesian Position Check parameter is marked as Unsafel 6. Right Scroll > the lower bar menu until you see 4D. A model of the robot pops up on the right side of the screen. You can see that the zone is red meaning the robot can not move. 7. Select SHIFT and RESET -Then select SHIFT again - In this example we are in WORLD jog mode and the robot has gone out of the zone in the + or -Y direction, so to get back into the zone we will jog using the + or - Y jog key. For your specific DCS error use the proper jog keys on the right of the teach pendant. 8. The alarm that was present on the top of the teach pendant is gone and the robot is now in the green, safe zone and can continue working. Question 12 On the robot controller ou can place the robot in 2 modes: AUTO or Manual. True False uestion 13 What is the jog spped default value? O A 20% B. 15% C.5% OD. 10% % Question 14 5 points Saved After switching the ON/OFF switch to ON, what should be pressed until you hear a click and held through the entire jogging process? For the toolbar, press ALT+F10 (PC) or ALT+FN+F10 (Mac). U Paragraph Arial 14px v A Ty 6 Q X2 X2 > . 1. From this point press the DEADMAN switch on the back of the teach pendant until you hear/feel one click, and hold throughout the jogging process 2. To change the jog speed, press the -% or +% button and the speed changes by percent, you can watch the speed increase/decrease in the green speed box at the top right. 3. Now you are ready to start moving the robot at each joint, press and hold the SHIFT key as you use the JOG KEYS to move each joint to the needed position. You can move each joint into position by selecting the direction and joint key and holding the key down until the joint is in position. 4. What happens if you get a Fanuc Robot Alarm JOG-007? This means that you stopped holding down the SHIFT key will moving the robot with the JOG Keys. Simply stop moving the robot with the JOG keys and press and hold the SHIFT Key. Then continue moving robot to desired position. 5. What if you get a "In singularity error? You need to Jog Joint J5 +/- at least 10 degrees. 6. Once you finish jogging the robot, you can select Auto HOME button to return the robot to position and beginning cycling. P 213 WORDS POWERED BY TINY Question 15 Which button selects the jog coordinate system or select another group? O A SHIFT key O B. Jog keys C. RESET key D. COORD key These 2 conditions must be met before you can the robot: 1. All safety systems must be green 2. All faults must be cleared Question 17 Which axis on the FANUC robot is capable of rotating 360 degrees? For the toolbar, press ALT+F10 (PC) or ALT+FN+F10 (Mac). B I U Paragraph Arial Axis 6 14px Question 18 What key should be pressed and held as you use the jog keys to move each joint position? A. SHIFT key OB. HOLD key OC. STEP key OD. COORD key Question 19 Where is the DEADMAN switch located on the Teach Pendant? O A. SIDE B. BACK O C. Robot controller OD. FRONT What 12 keys are used to manually move each axis of the robot? For the toolbar, press ALT+F10 (PC) or ALT+FN+F10 (Mac). BI VS Paragraph Arial 12 MOVE READY LIMP ALL HOME -1 Ax1, X,0+ -AX2,Y, R-+ -AX3, Z + -AX4, Yaw+ -AX5, Pitch + -Ax6, Roll+ -AX7, TX + -Ax8, Ty +


